MMDD 102 – Presets
April 7, 2024 7:54 pm Leave your thoughtsUsing the Presets And Effects & the Project Panel
Review presets
Presets in After Effects are effects that can be applied to anything in After Effects. There is a wide array of effects and presets that come with After Effects. You can also add different ones. There are a ton of different effects that are out there that can be used. After Effects presets can be extremely useful, whether they be to speed up a process or make a certain effect easier to achieve.
After Effects presets are not plugins. Rather, they are a combination of effects saved within After Effects. Plugins are separate software that work with After Effects that the program itself is unable to do on its own. One can be created by a user within After Effects and the other is created like any other software.
Apply a preset
After Effects presets can be found in:
Window > Effects and Presets
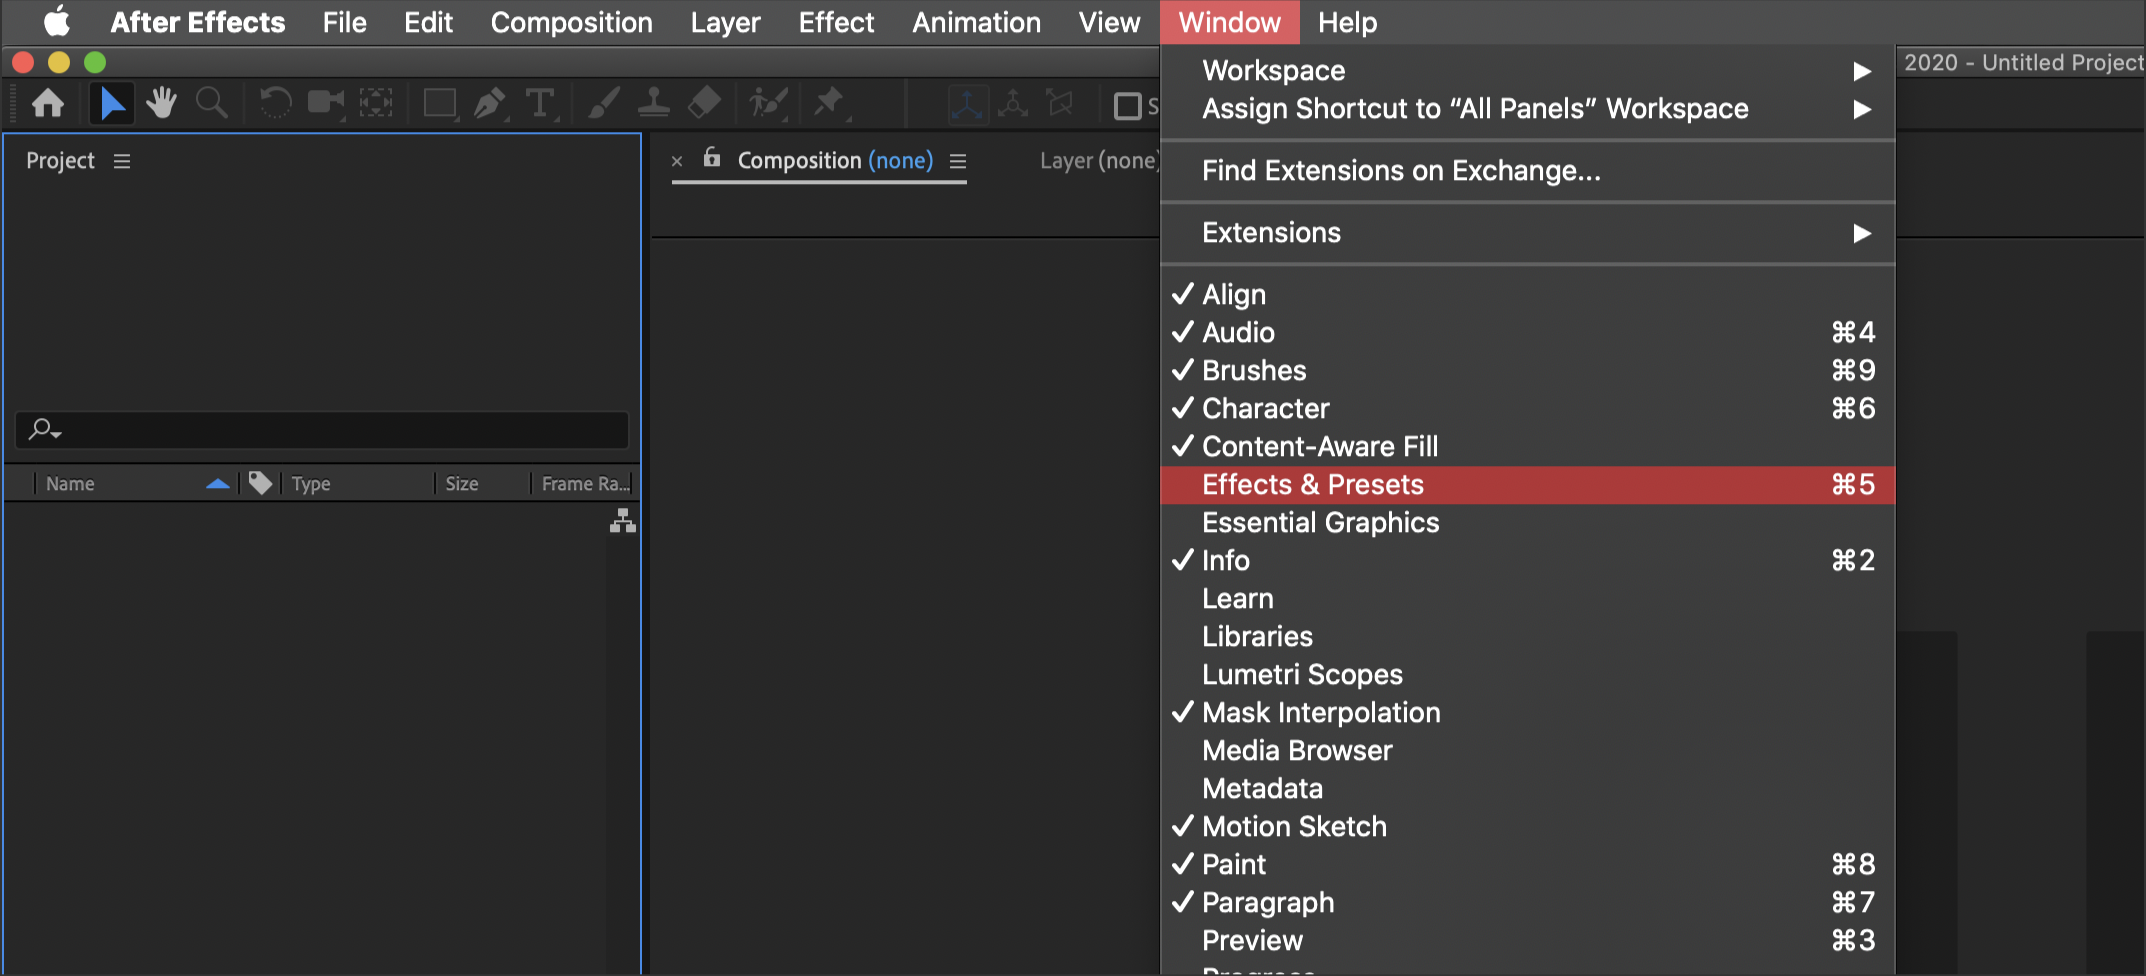
Here you will find an array of effects that can be applied to anything in After Effects.
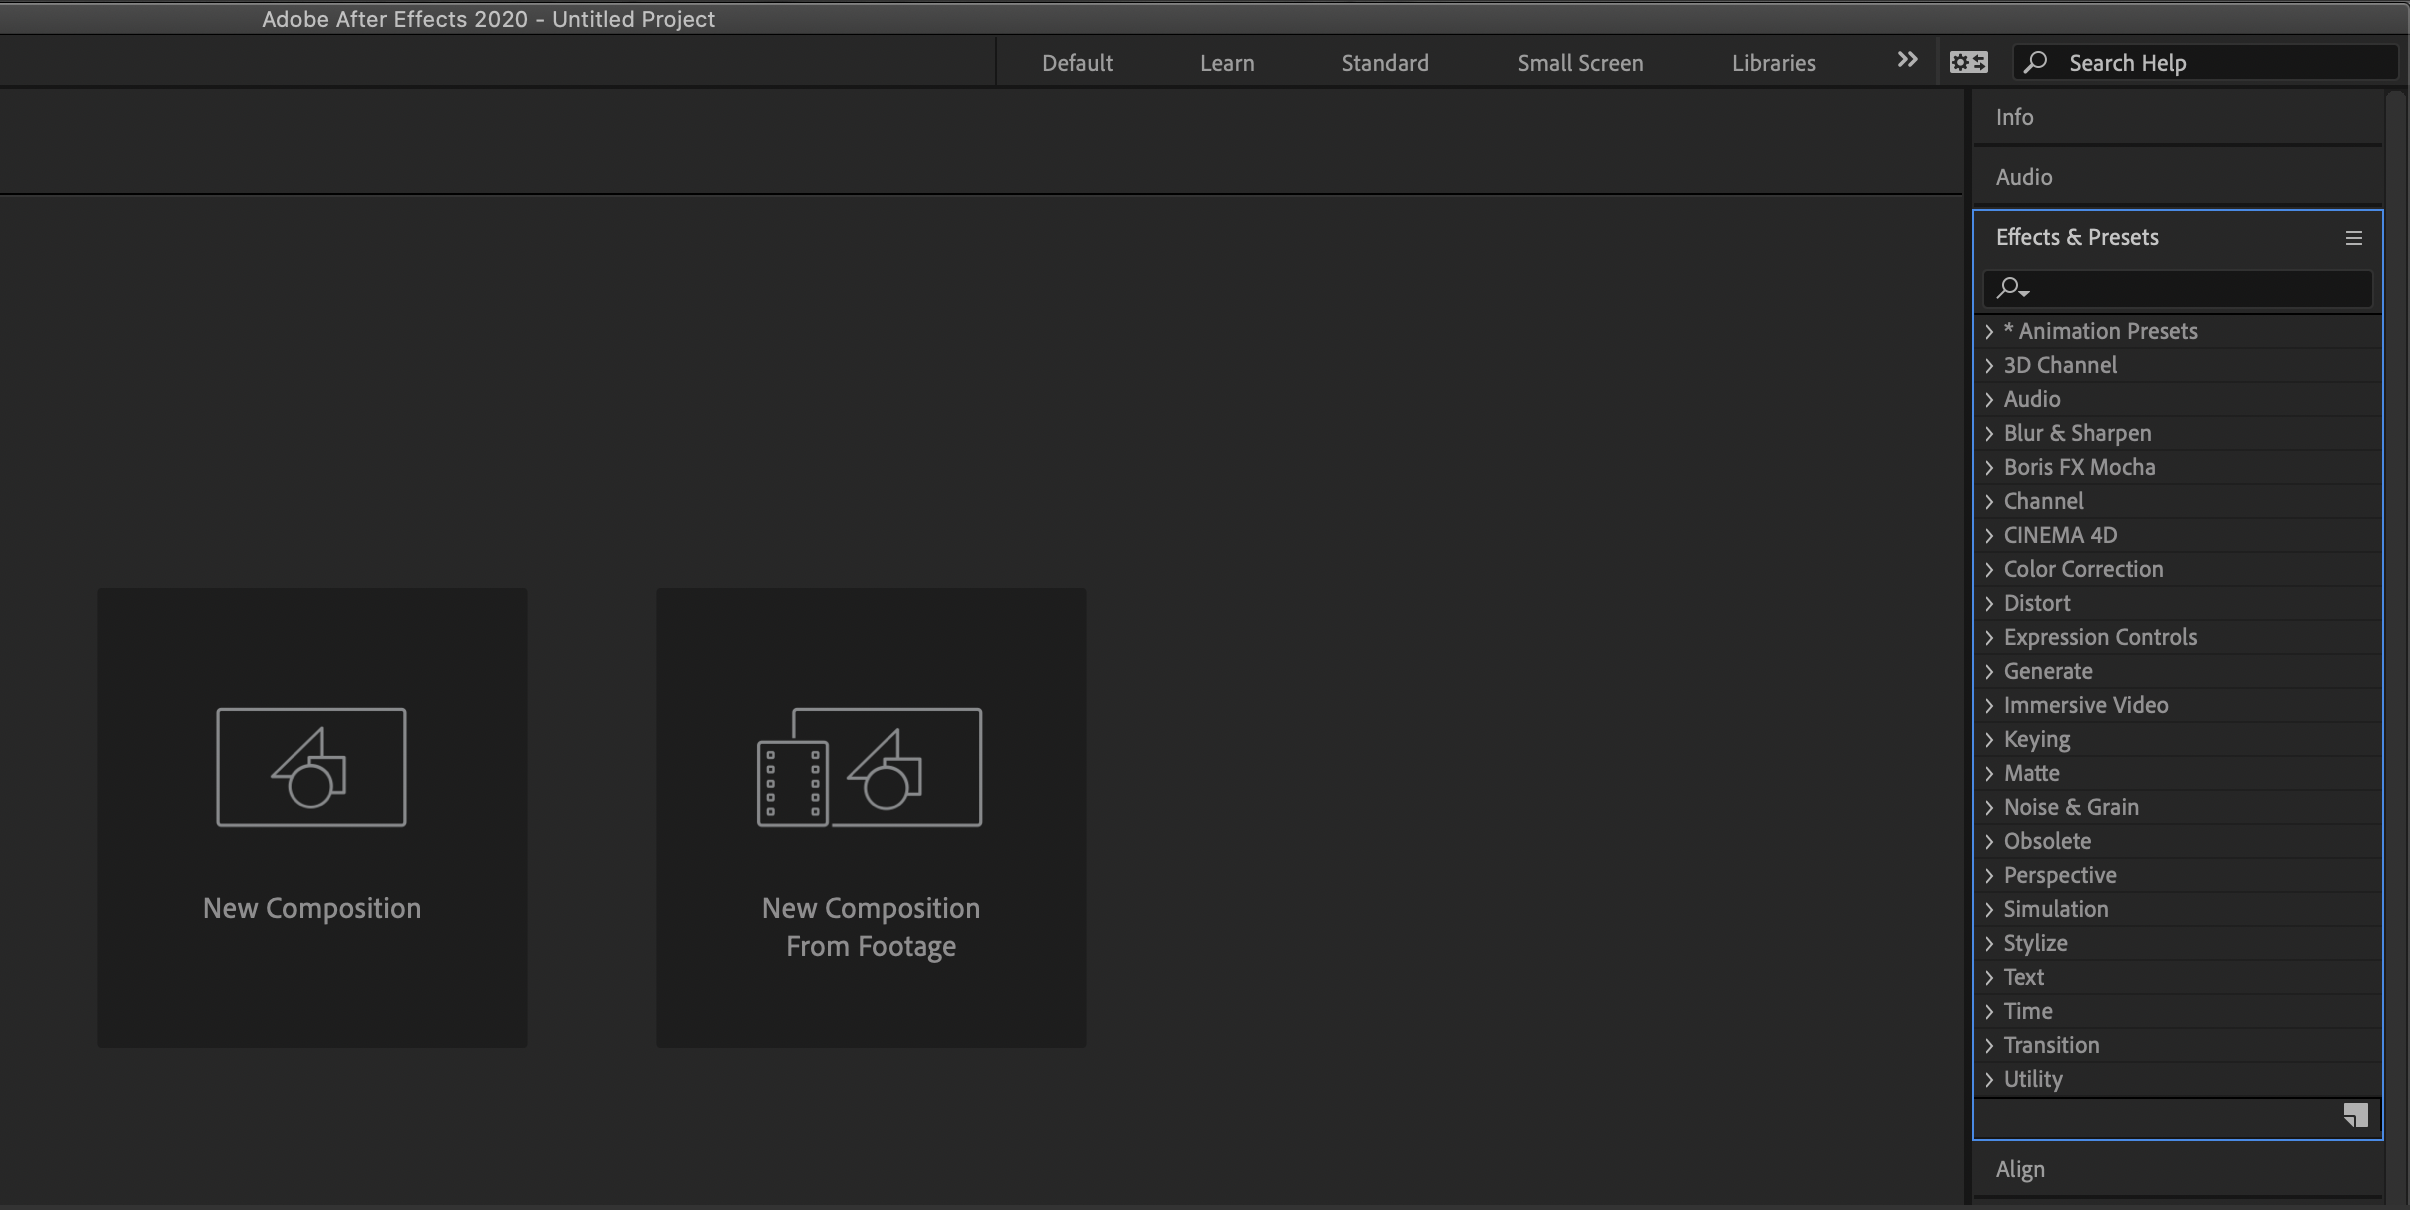
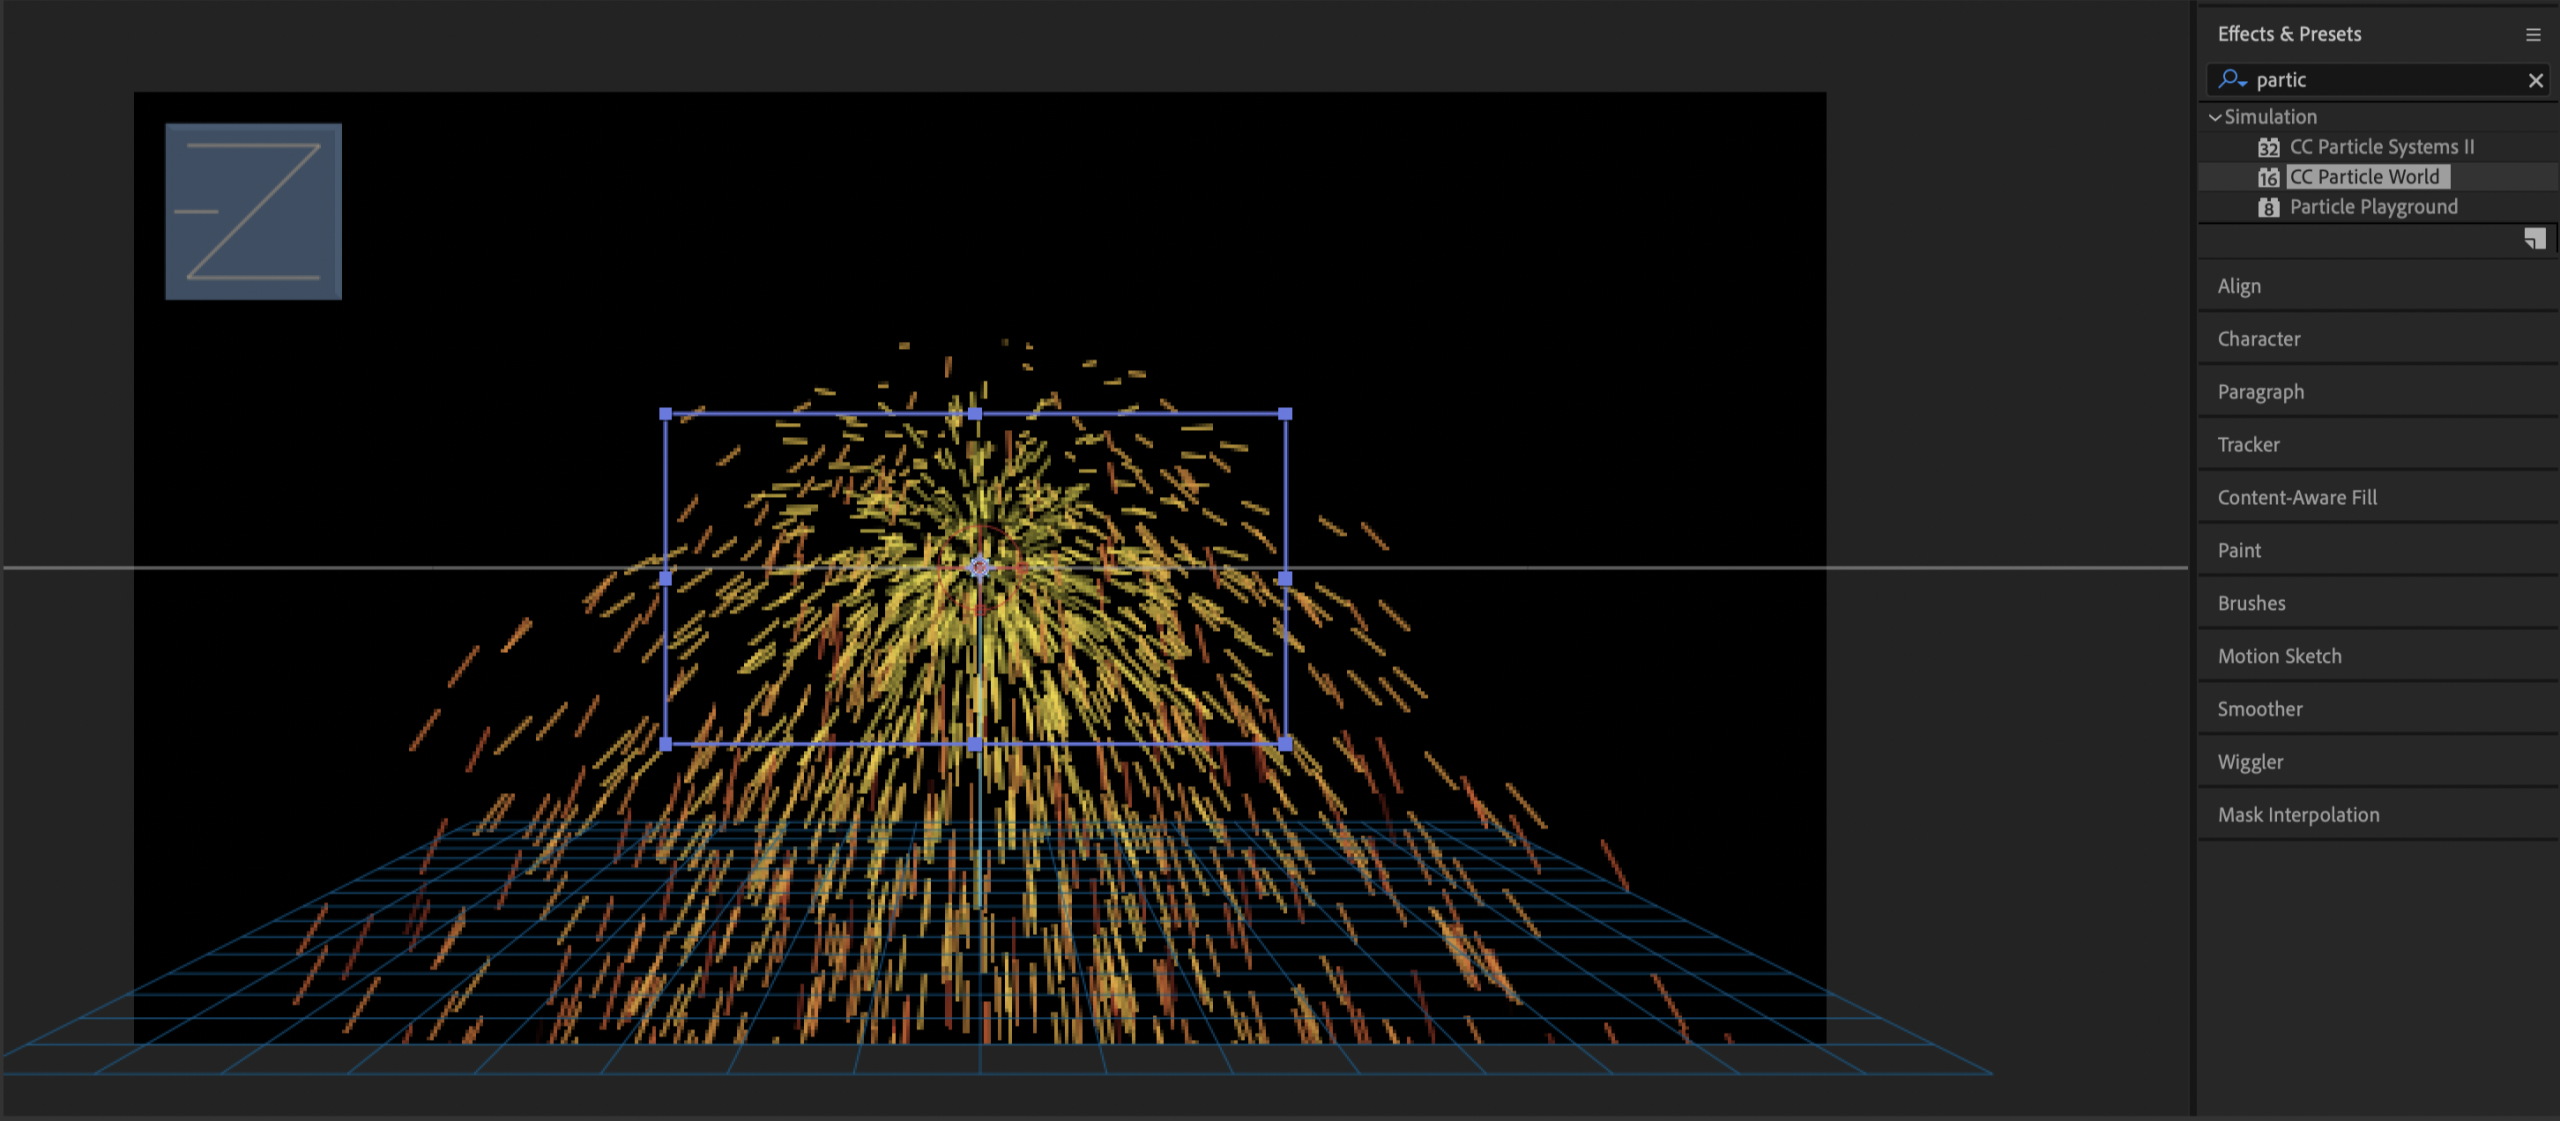
From here you can search or select an effect, when you find the one you need, you can simply drag and drop it onto anything on the video screen or onto any layer to apply it.
Modify a preset
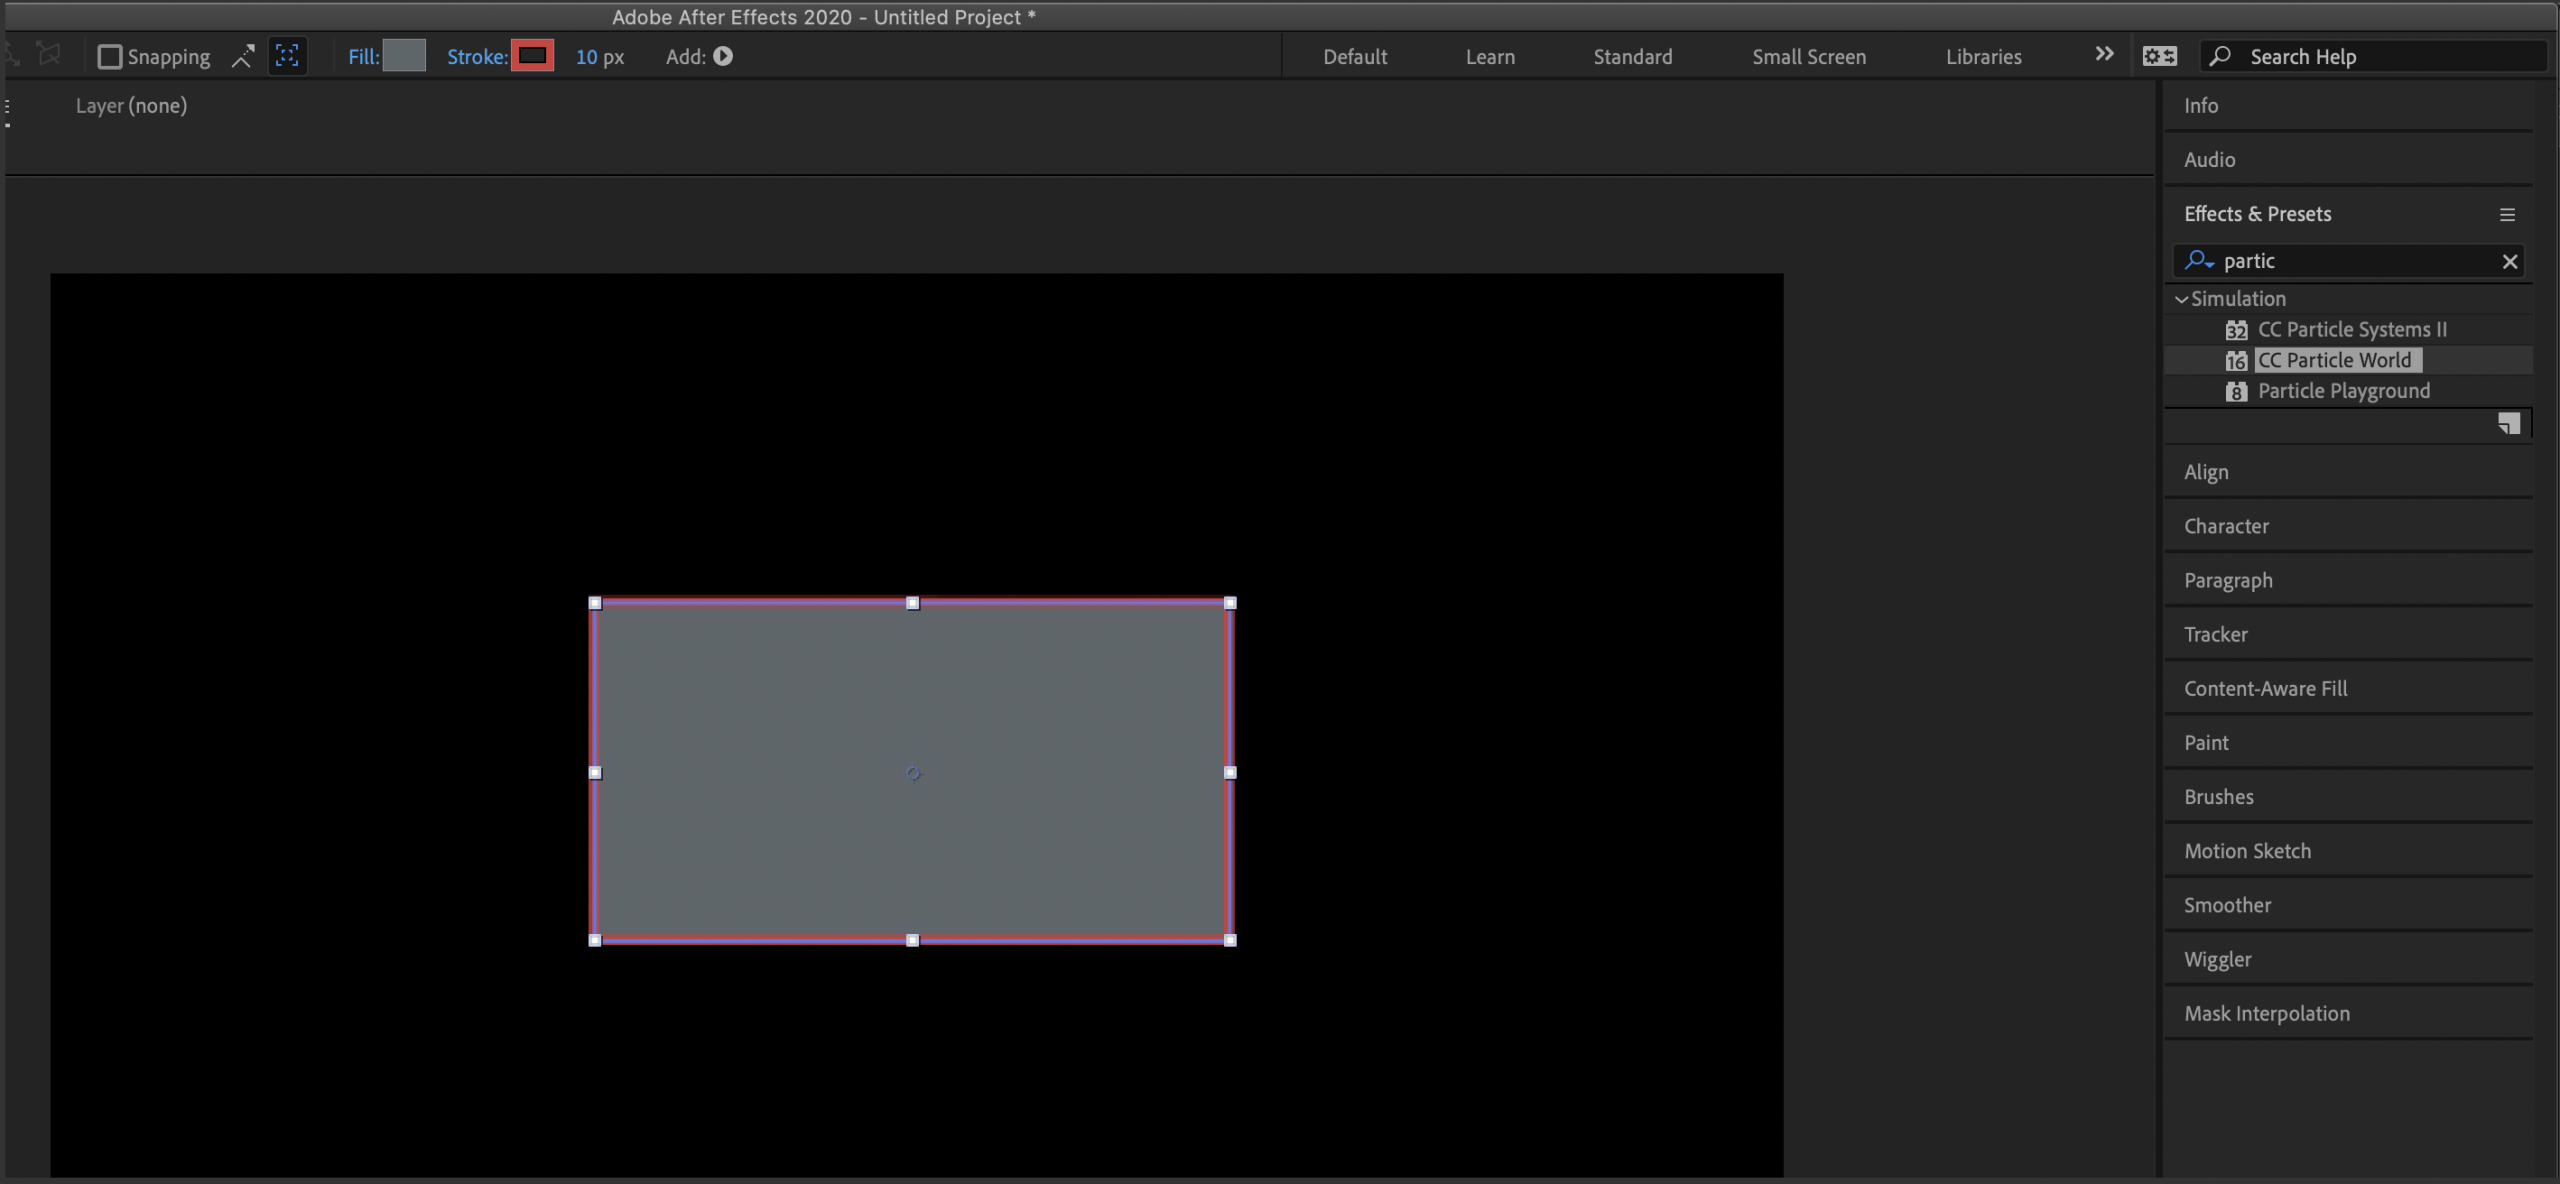
After we choose a preset, we can always modify it to fit our needs. Remember that when it comes to effects and presets, there is a wide array of different ones. Some might be used to change colors, some may be used to add/automate an animation. Some may be used to add a 3D effect of some kind. Some may be used to add a particle effect to something or change a thing into particles. Like the example in the screenshot above. After we apply any of these, no matter what one it happens to be, it will give us settings we can modify, allowing us to get it to look or work how we want it to.
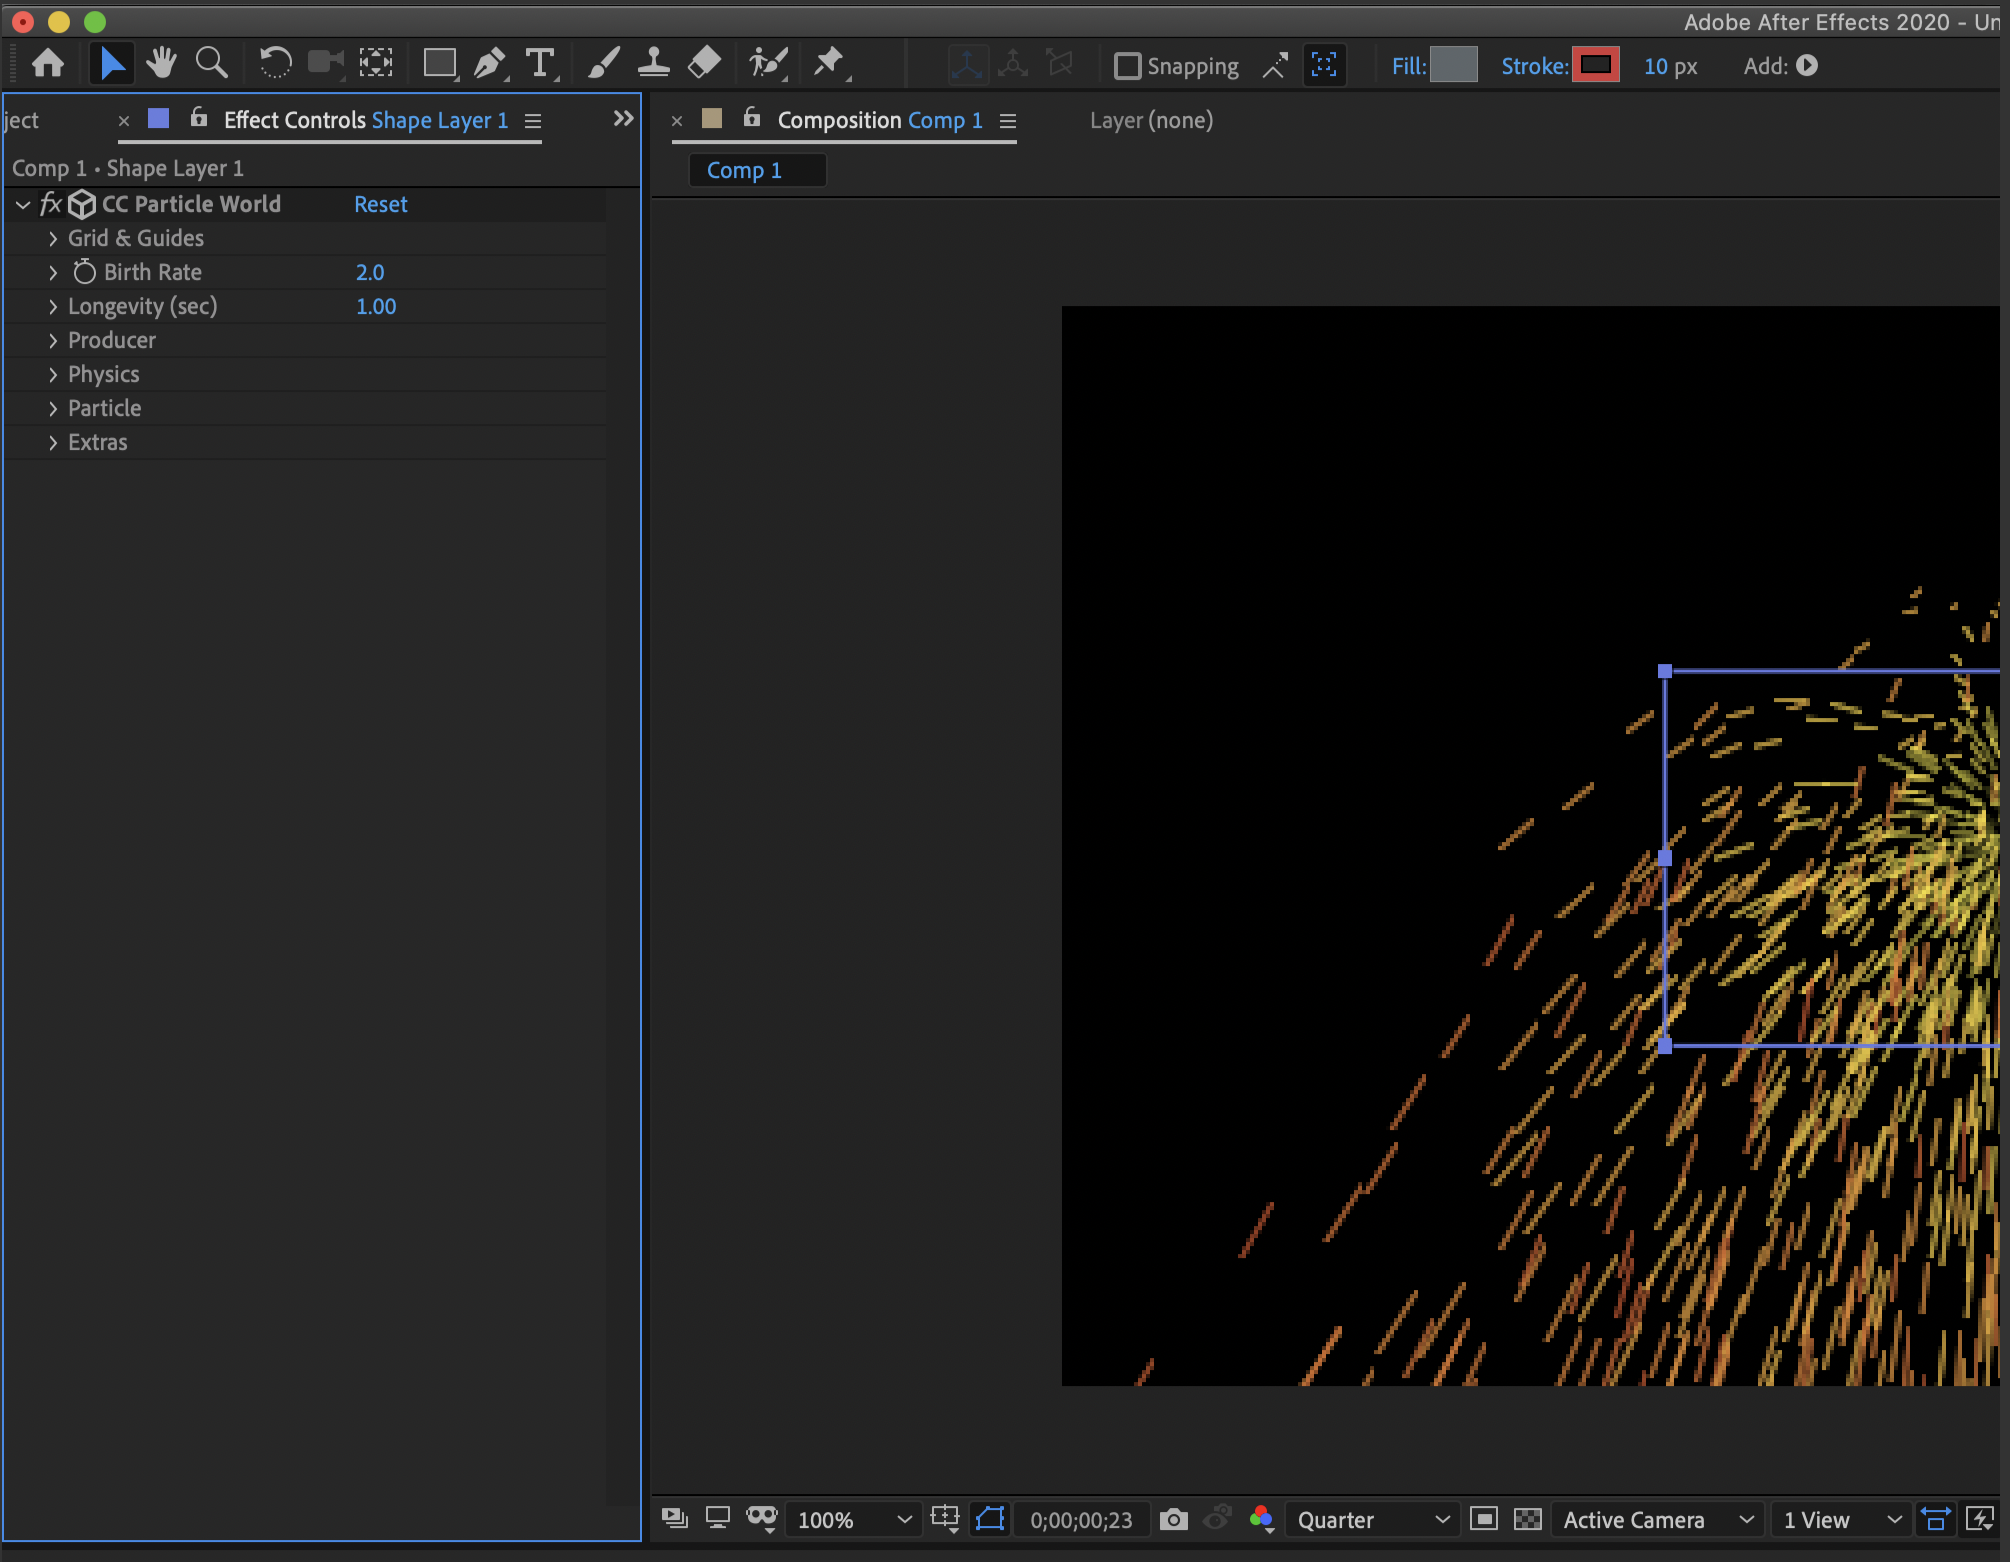
These settings can be found both on the sidebar:
And on the layer of the item the preset was applied to:
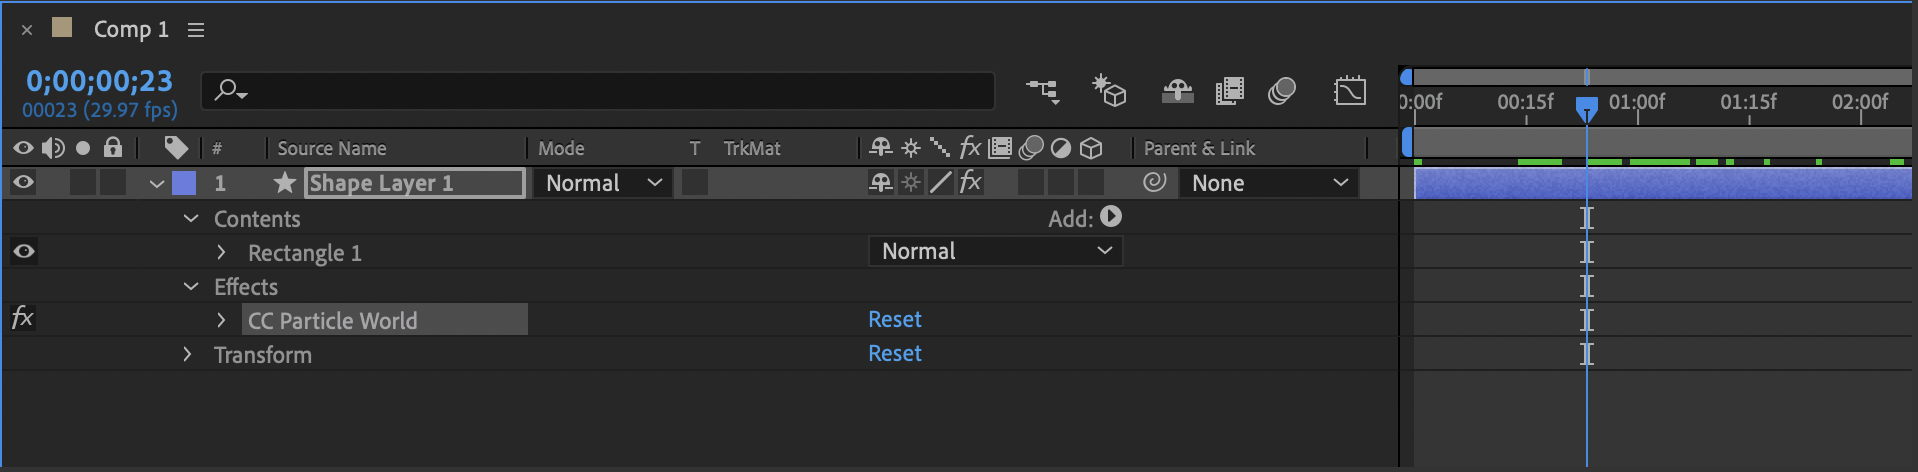
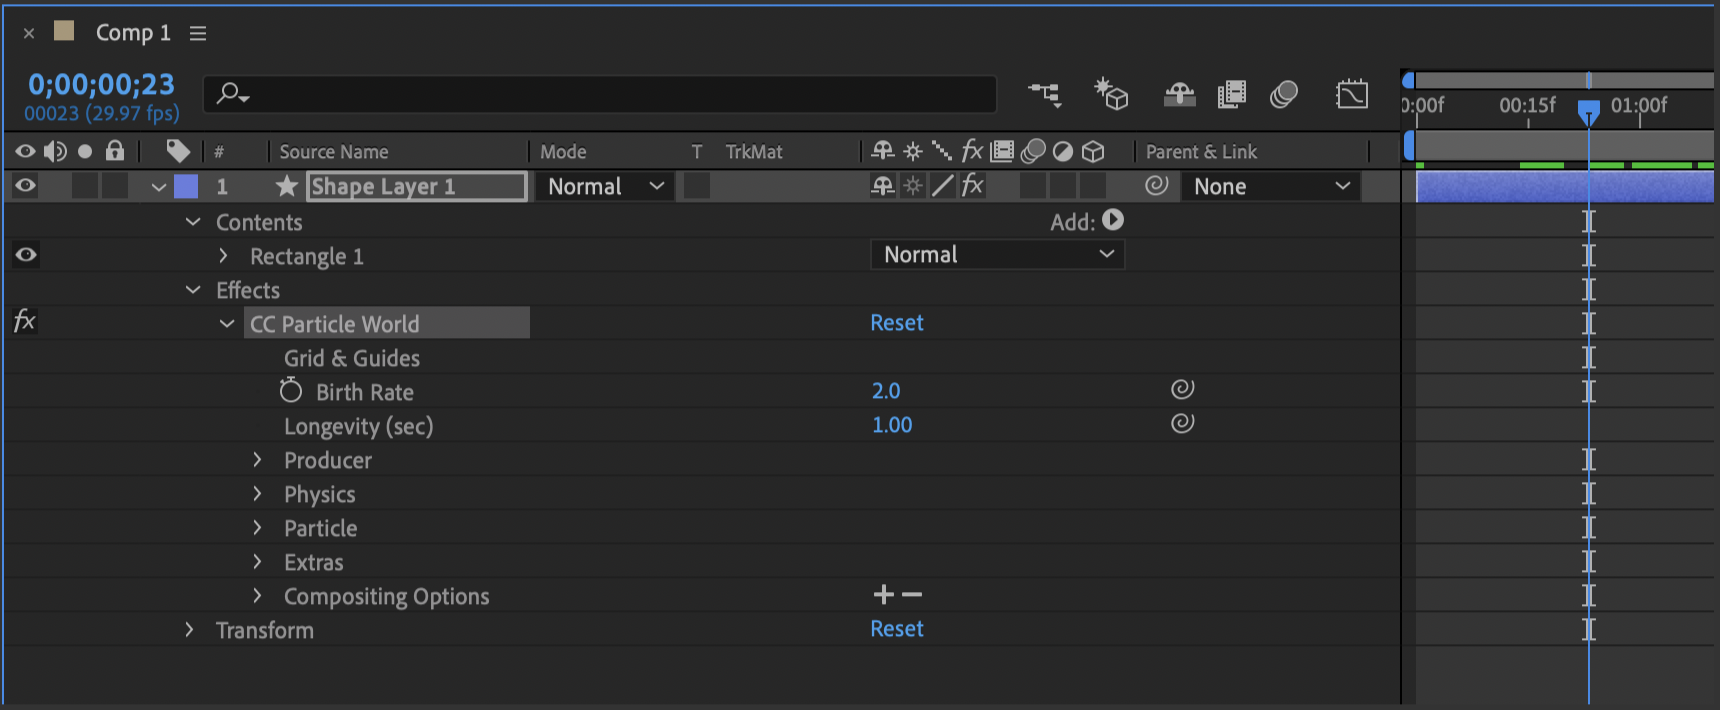
Here you can edit all settings for the effects that have been applied to the layer when any particular effect’s layer is expanded to reveal the settings within it.
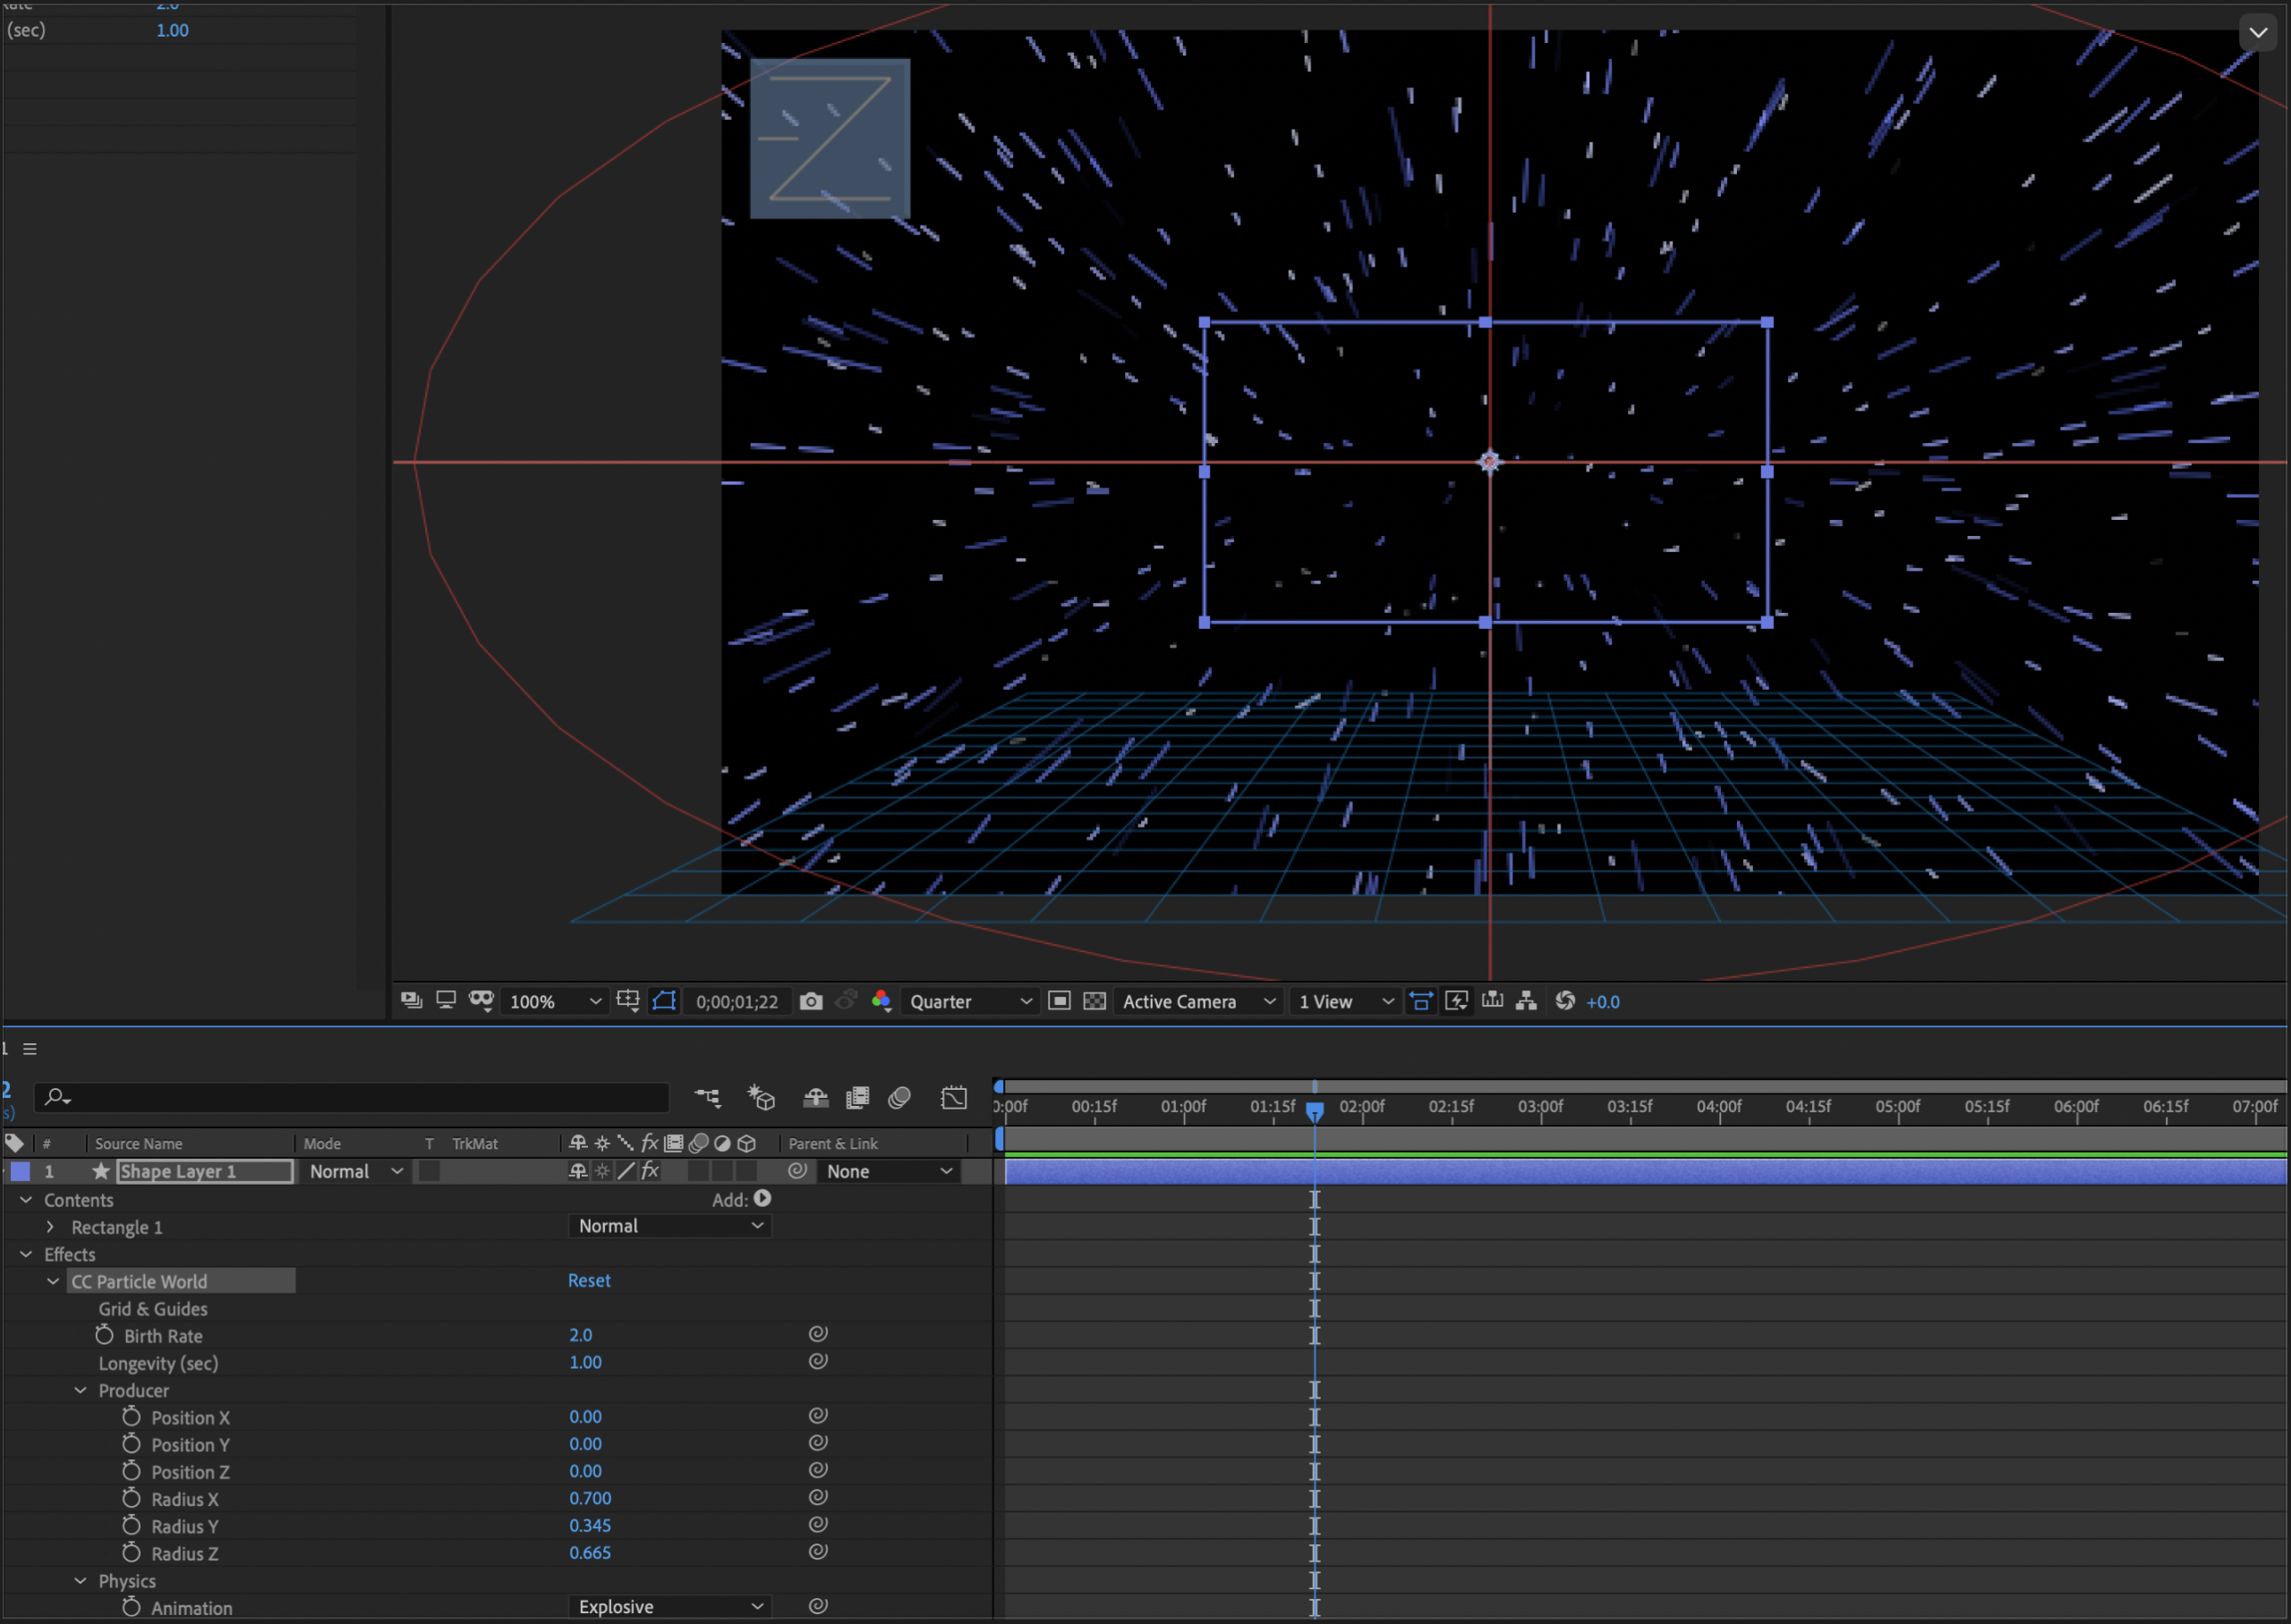
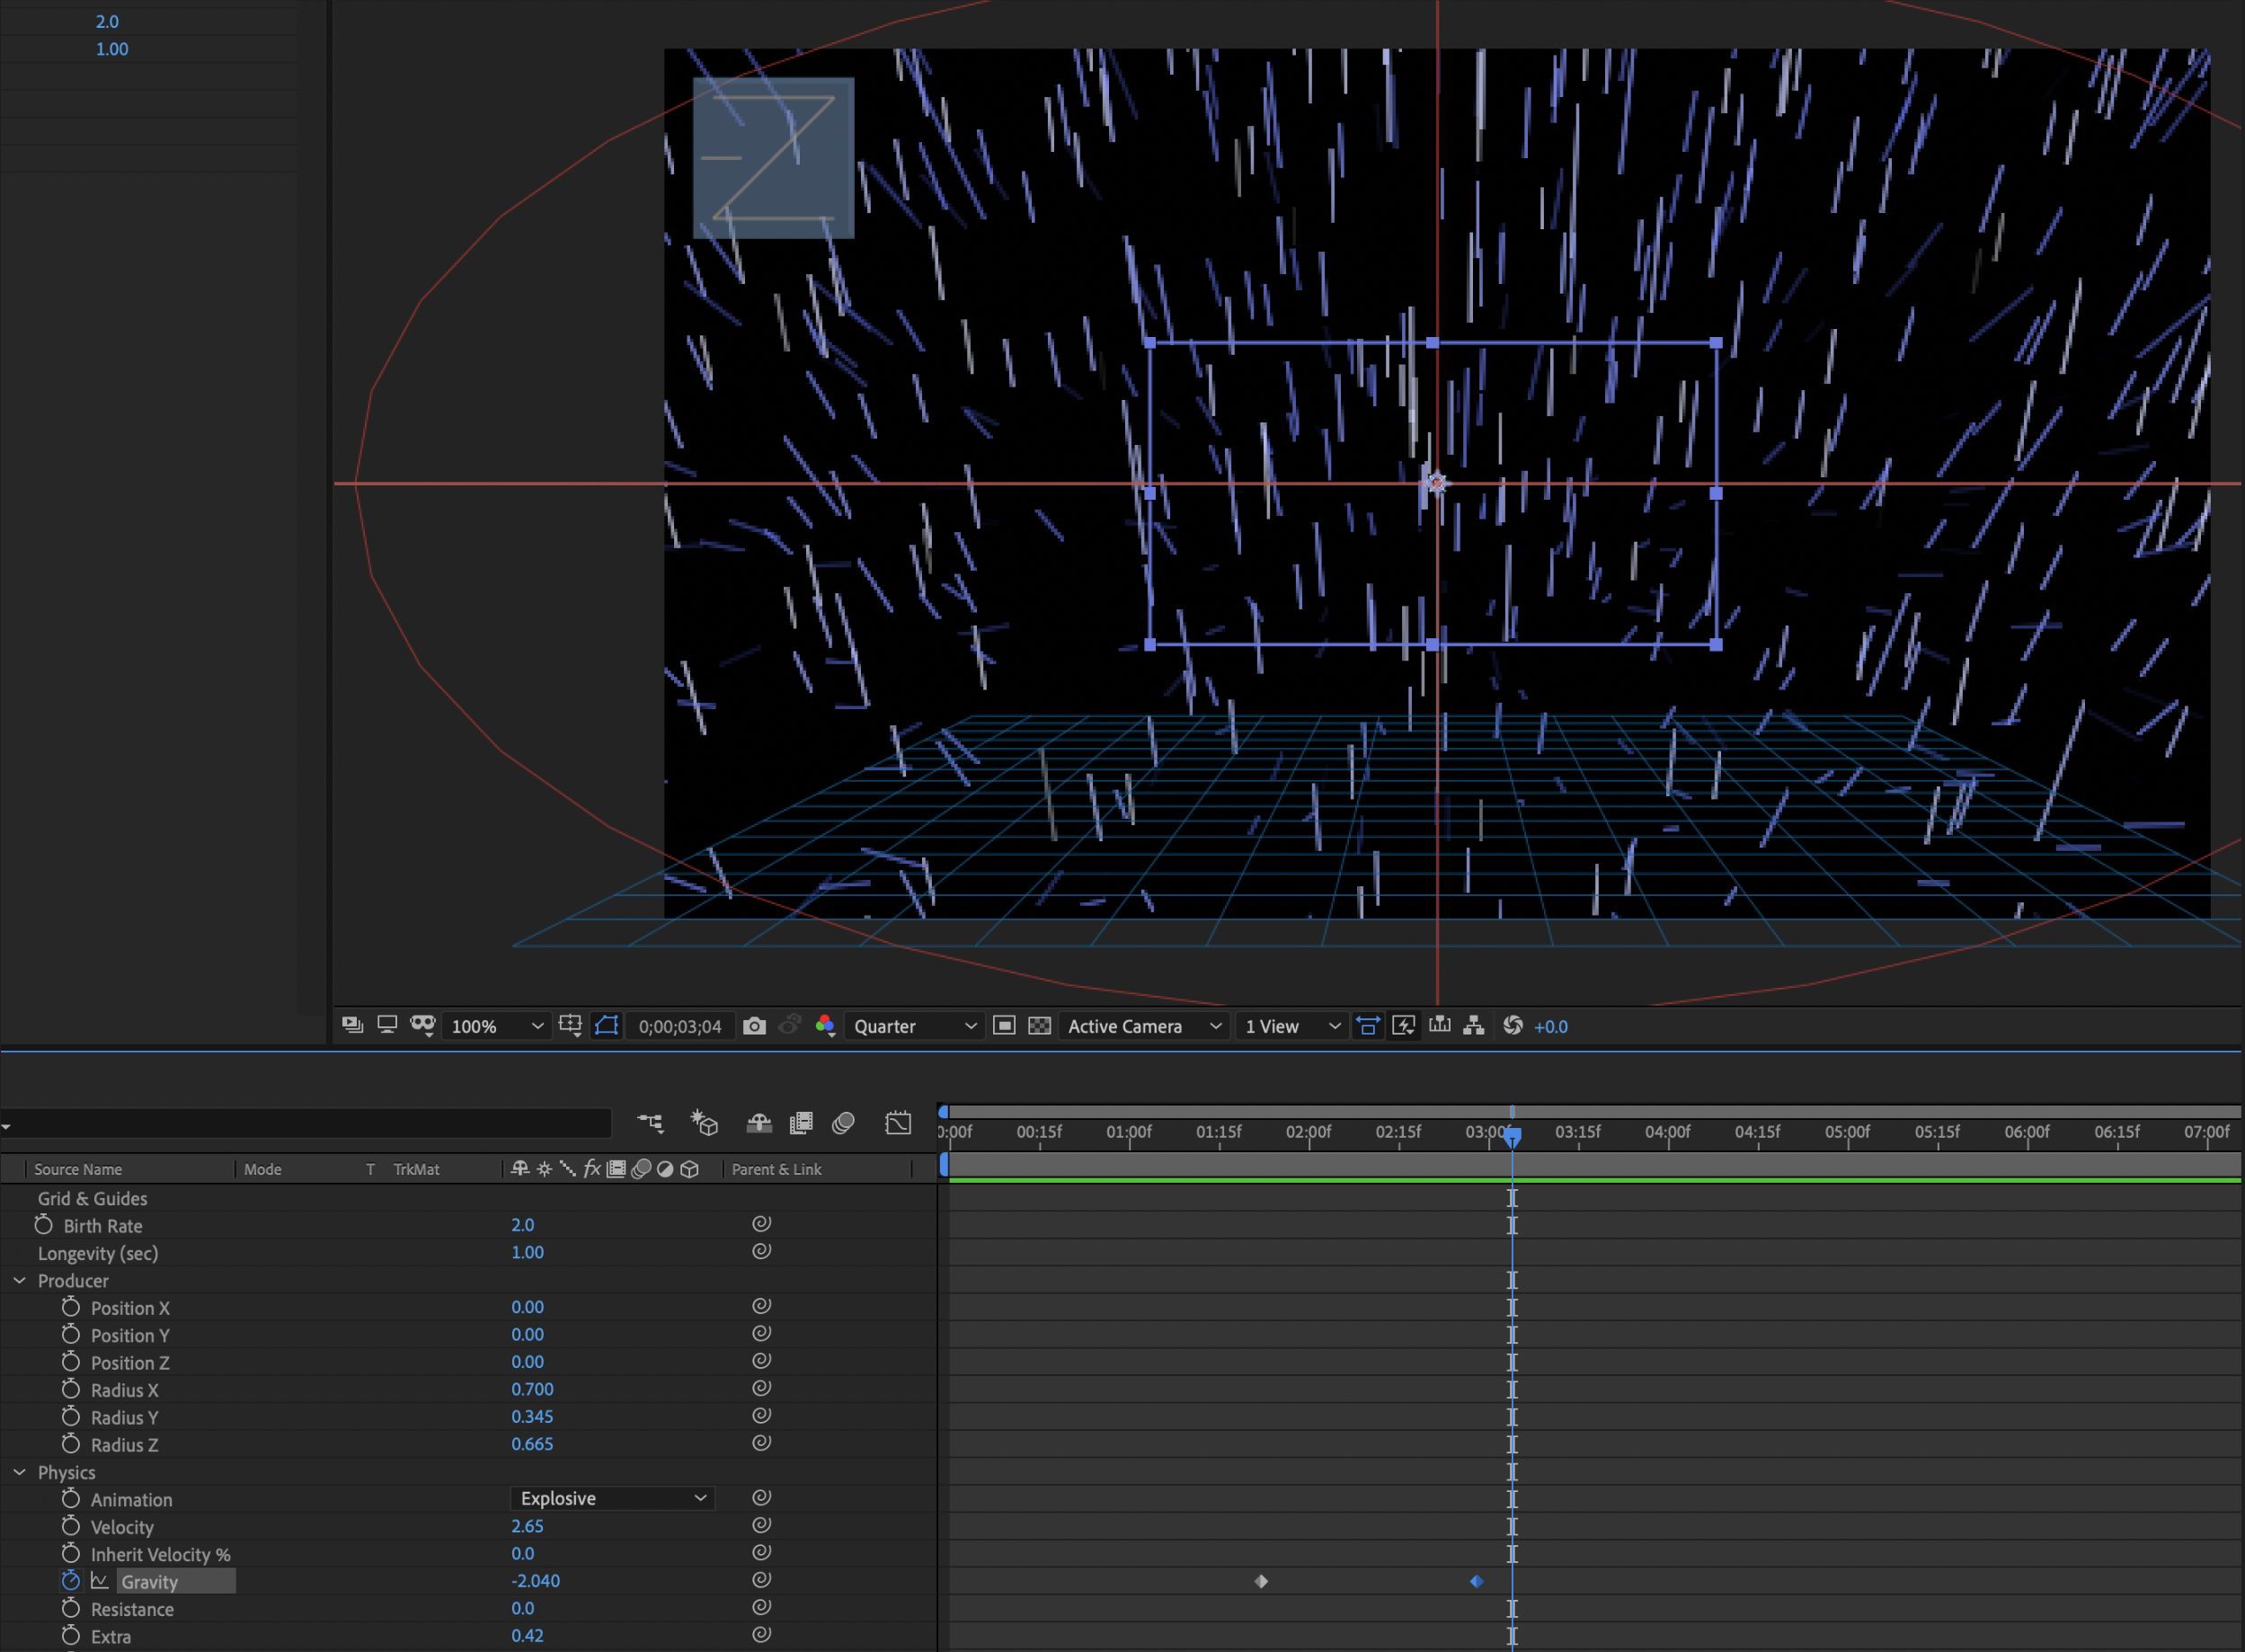
These settings can also be animated with keyframes like anything else in After Effects. In this example using CC Particle World, we make the particles look like stars in space. Below with a simple change in the gravity we can make it look like they change direction as the particles animate.
Project Panel
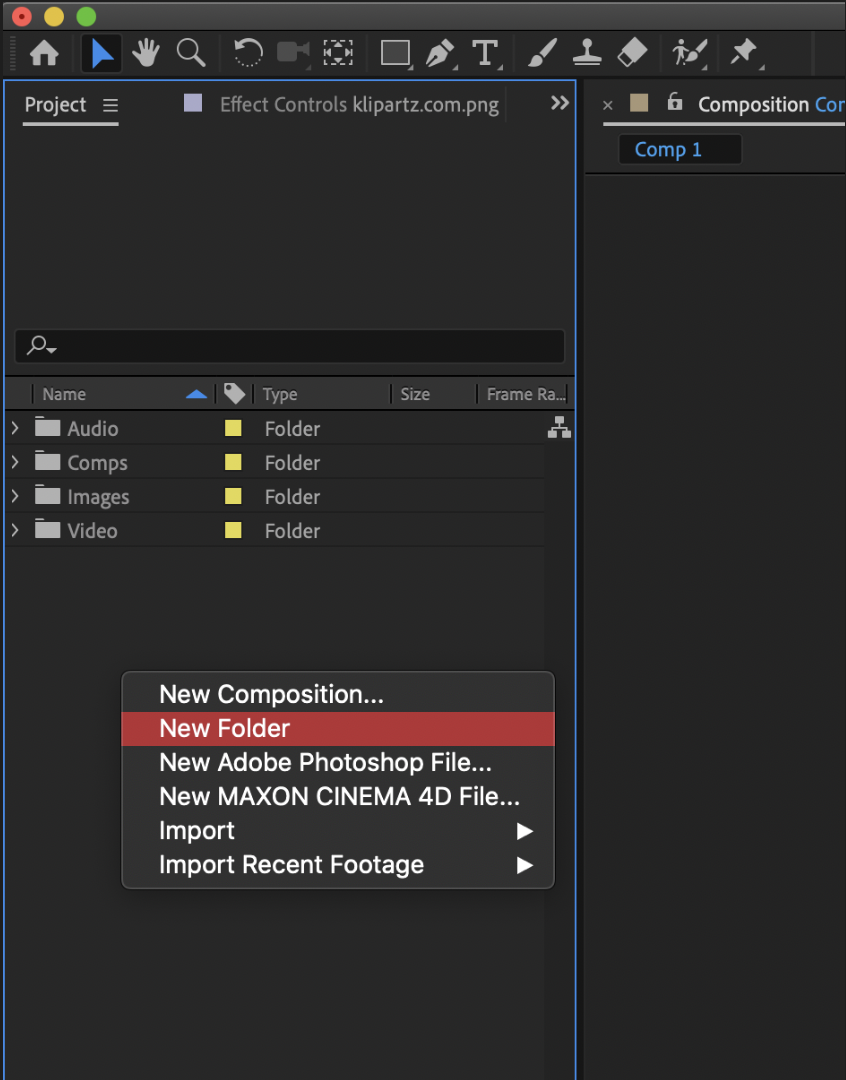
The project panel is an explorer that allows us to house all of the assets we may need for any given project. Think of it like the Finder on your Mac or a window on Windows. Within it you can store and organize all the files you may need in any given project. If you right click the blank space in the project panel you can create new folders to add different sets of media. There are also buttons at the bottom of the panel to create folders, compositions and change settings. You can also drag and drop things within the project panel to move them around in and out of folders.
It is important to remember that when you import external files into After Effects that the files are not physically part of the After Effects save file. Rather, the files are referenced and used from their physical location on your computer. This is why it is important to get into the habit of creating a file on your computer for each project and creating subfolders for asset groups. Then you could drag and drop the files to the folders they should be in on After Effects.
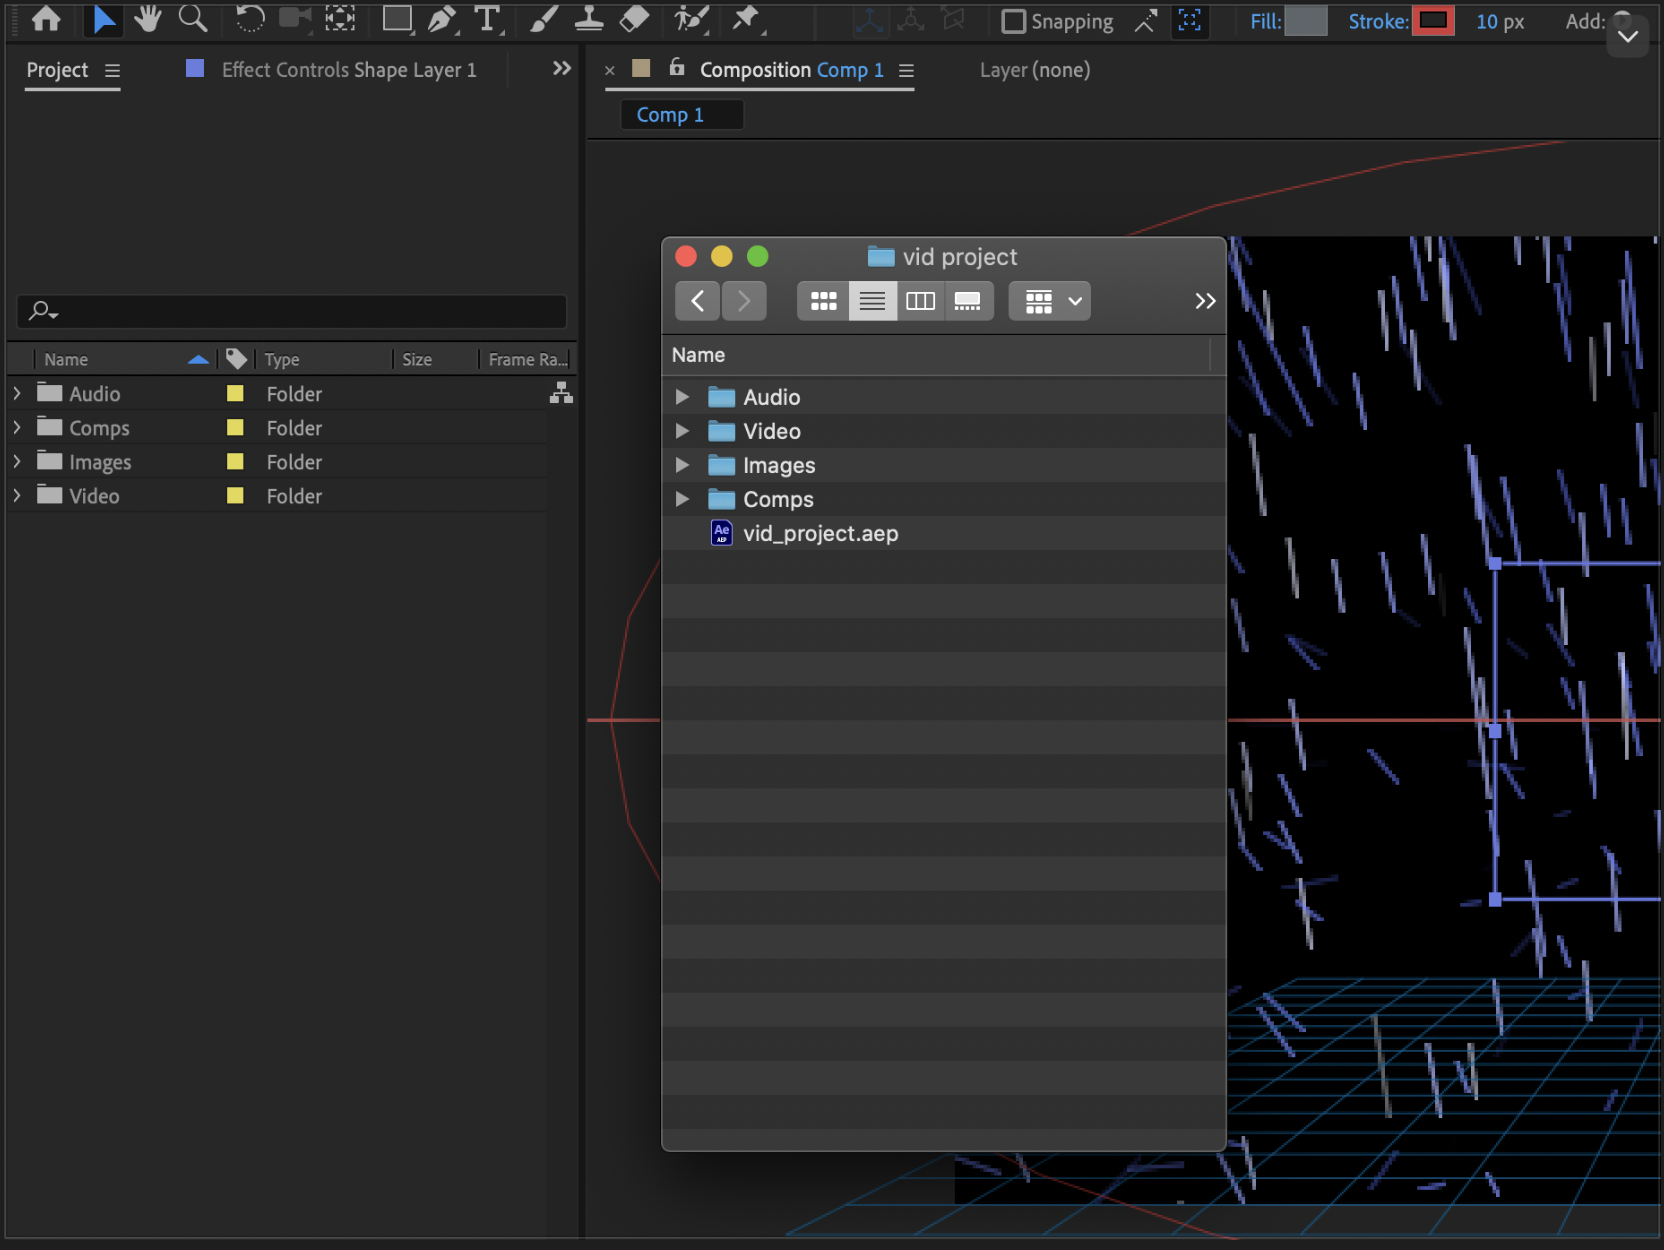
As you can see in the example I have the actual folders on my machine where all the files will actually be stored, and I have created the same within After Effects. If I were to send this project to someone, I would zip the entire “vid project” folder and send it. This is how you must structure your work environment as far as the folders and organization goes.
It is also important to note that if you drag and drop/import a file into After Effects, and that file is moved or deleted, or you send someone your AE file and do not include the assets you used within the After Effects save, it will show up like this:
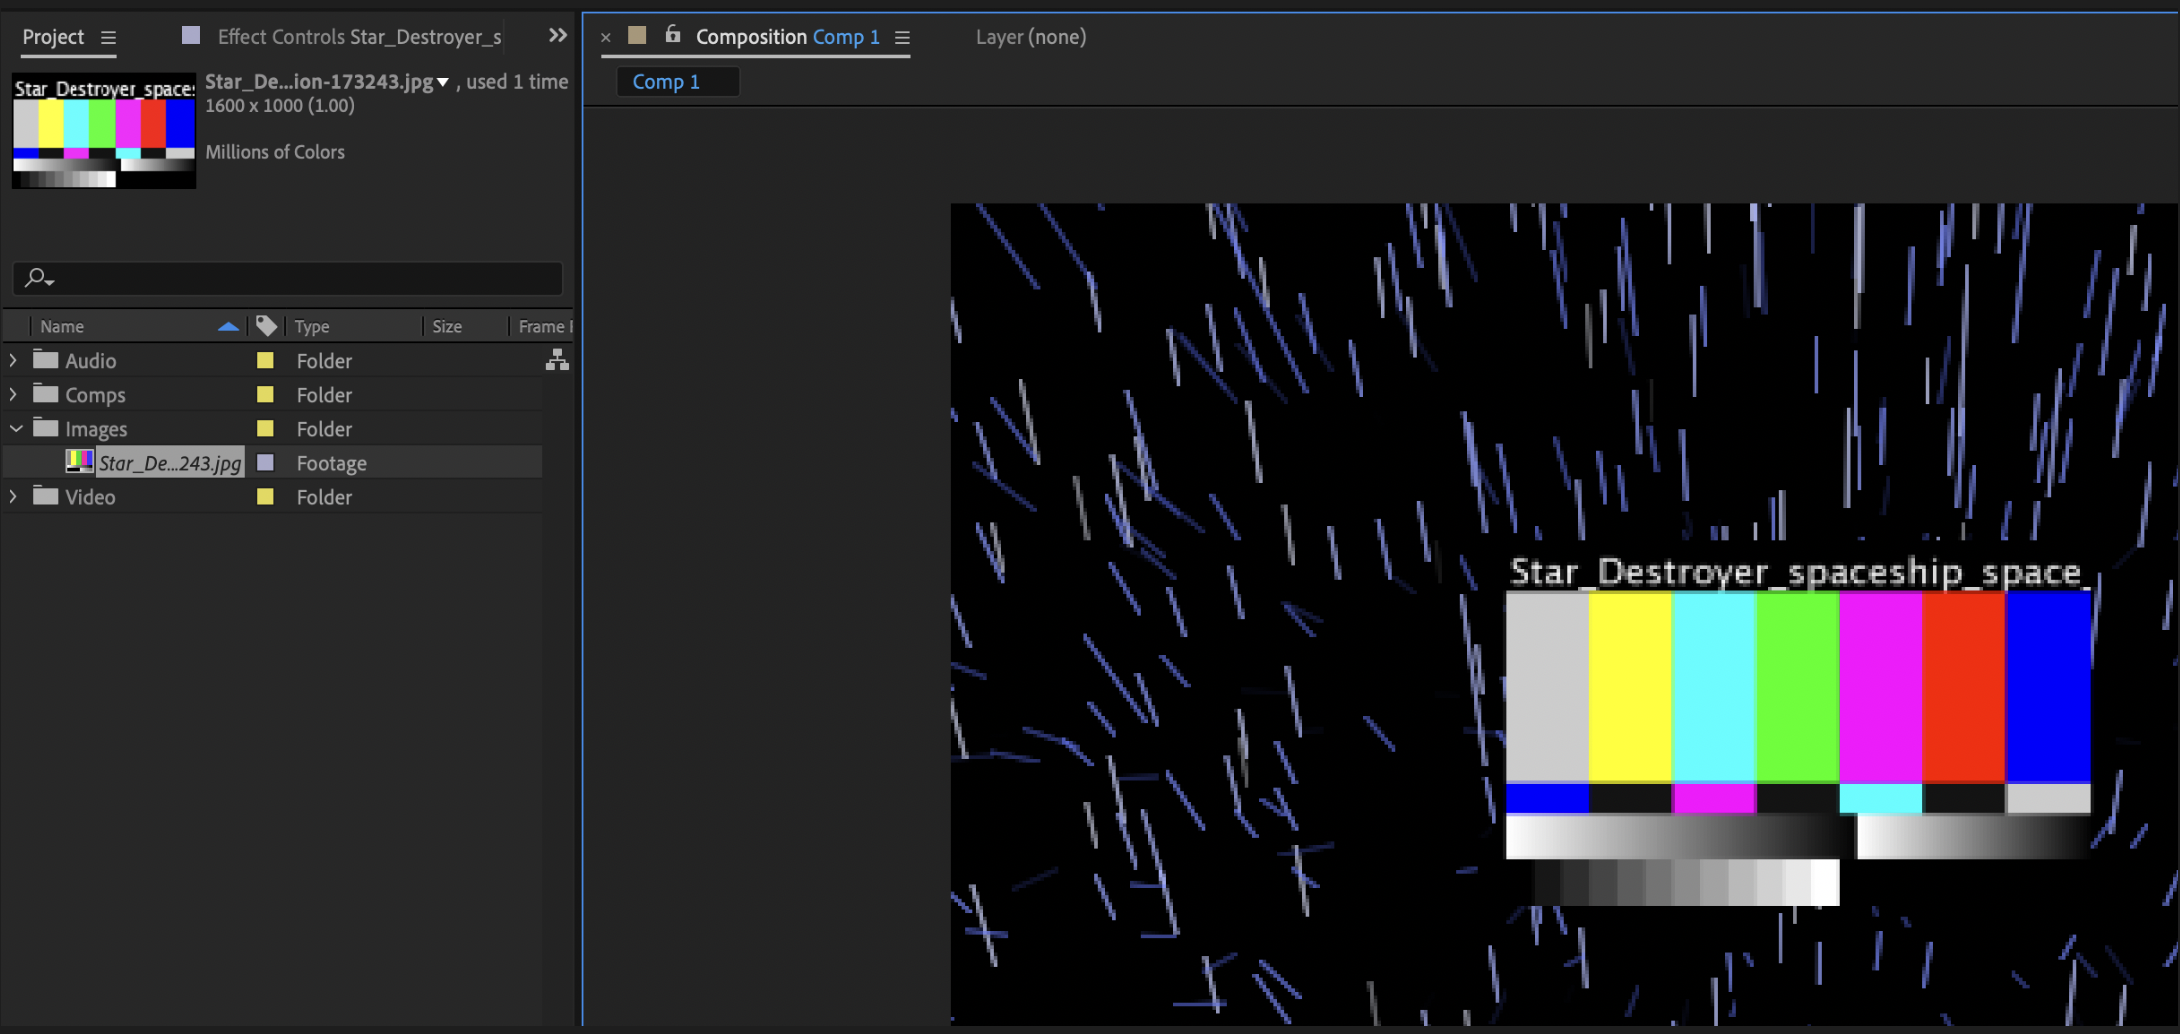
Don’t think of assets brought into After Effects as being within the project, think of the assets like they are linked to the project. At any given time if you need to you can right click on any asset within the project panel and reload it, reveal it in the Finder, replace it and so on by right clicking on the file.
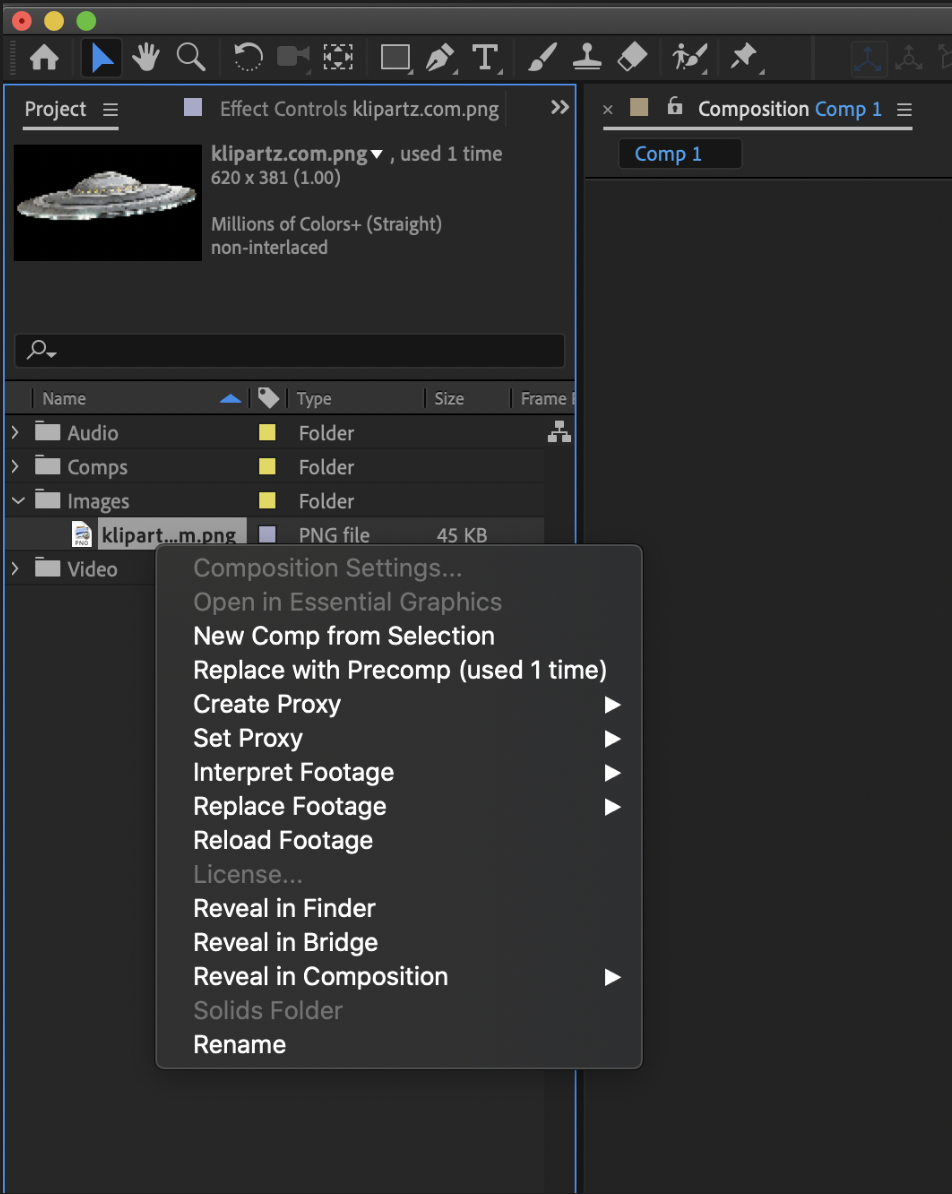
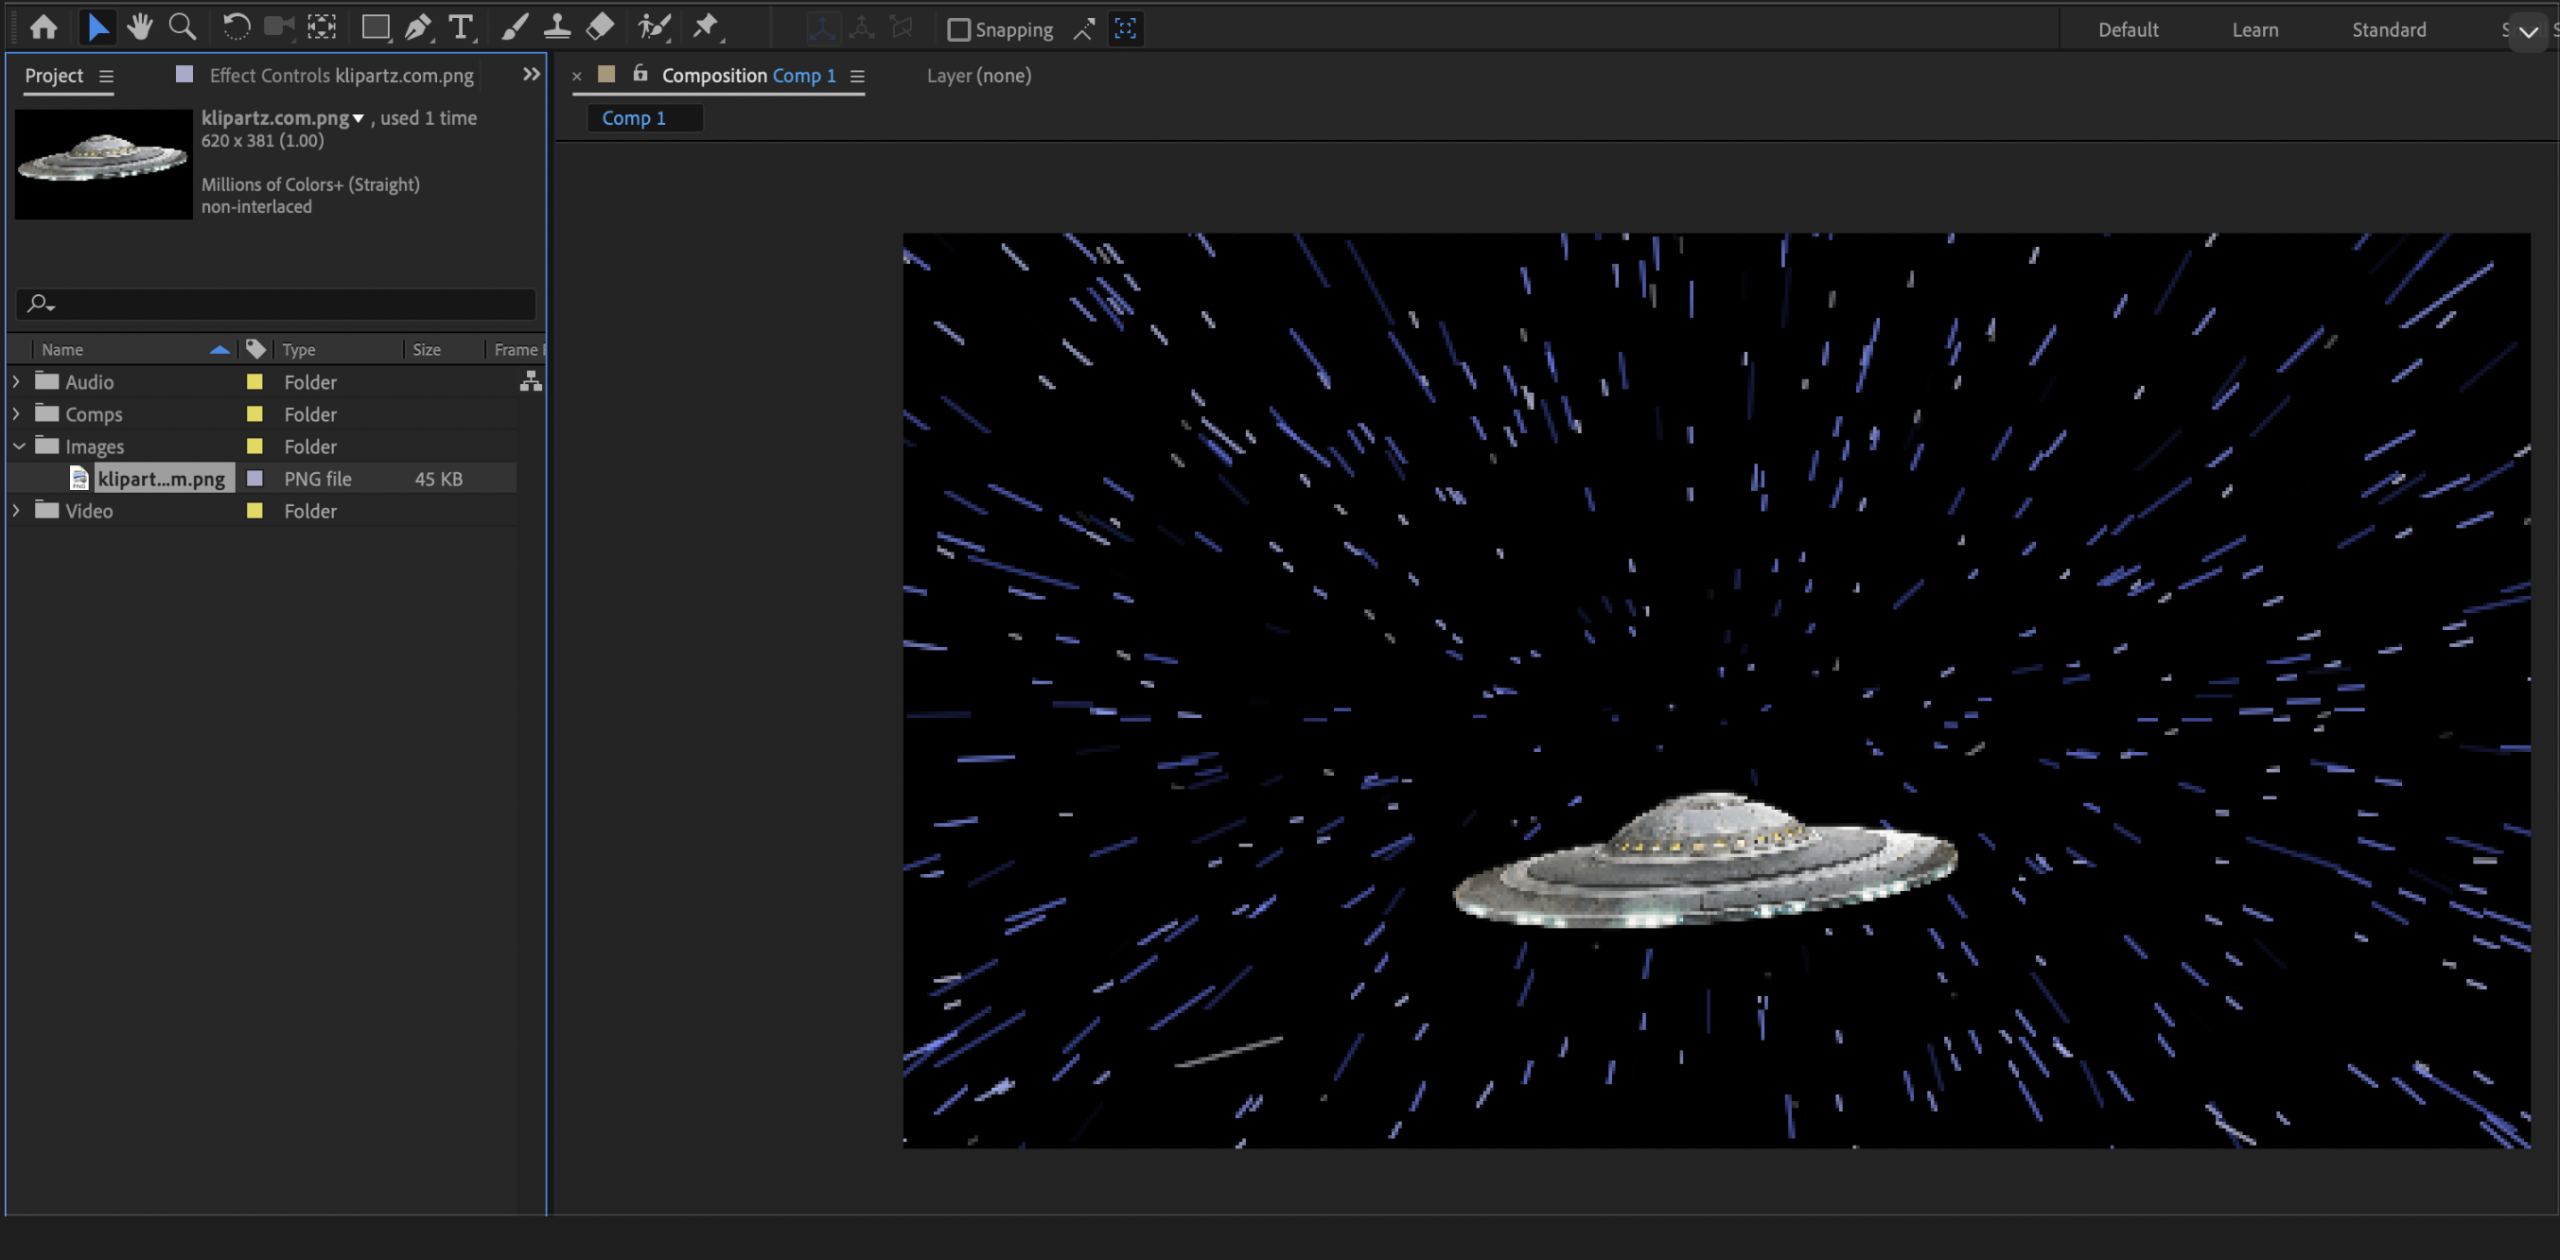
If you ever get the color bars telling you that the file cannot be found, use the replace footage selection.
Finally, any asset in the project panel can simply be dragged and dropped onto the video, or onto the layers to place it into any given composition.
Categorised in: Lectures, MMDD 102
This post was written by amax