MMDD 102 – Creating Motion
April 7, 2024 7:49 pm Leave your thoughtsWeek 3 – Creating Motion In After Effects
Let’s cover some more tools we can use to enhance our compositions in After Effects.
Arcs
There is a simple trick we can use to animate along a path. Instead if animating for example in one line, we can create a curved path or multiple curved path and get an object to animate along that path.
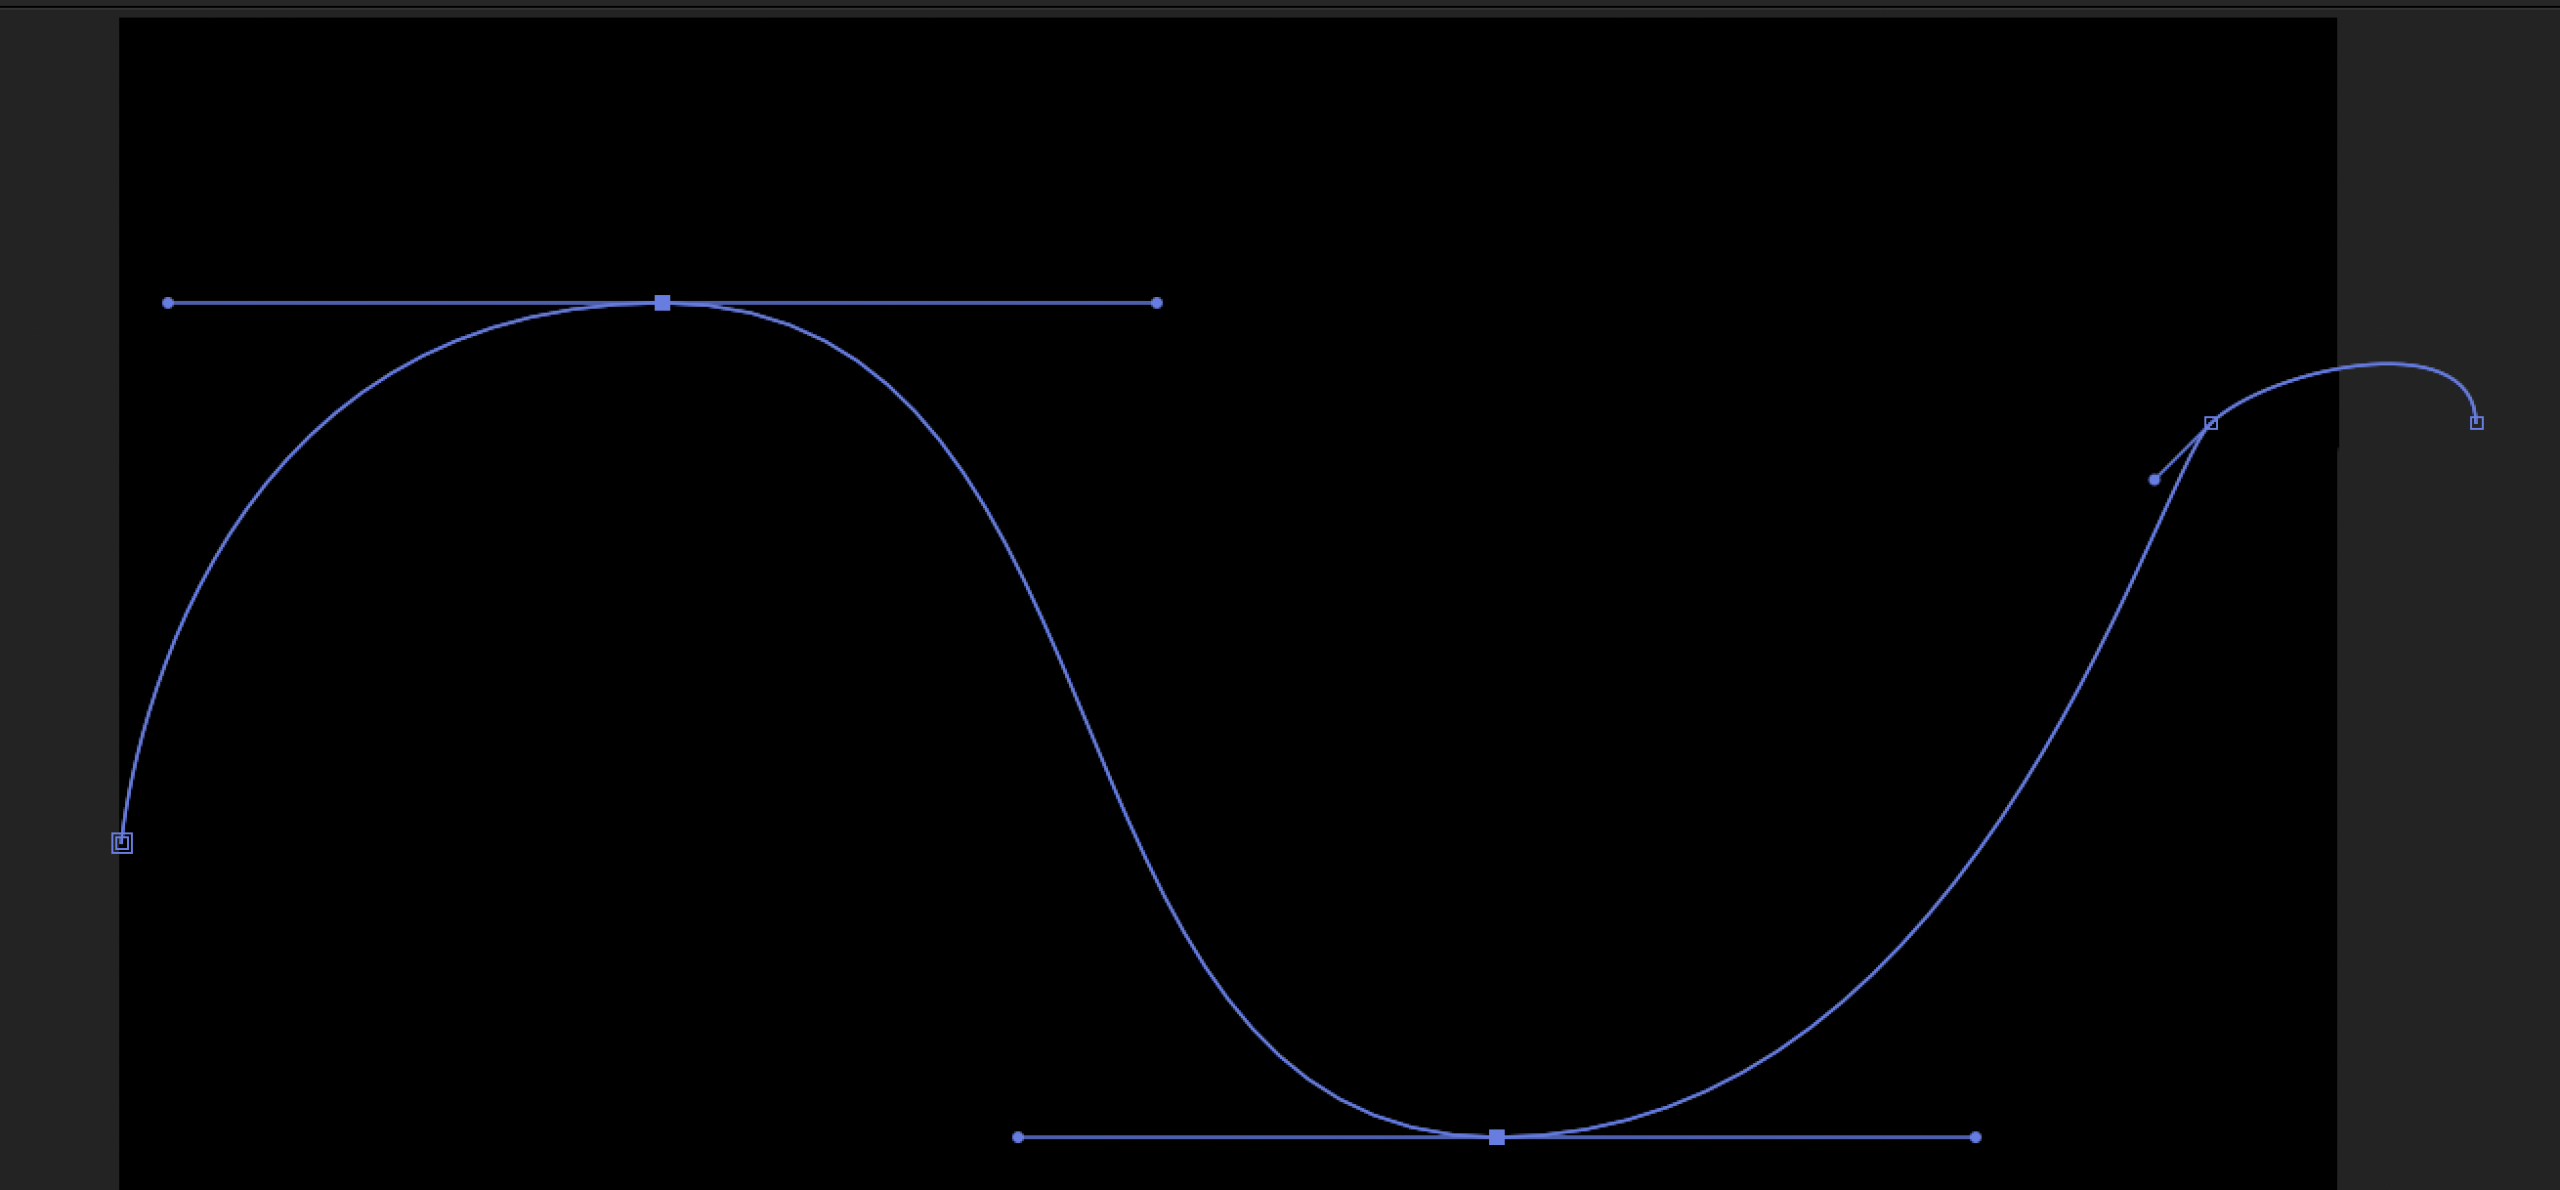
To do this we can use the pen tool. With this tool we can make a path.
We can use this path and apply it to the position of any object, once we do this we can discard it and its layer.
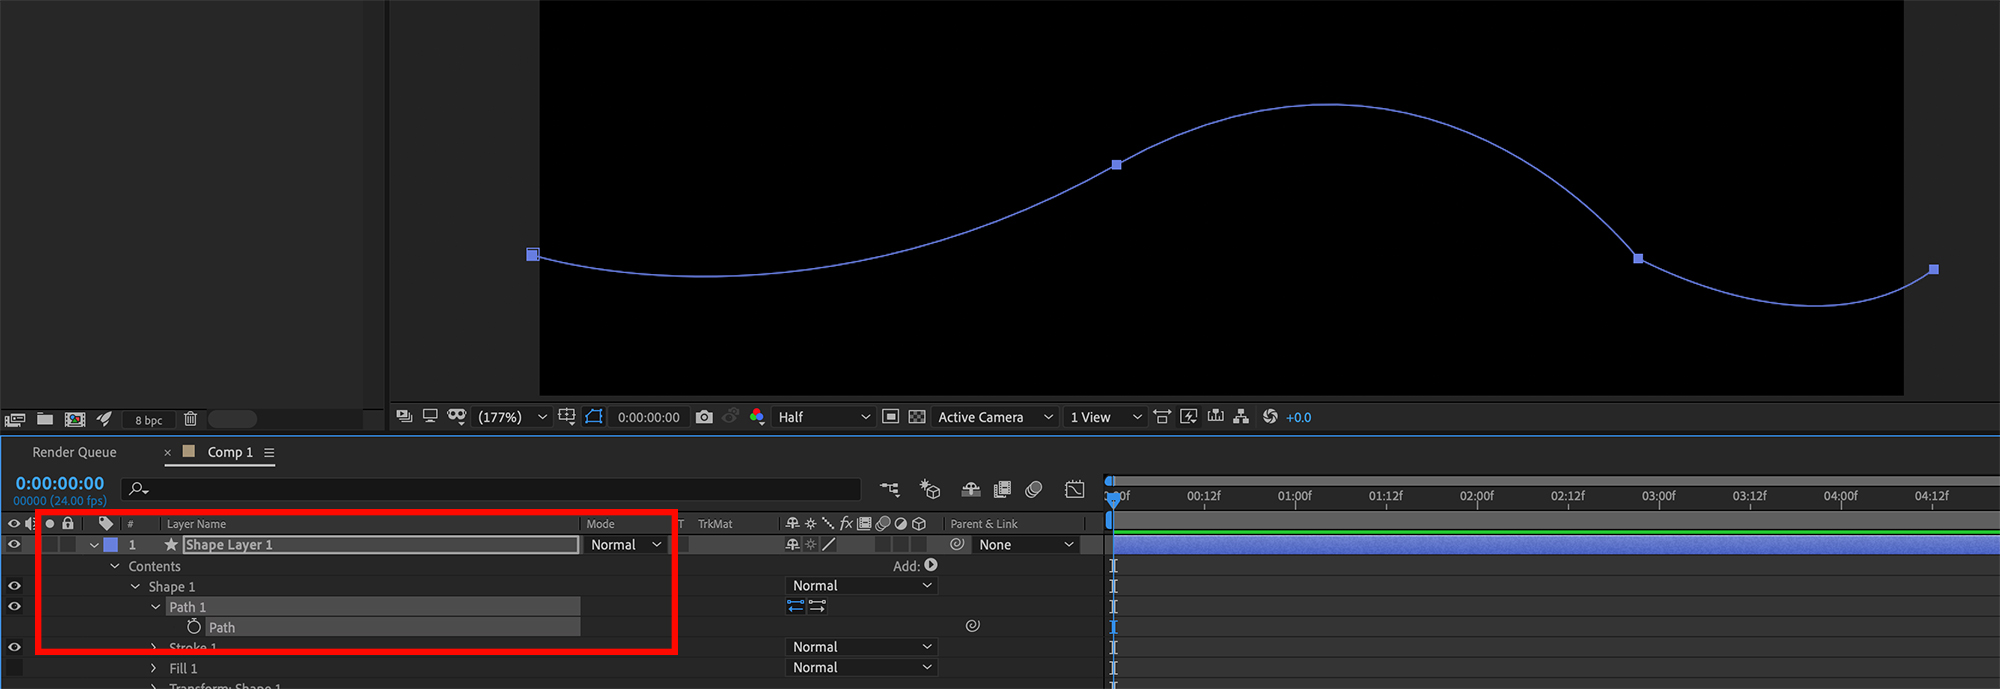
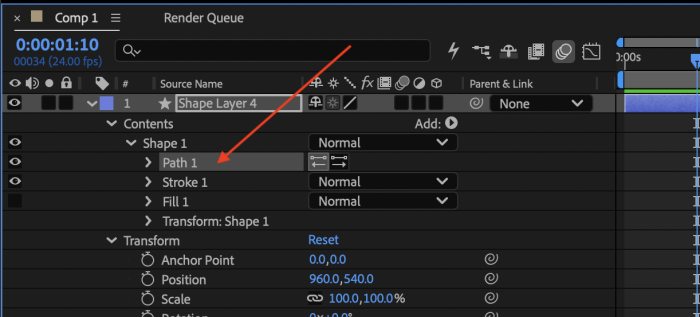
1 On the shape layer. Go into the Contents > Shape > Path 1 > Path. Select it so it is highlighted and copy it.
2 Go to the layer of the object you want to move on the path.
3 Expand transform on the layer to reveal the “position” property.
4 Click the position layer to select it and simply paste the path onto it.
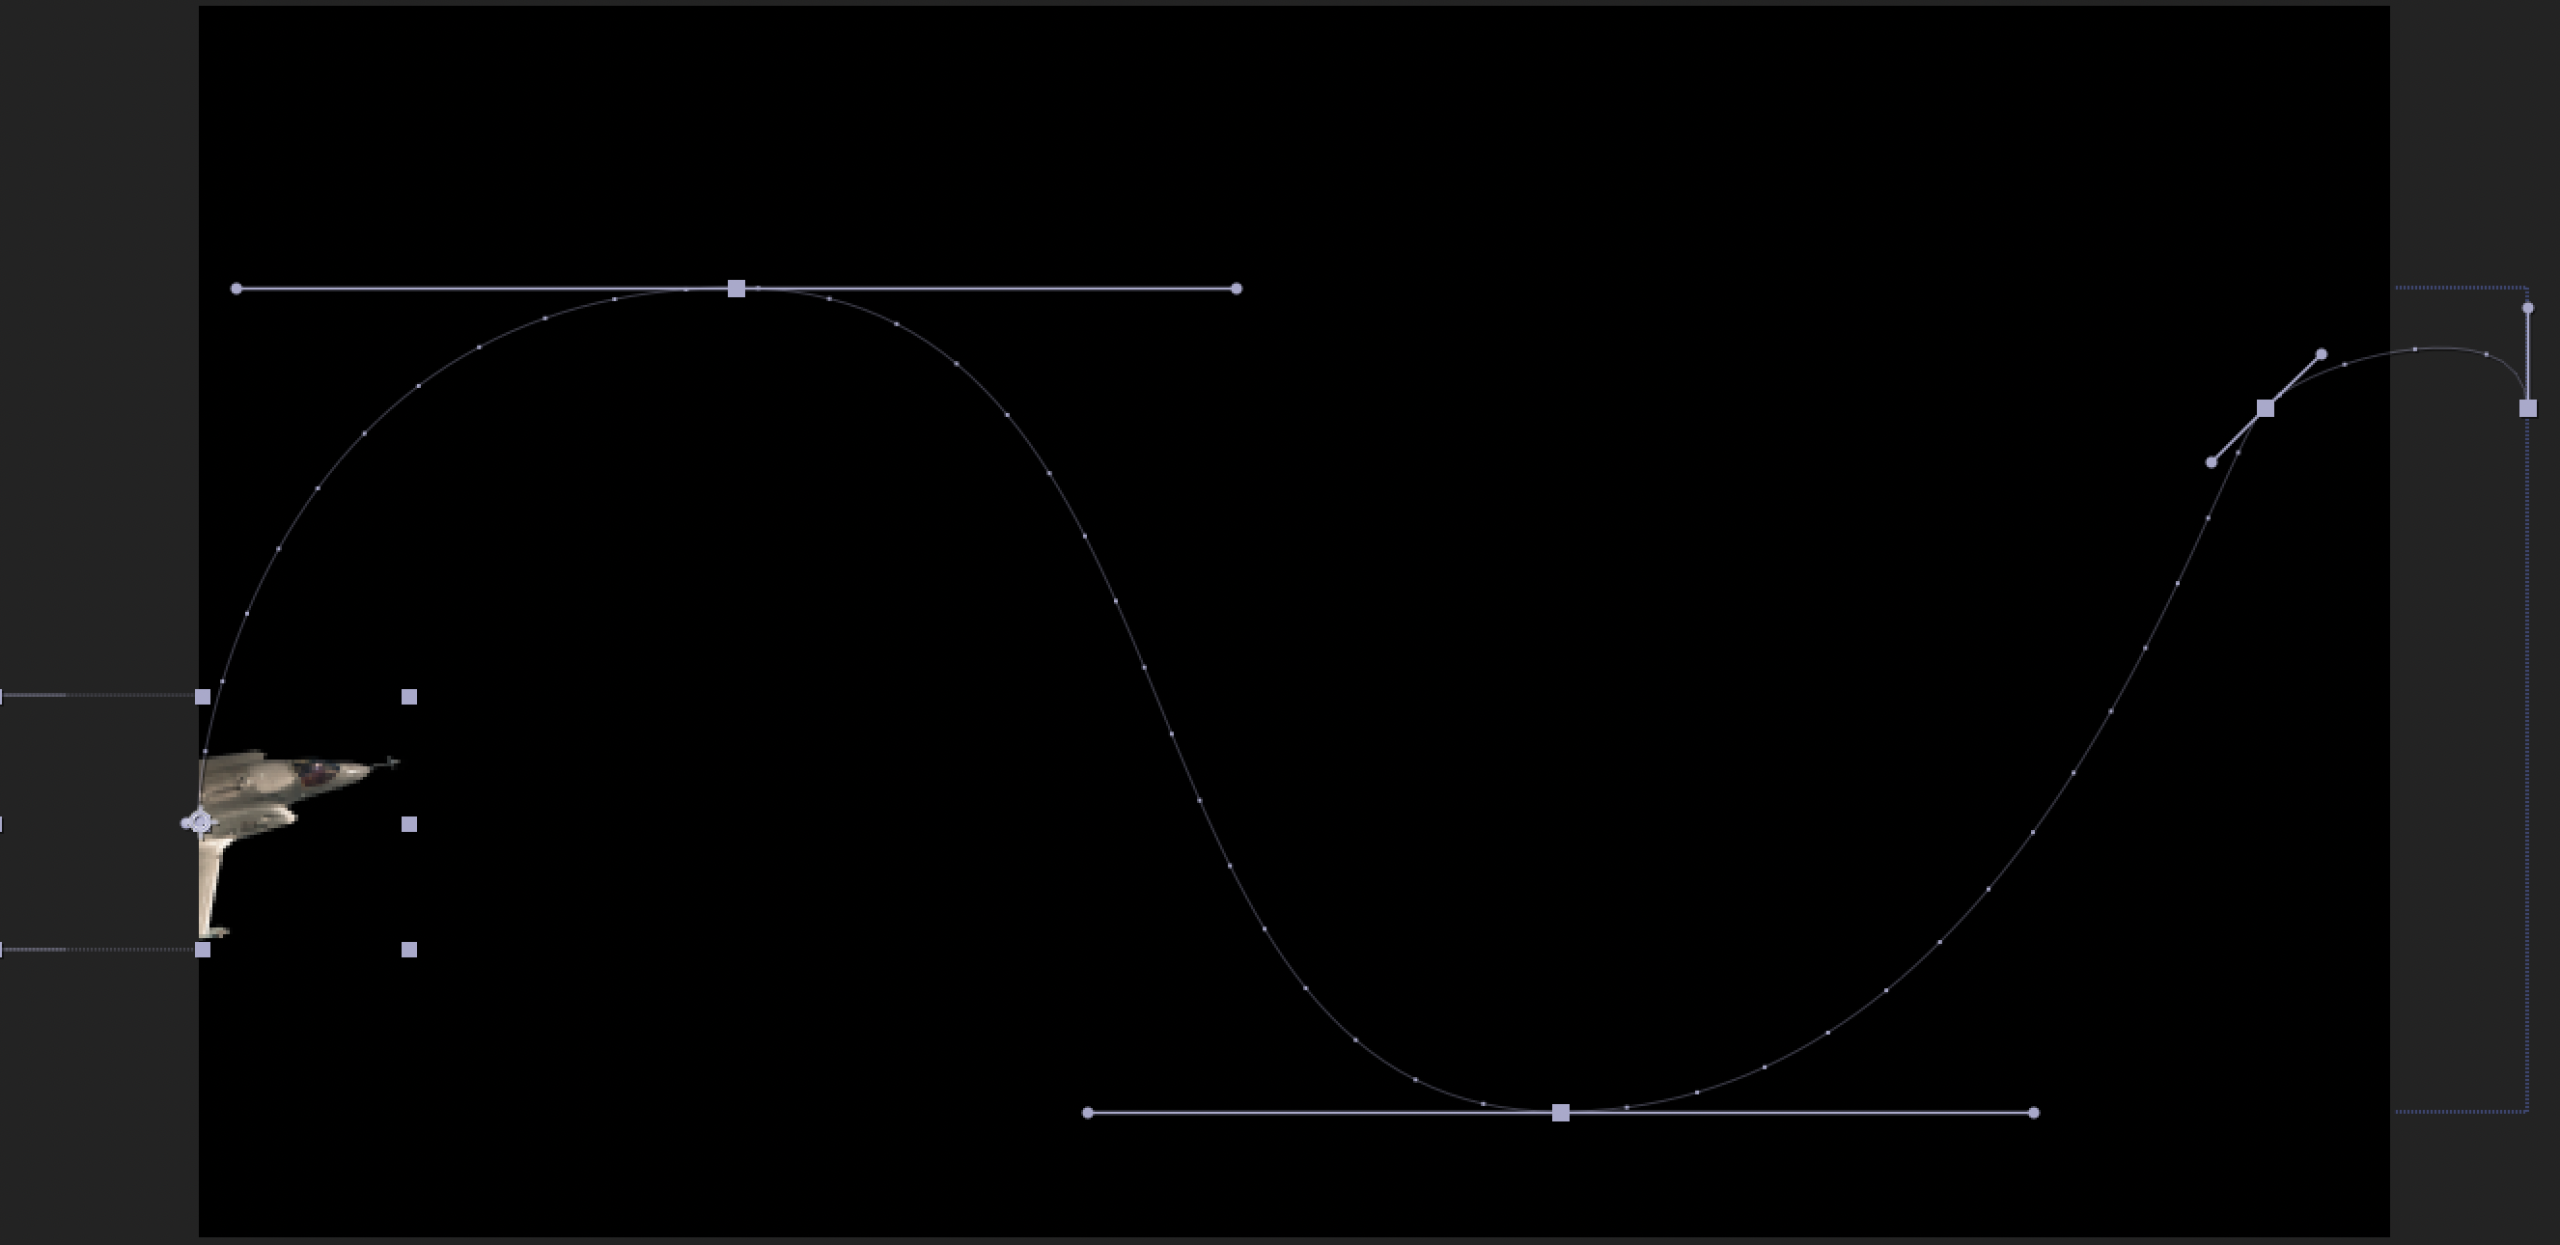
Once you do this, the path and animation will be laid out and the object will adhere to it. At this point you could also delete the shape layer as it will no longer be needed after the path is copied over to the object we want it on.
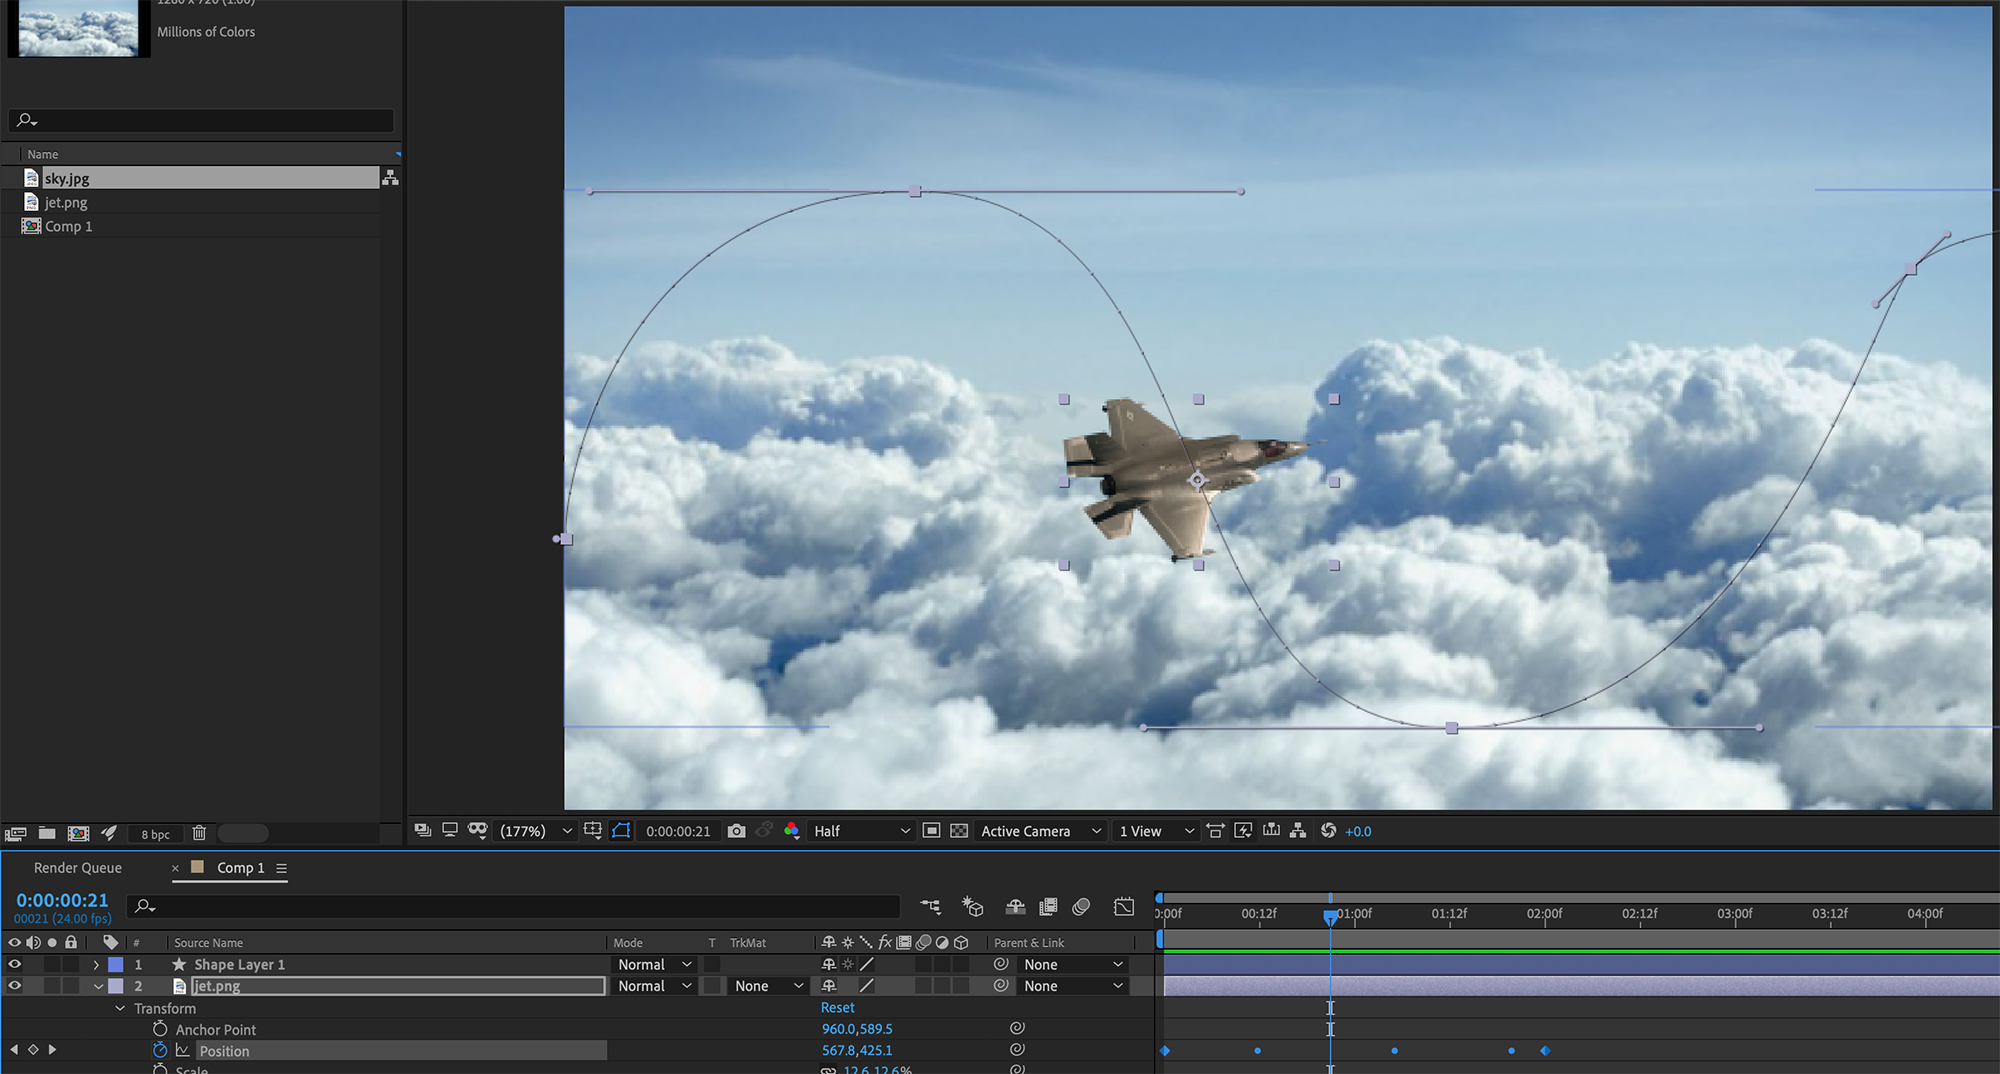
You can also drag the keyframes to expand or contract them to make the animation longer or shorter.
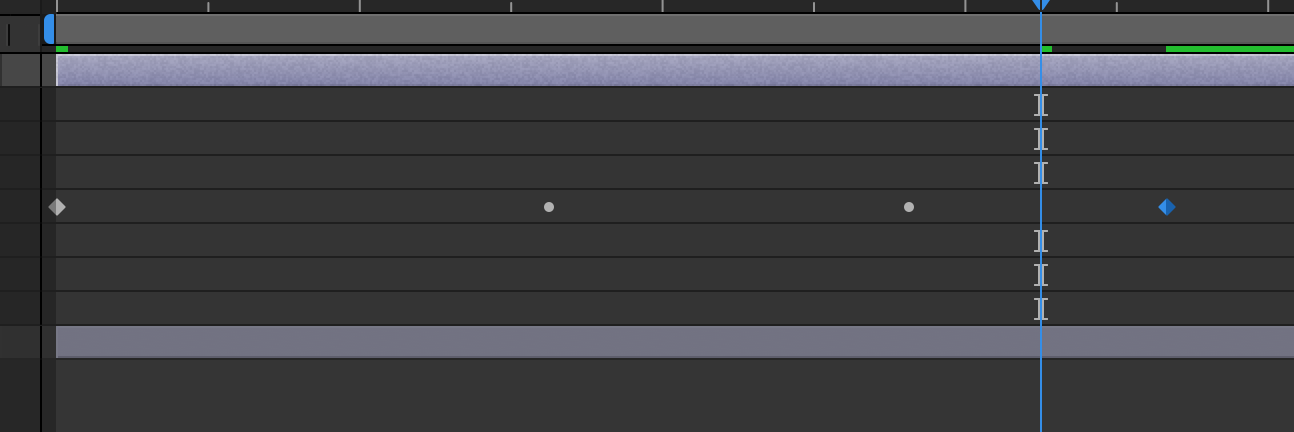
Note
If the copying of the path gives you any issues, make sure you have the Path highlighted in the shape layer, then cut and paste it onto the thing you want to animate on the path.
Tweens
Interpolation or “Tweening” is what After Effects does in-between key frames. It’s the process happening in the background that moves the animation from point A to point B.
Usually After Effects does a good job at handling this but sometimes you may want to tweak this depending on the animation path to make things look more natural.
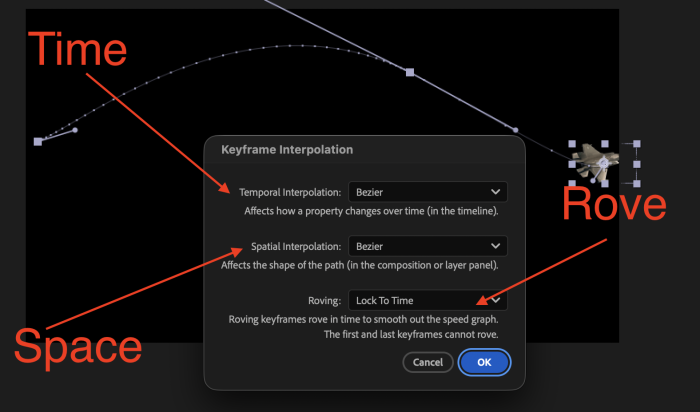
There is Spacial interpolation and Temporal interpolation. There is also a setting called Roving.
Spacial interpolation
Spacial interpolation is how the object moves through space within the composition window in between keyframes. If we make a simple animation using 3 keyframes we can see the differences if we play with this setting.
There are 2 main types of spacial interpolation in AfterEffects
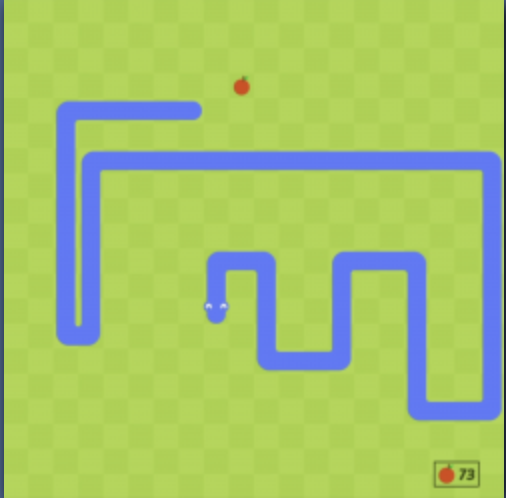
Linear
For linear think Snake game. All the movements are straight lines. (With the added point that they can go in any direction, unlike the snake game).
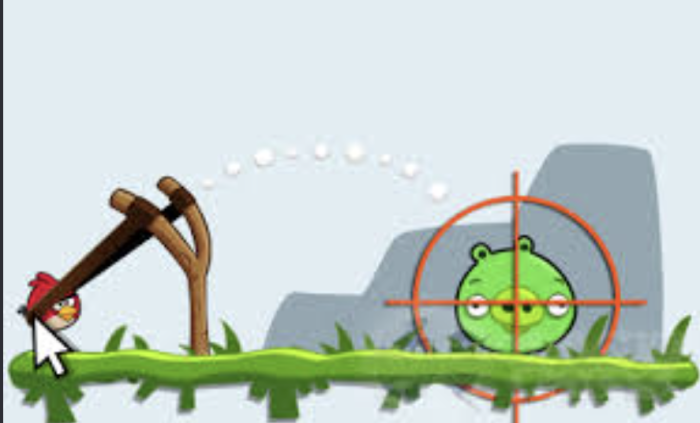
Bezier
For bezier think arc’s. The movement curves. Like the firing arc in Angry Birds

When we make a simple animation of the ball going to 3 points on the composition it automatically makes the curved path. If we right click on the path we can click the option for “keyframe Interpolation”.

In here you can change the settings.
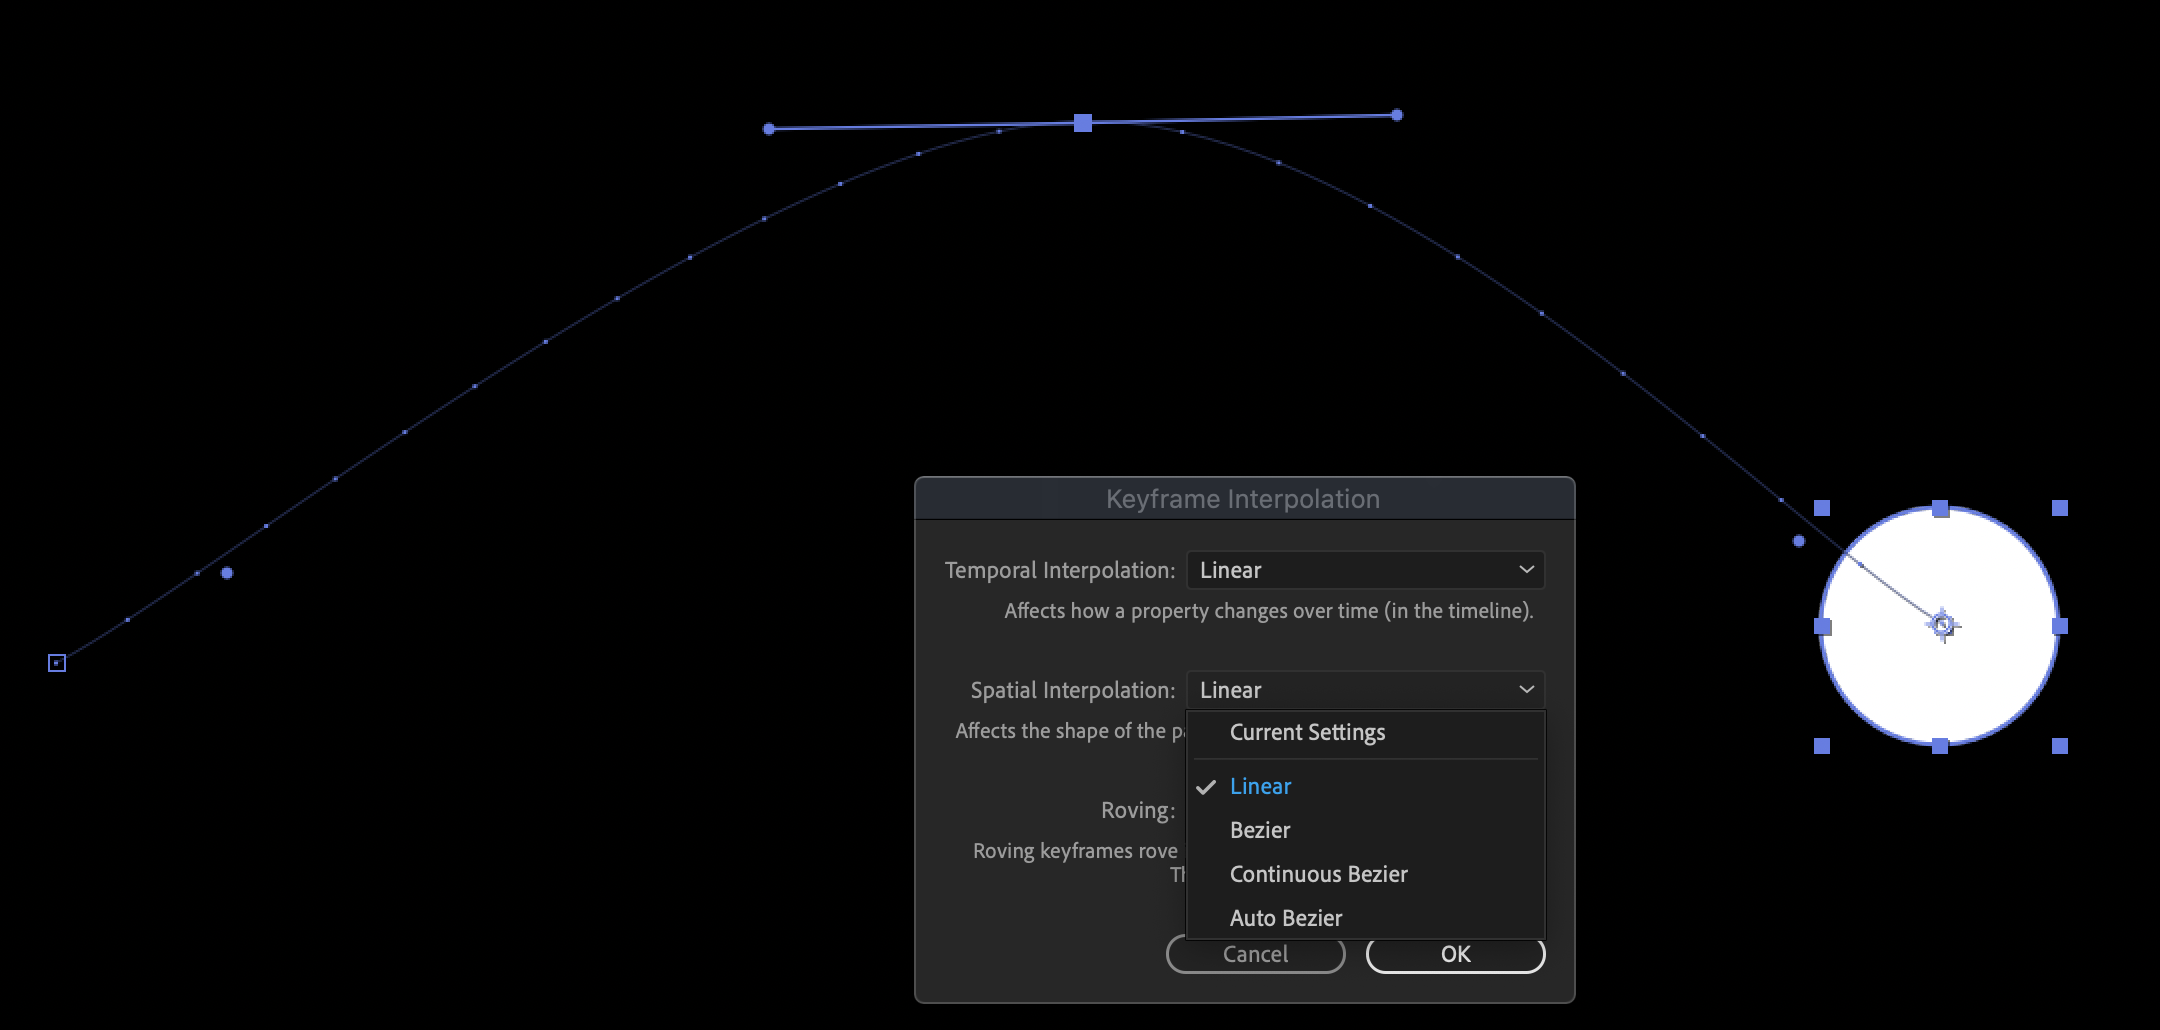
Linear.
The animation continues along a straight path.
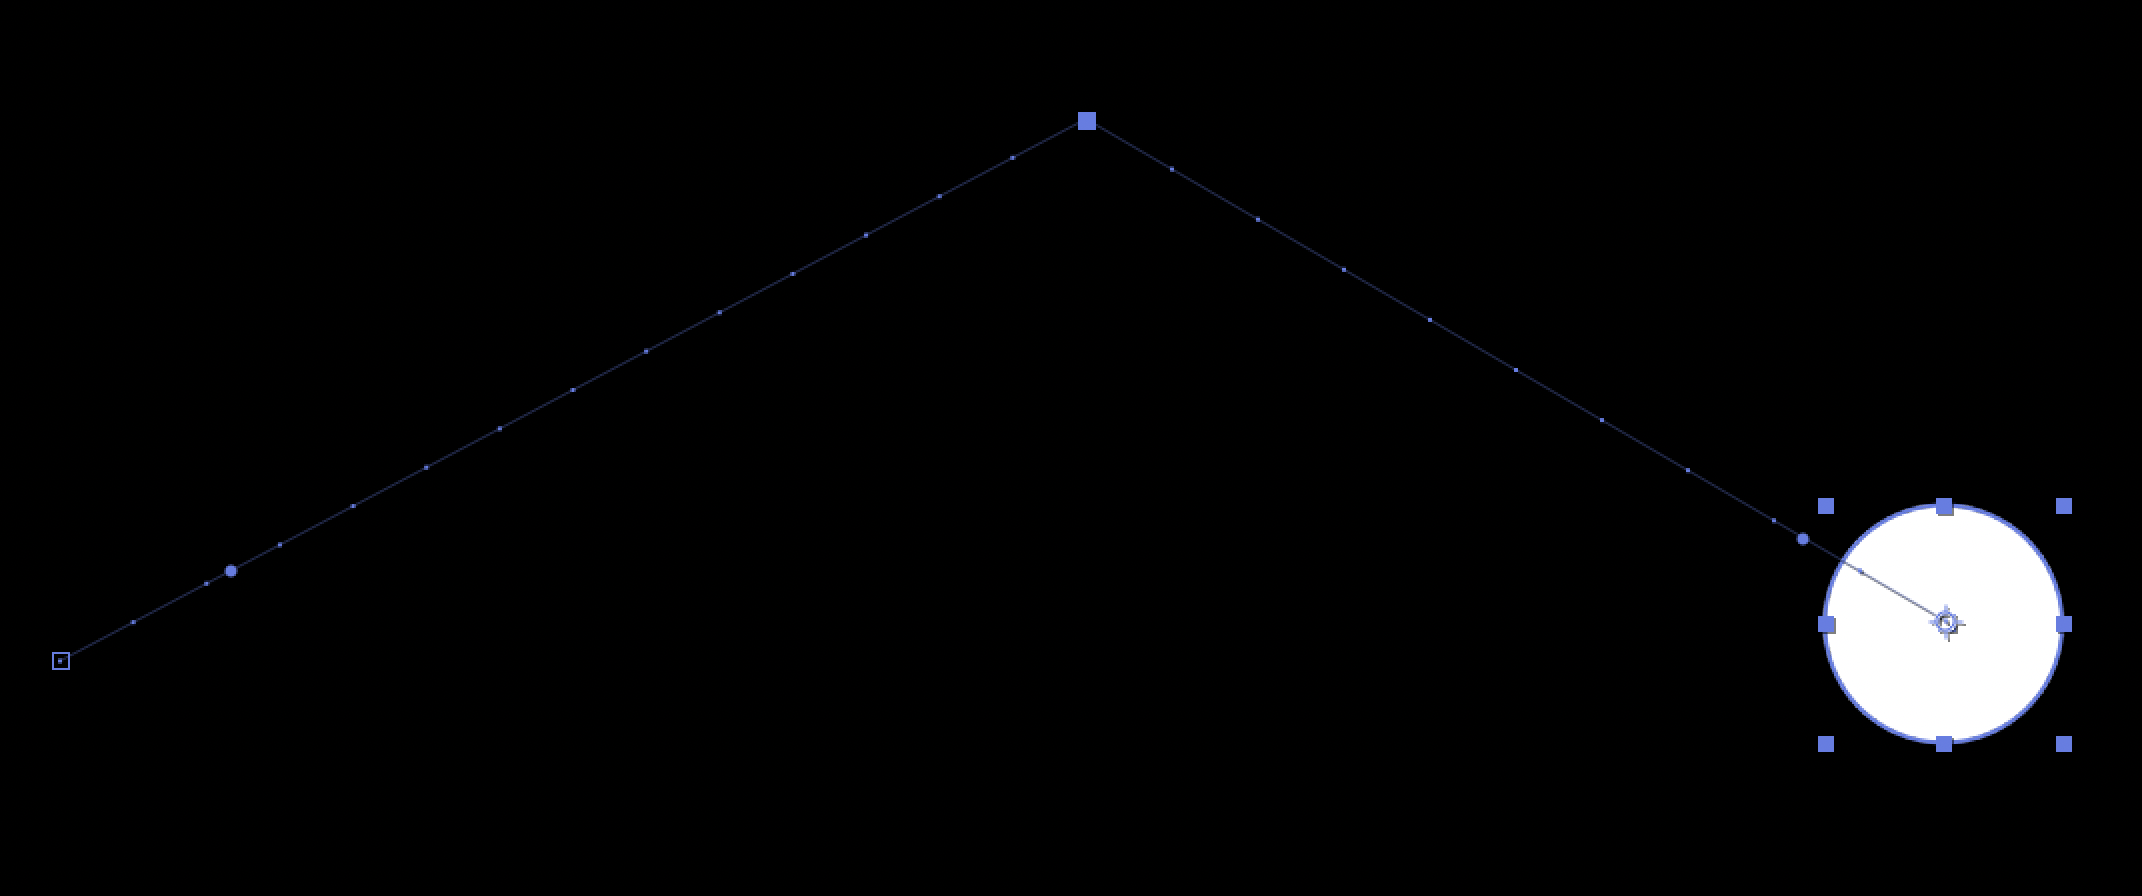
Bezier.
The animation continues along a curved path (like the one we did with the jets). This also applies to Continuous and Auto Bezier.
Continuous Bezier.
This happens the moment you manually grab an Auto Bezier handle and tweak it. The two handles stay locked in a straight line, meaning if you angle one side up, the other side angles down. This ensures the path through that keyframe always remains perfectly smooth, preventing sharp kinks.
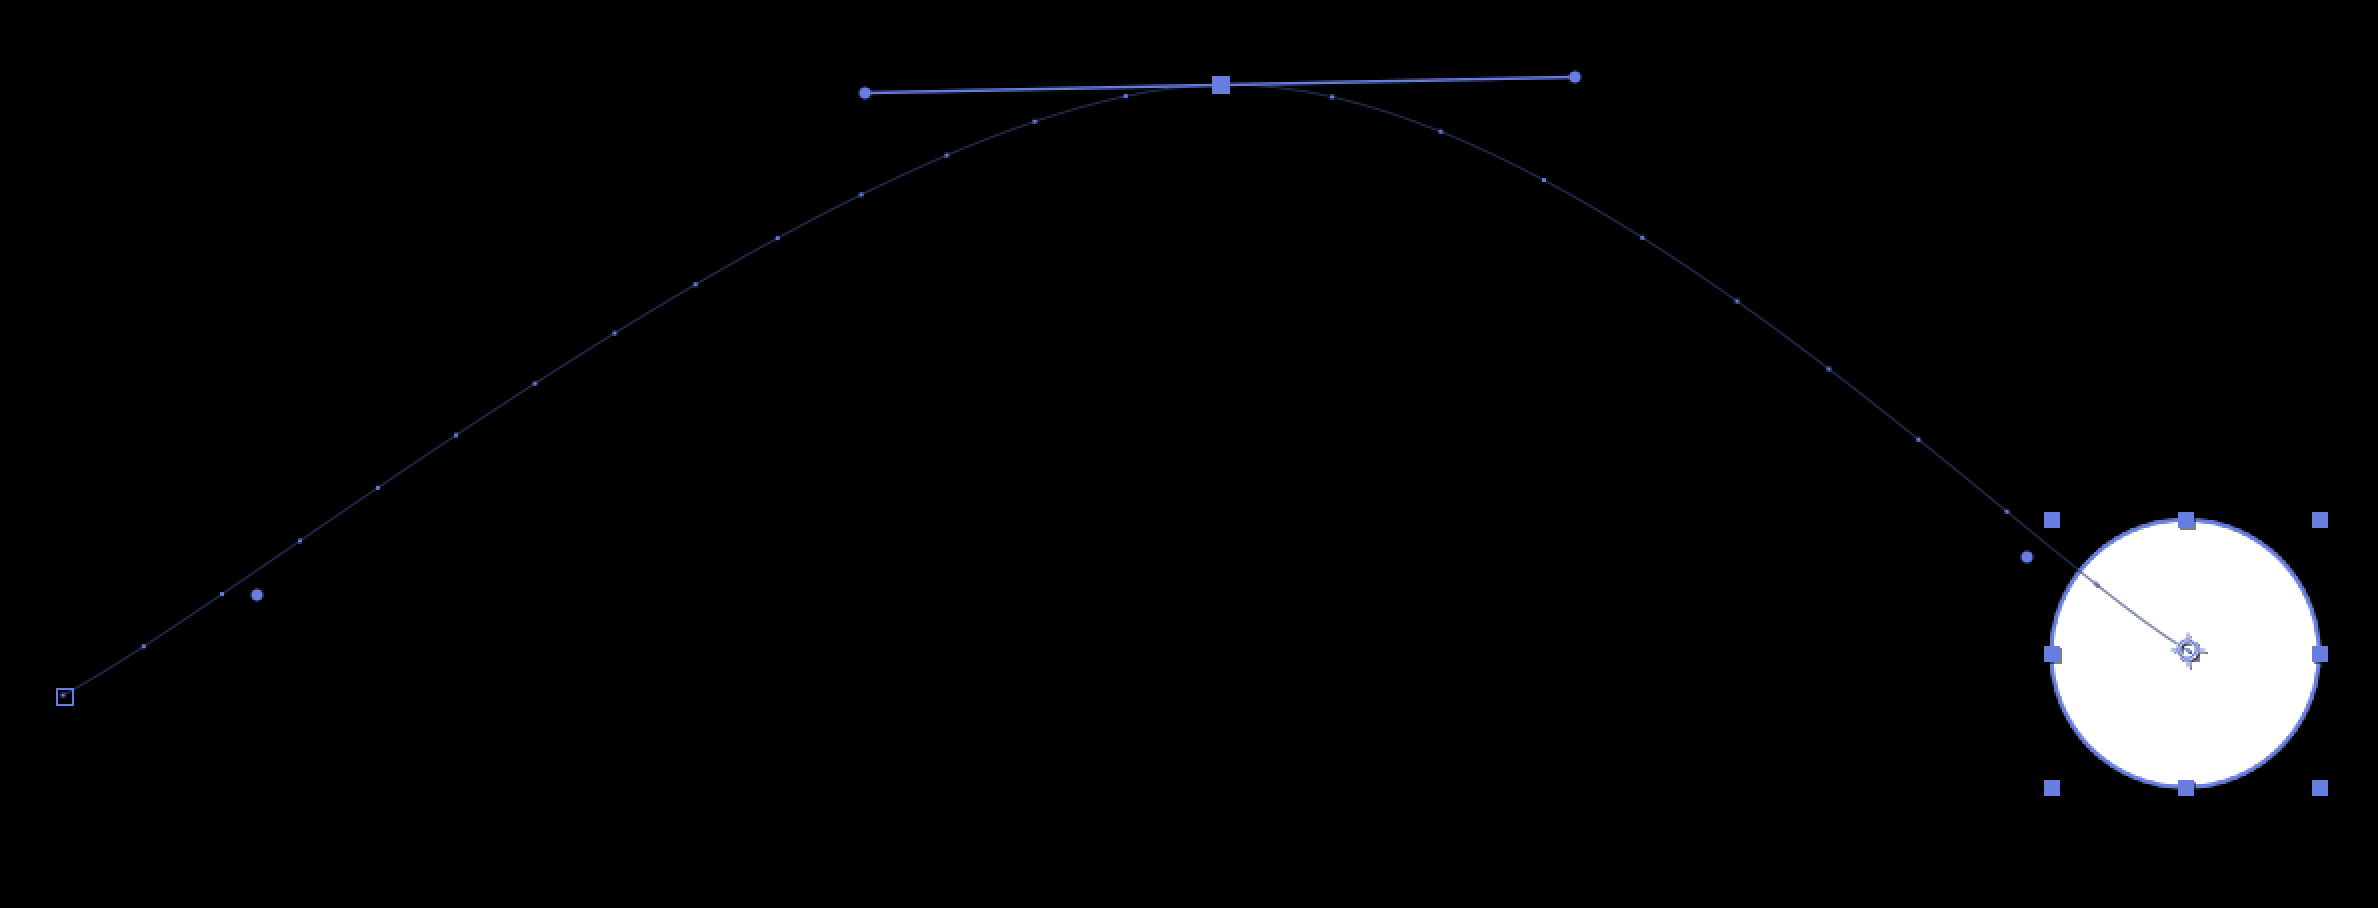
Auto Bezier.
When you create a keyframe, After Effects looks at the keyframes before and after it to draw a smooth, automatic curve through that point. If you move the keyframe, the curve adjusts itself automatically.
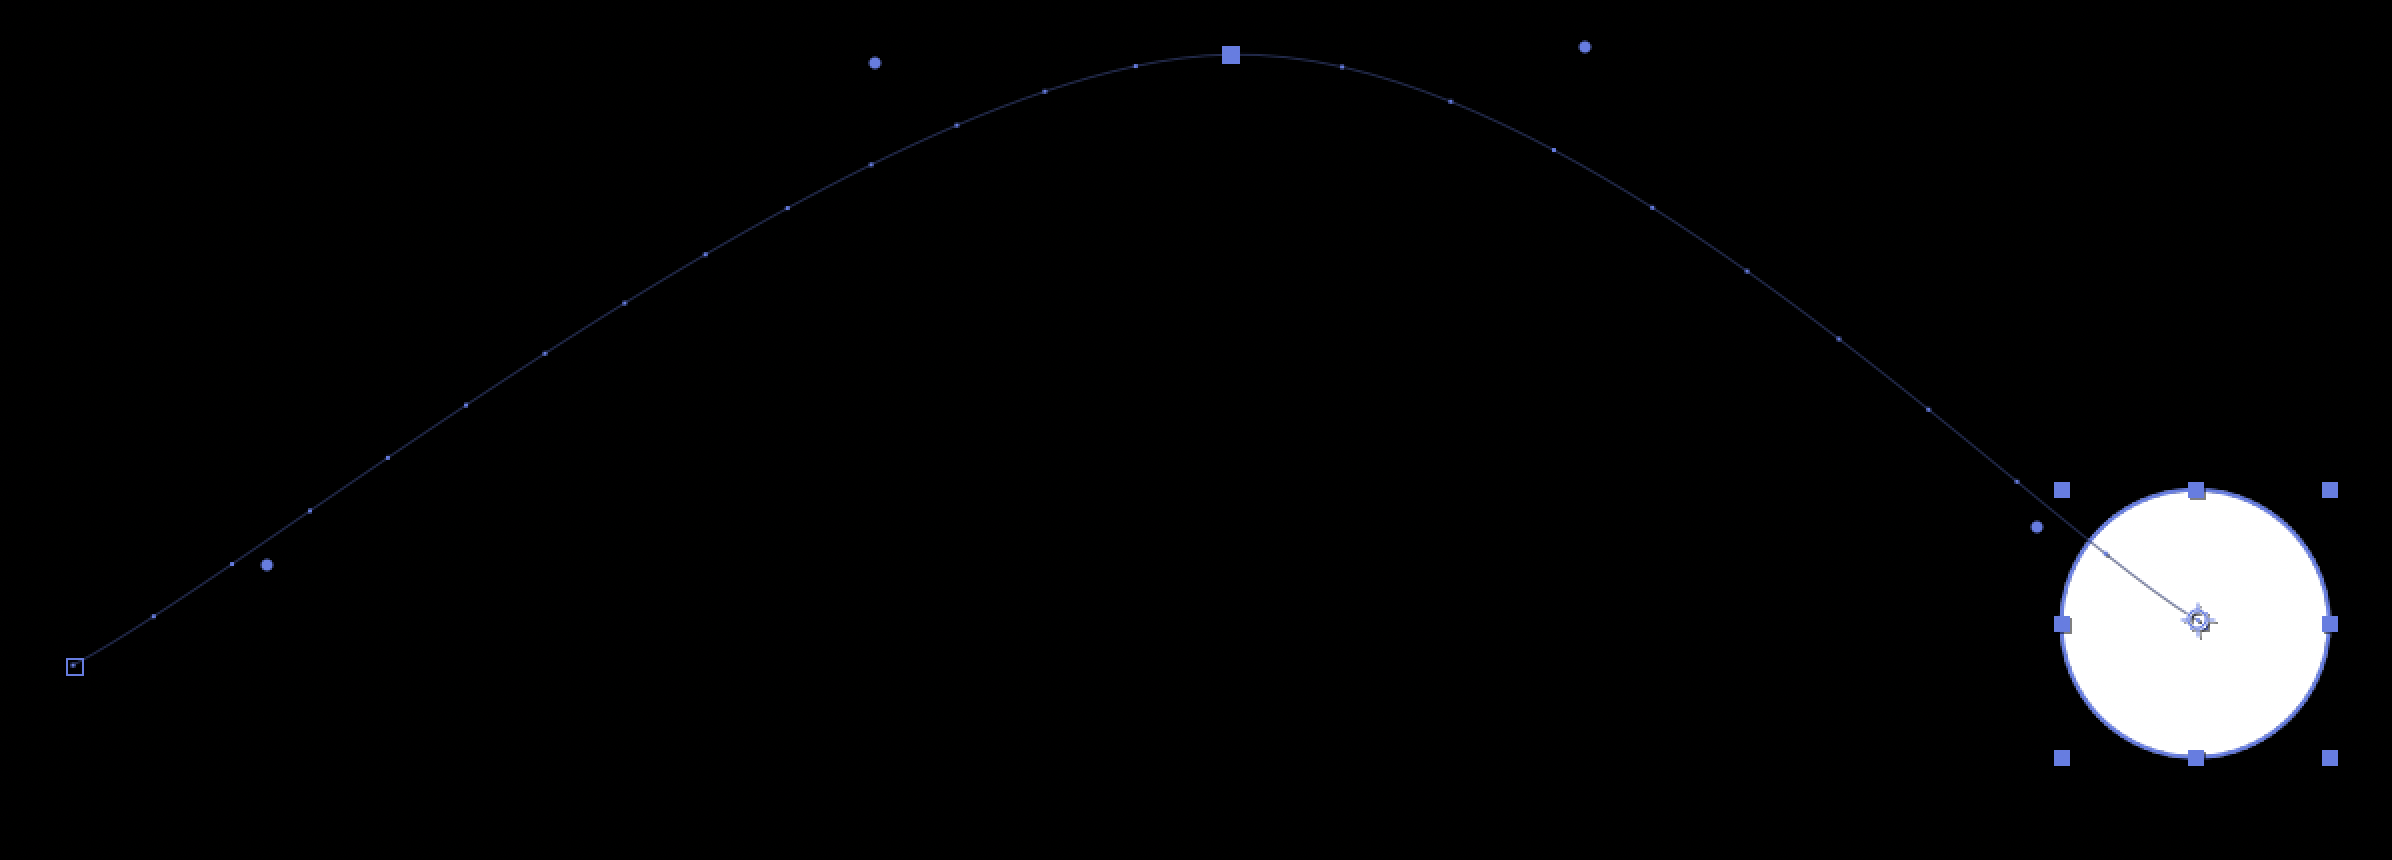
Temporal Interpolation
Temporal interpolation is how the object moves through time using the timeline.
The setting for this can be changed by selecting keyframe(s), right clicking and selecting “keyframe interpolation”.

And you will get this window again.

In the Temporal Interpolation you can change the interpolation setting for the keyframes on the timeline. Once you change the setting it will change the keyframes icon on the timeline.
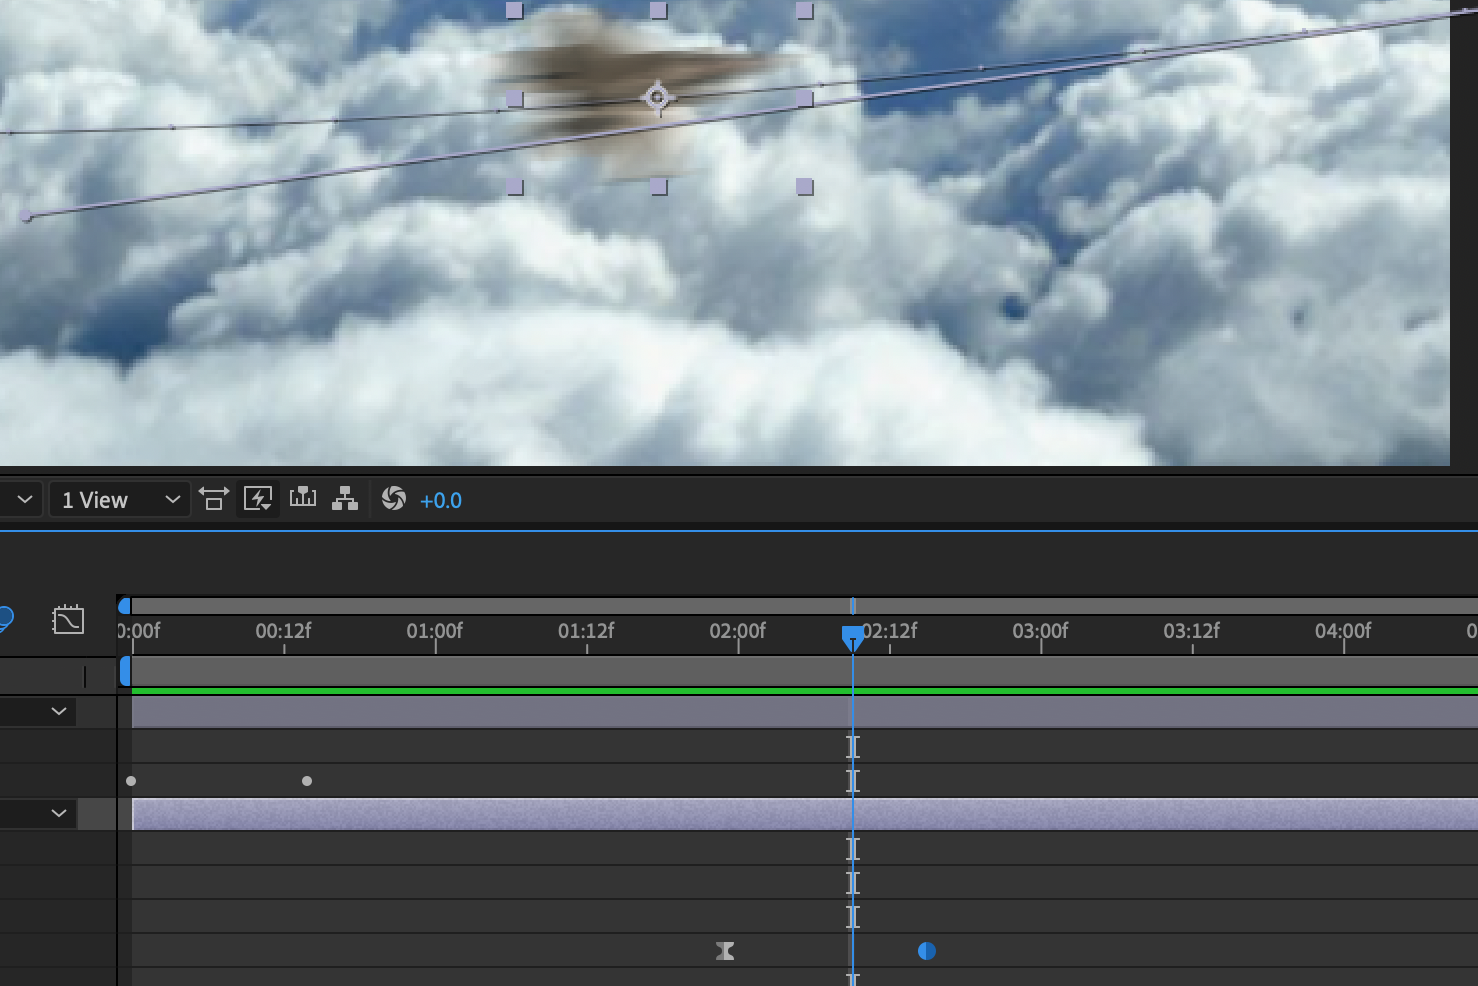
Linear
Auto Bezier
Linear In, Bezier Out
Linear In, Hold Out
Continuous Bezier, Bezier
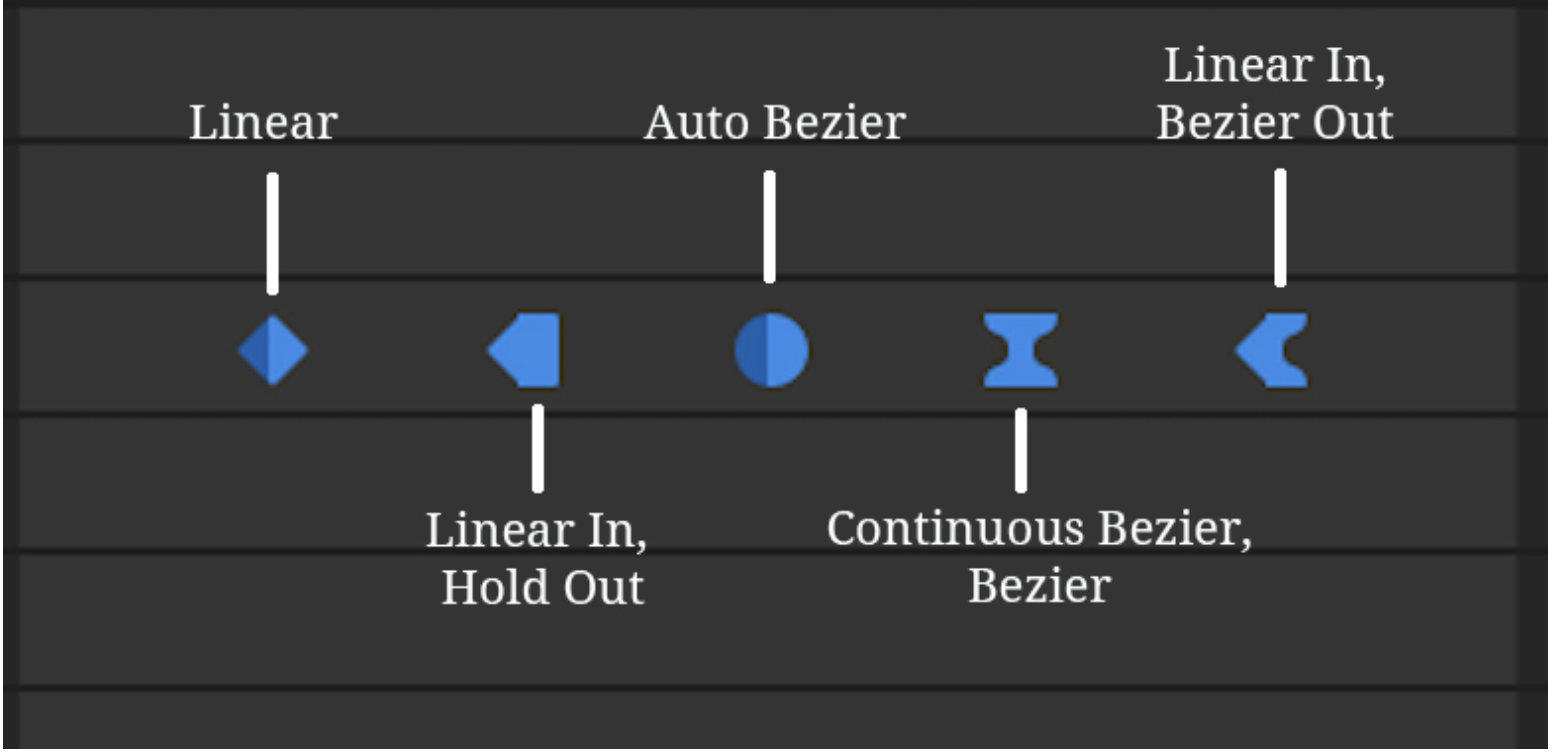

You can also convert keyframes to: Hold, linear or auto bezier in the graph editor.

Rove
Simply put lock to time makes all the keyframes independent from each other, independently adjustable. Rove across time binds them together in such a way that if you move the start or ending keyframe the middle ones adjust themselves within.
Key frame
We can use the key frame assistant to edit key frames.
For example. If we:
1 highlight key frames.

2 Right click one of them and then go to the keyframe assistant.
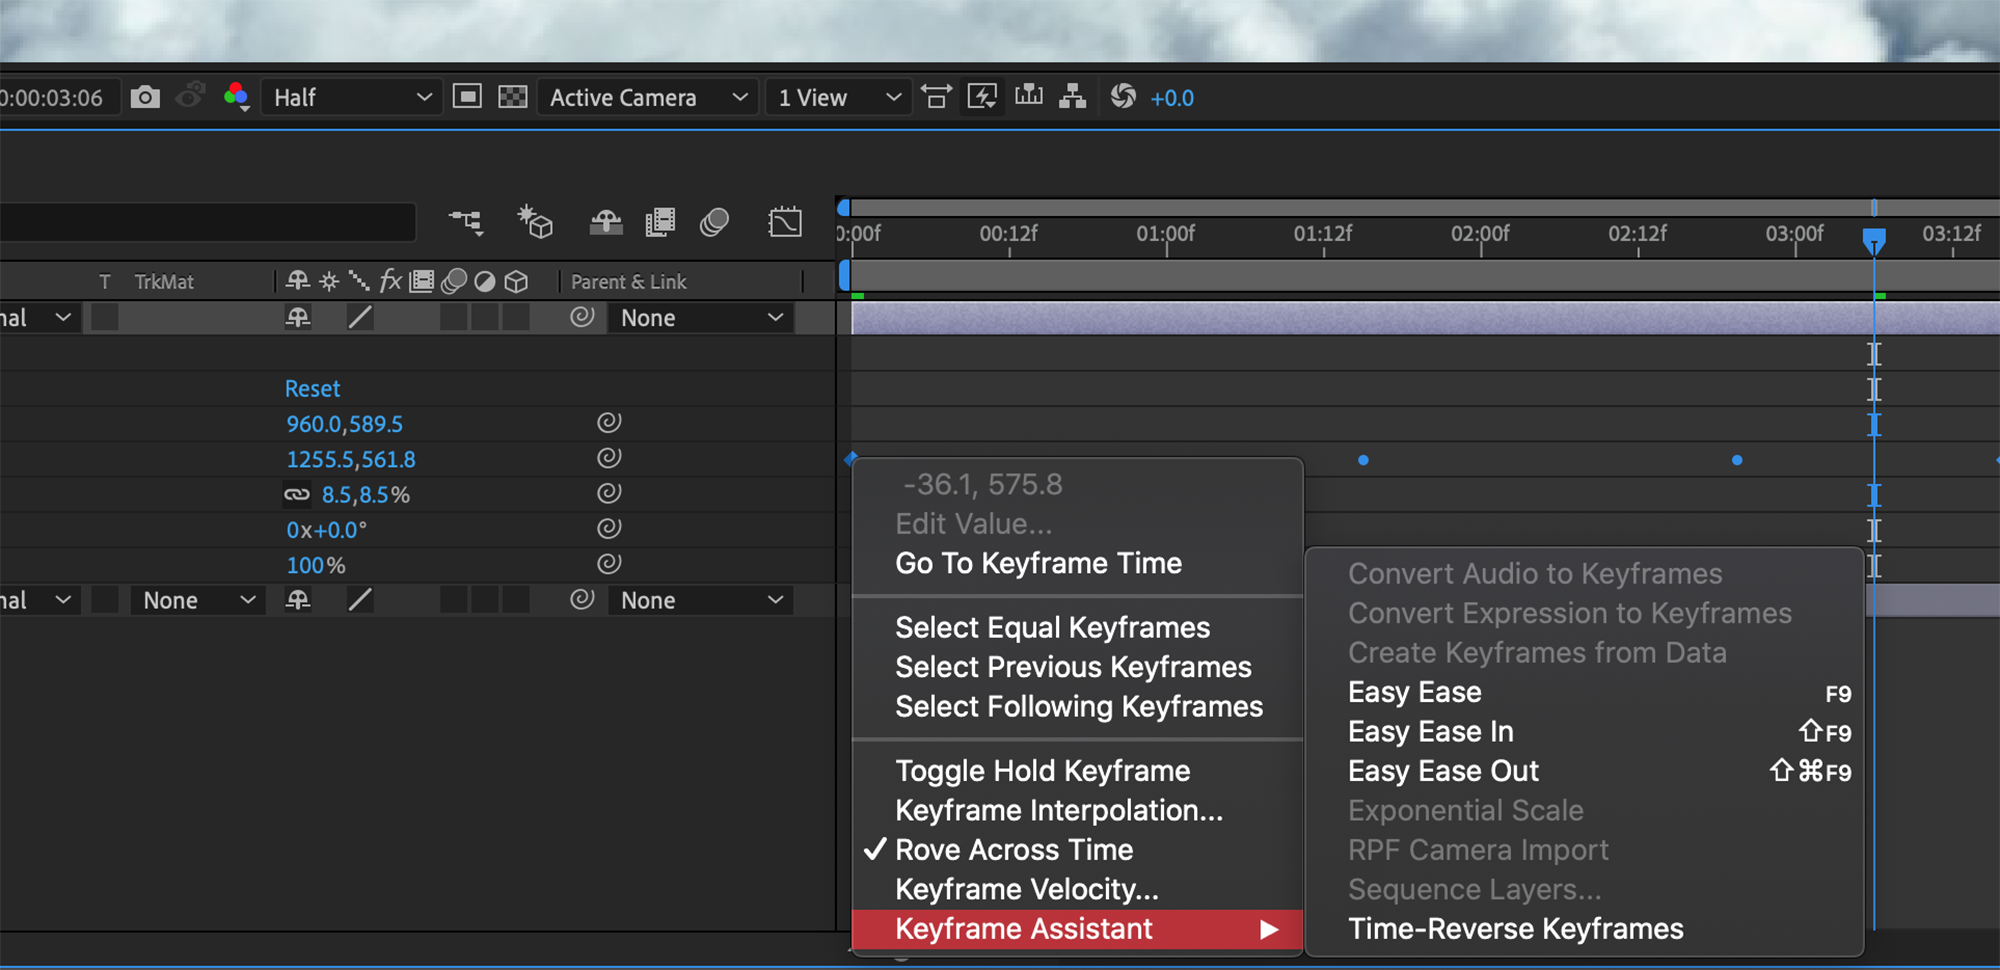
We can at this point edit certain aspects of the keyframe(s). In this case we could for example hit the “Time-Reverse Keyframes” button and it would automatically reverse the animation of the selected keyframes.
Motion Blur
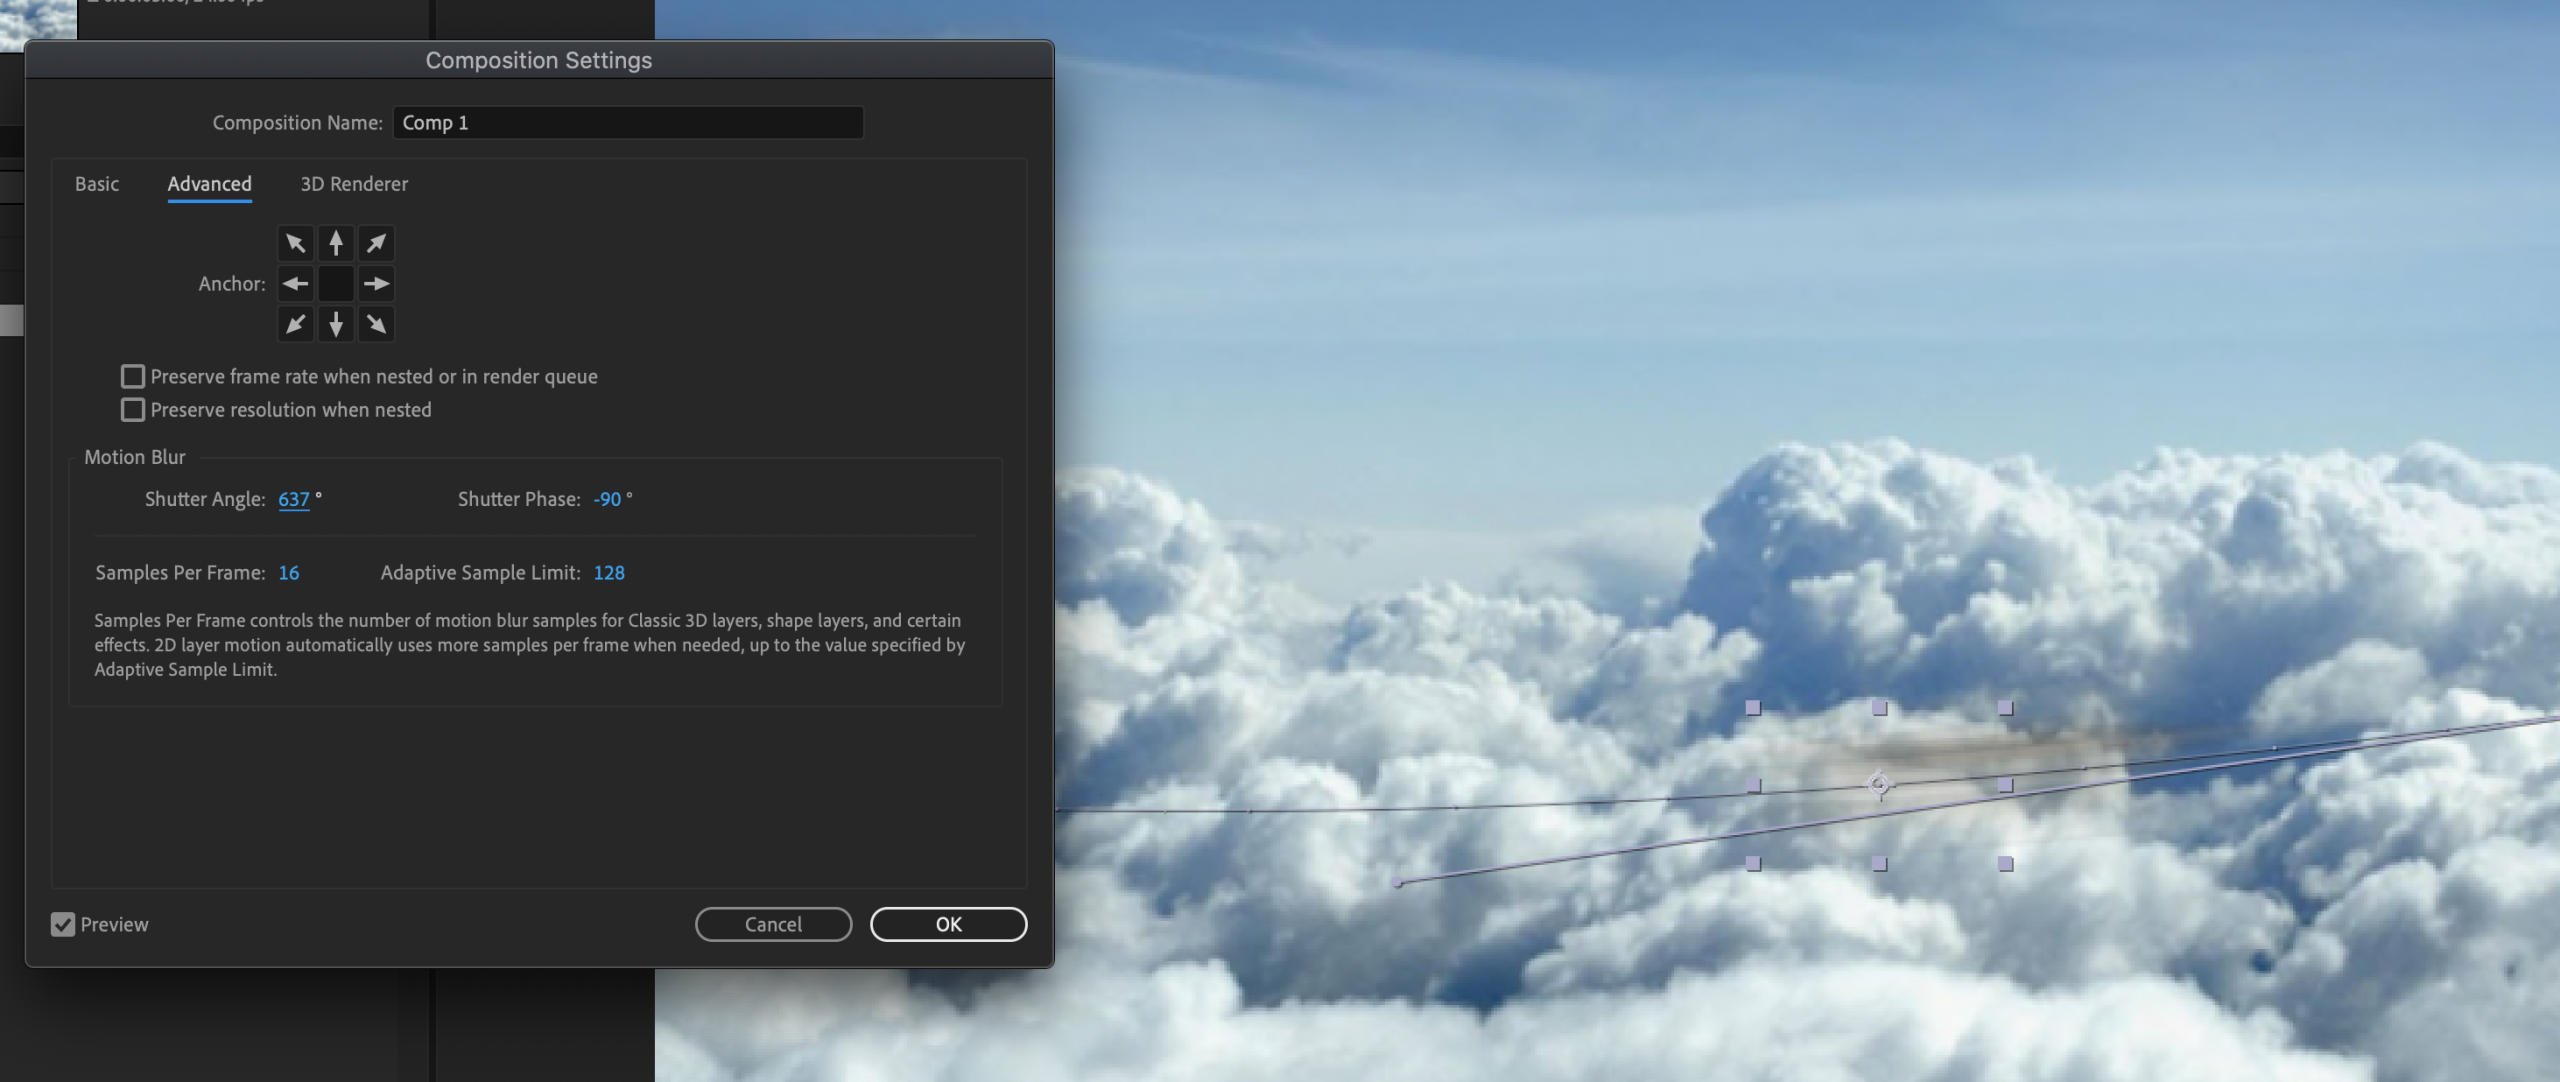
We can change the amount of motion blur in the composition settings by editing the shutter angle. The higher number in this setting the more motion blur we will have.
Click on the “Composition Settings” and go to “Advanced”.
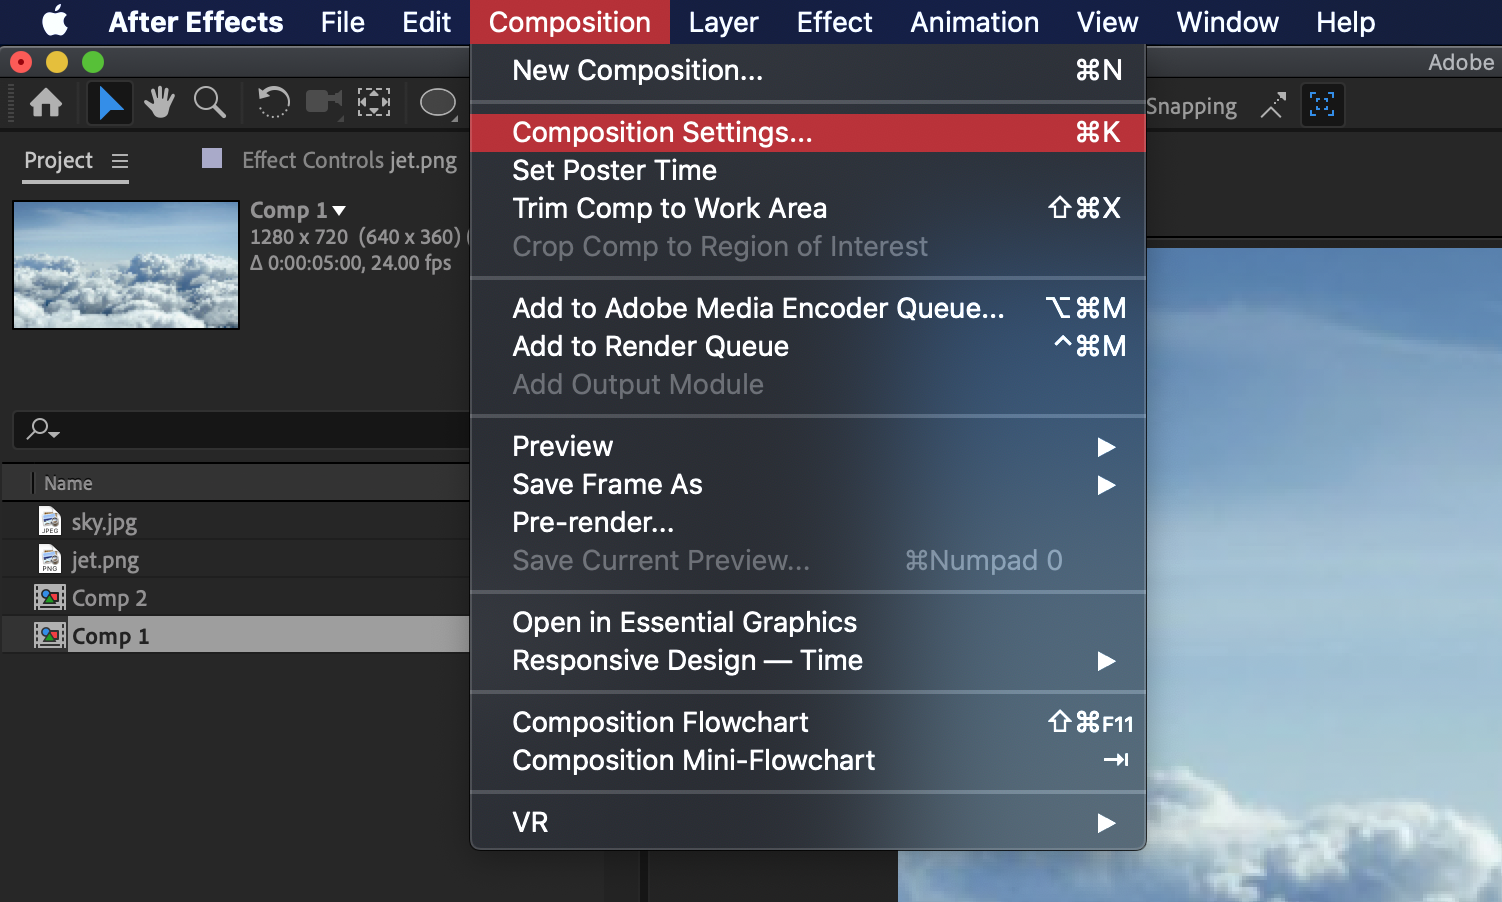
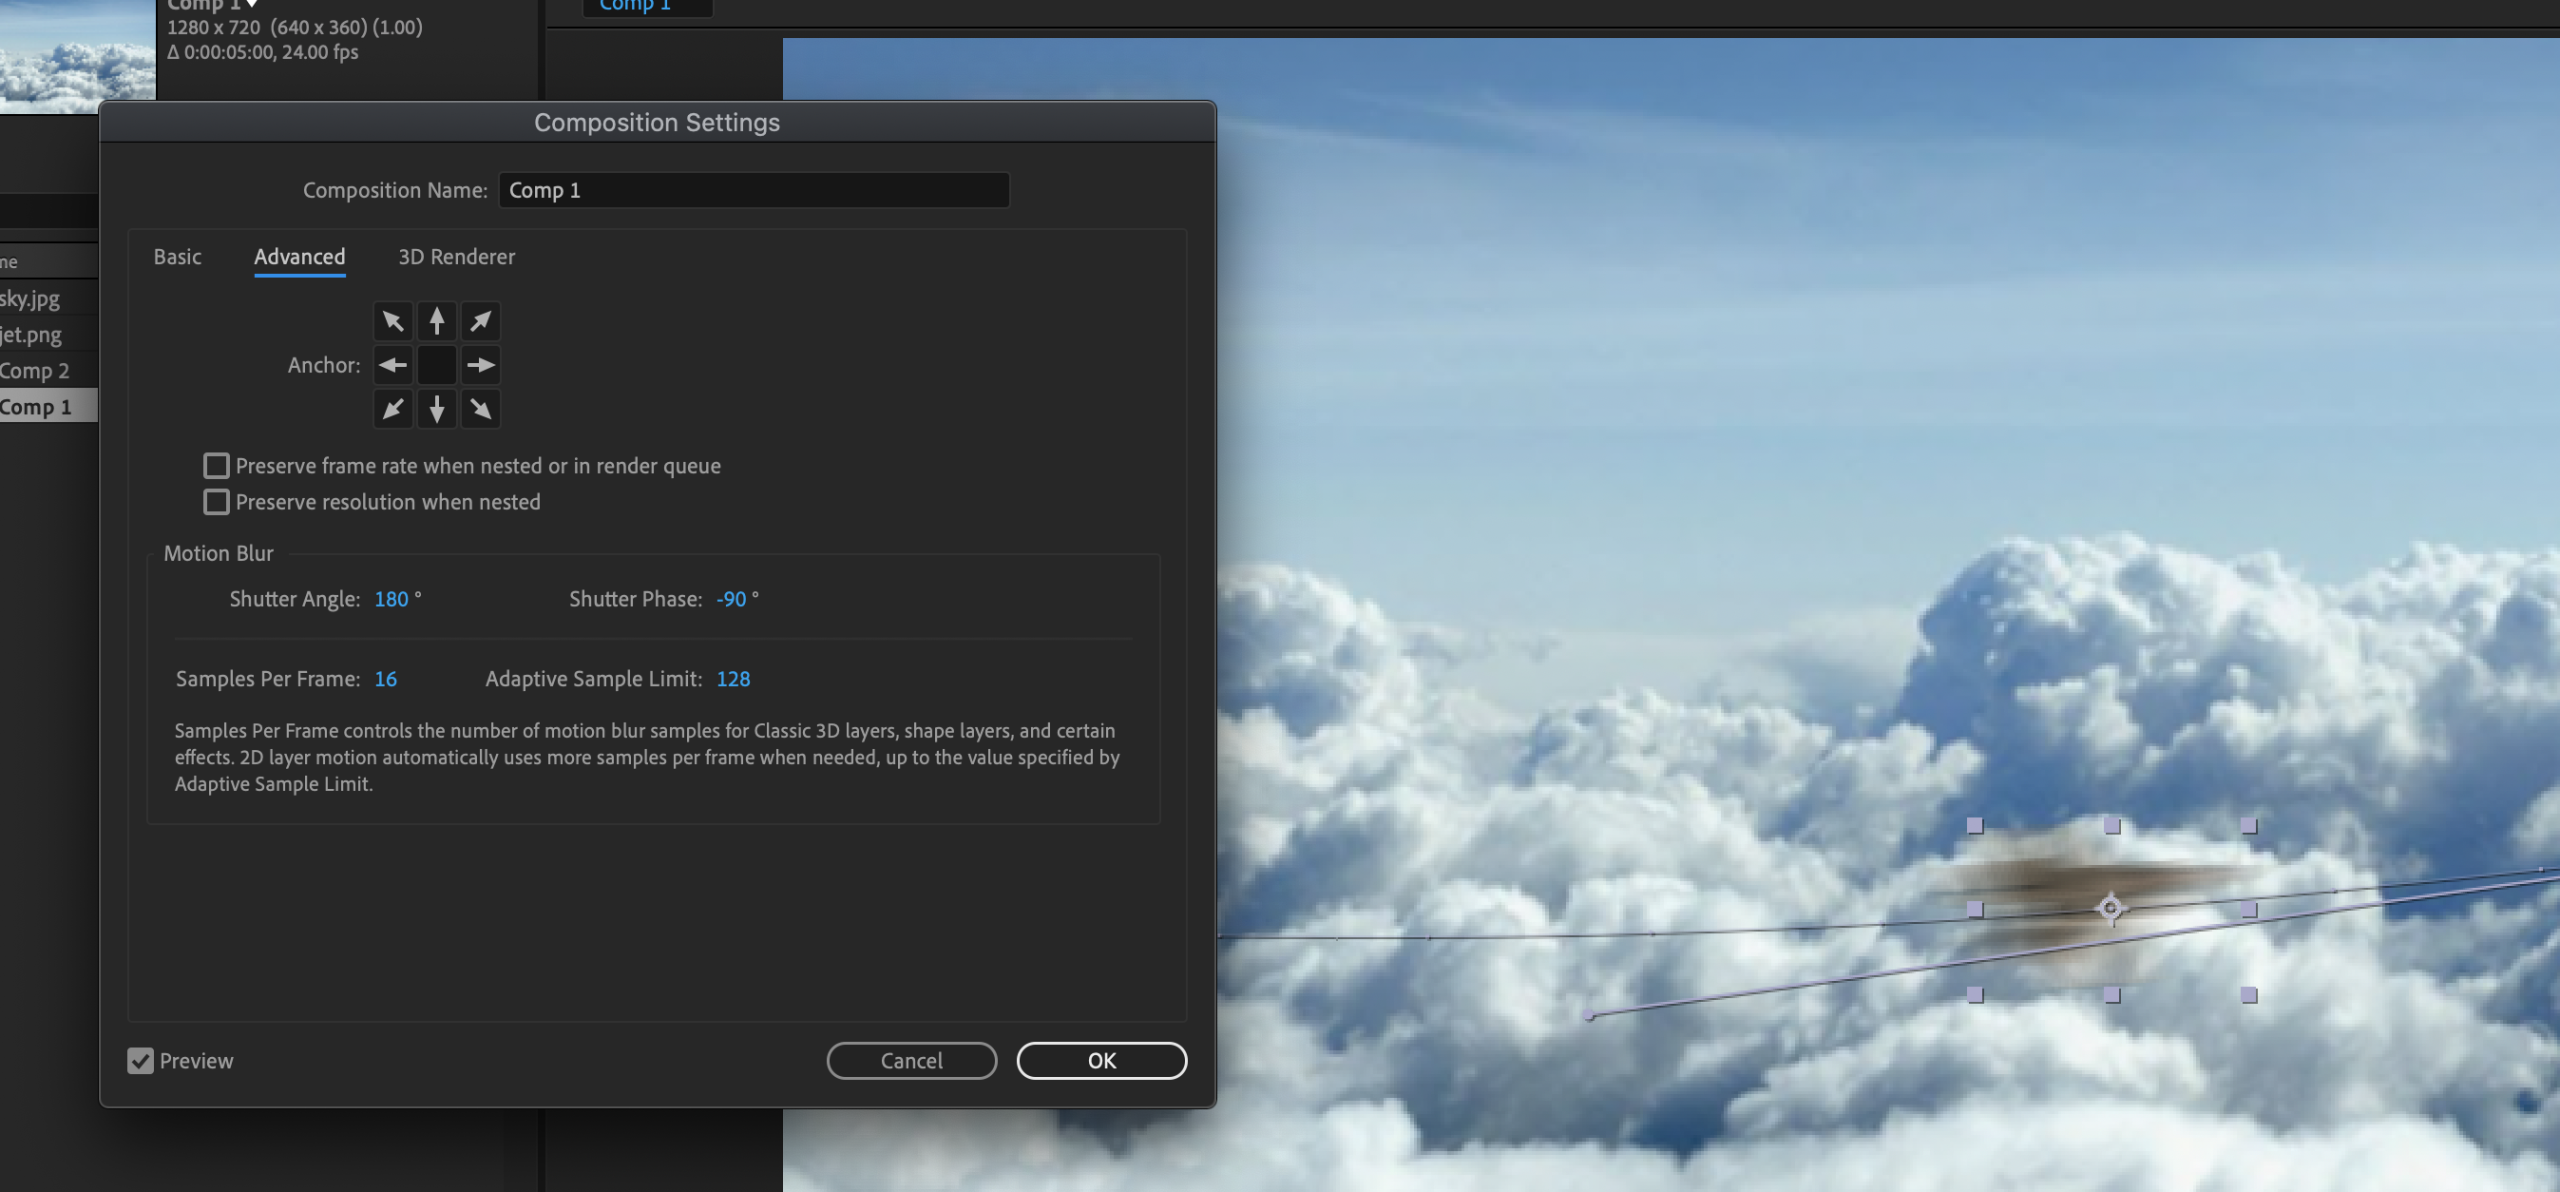
In here the shutter angle setting will change the amount of motion blur.
Trim Paths
We can animate different aspects of objects, like the outline of things using trim paths.

To do this you will need to use the “Add” button.
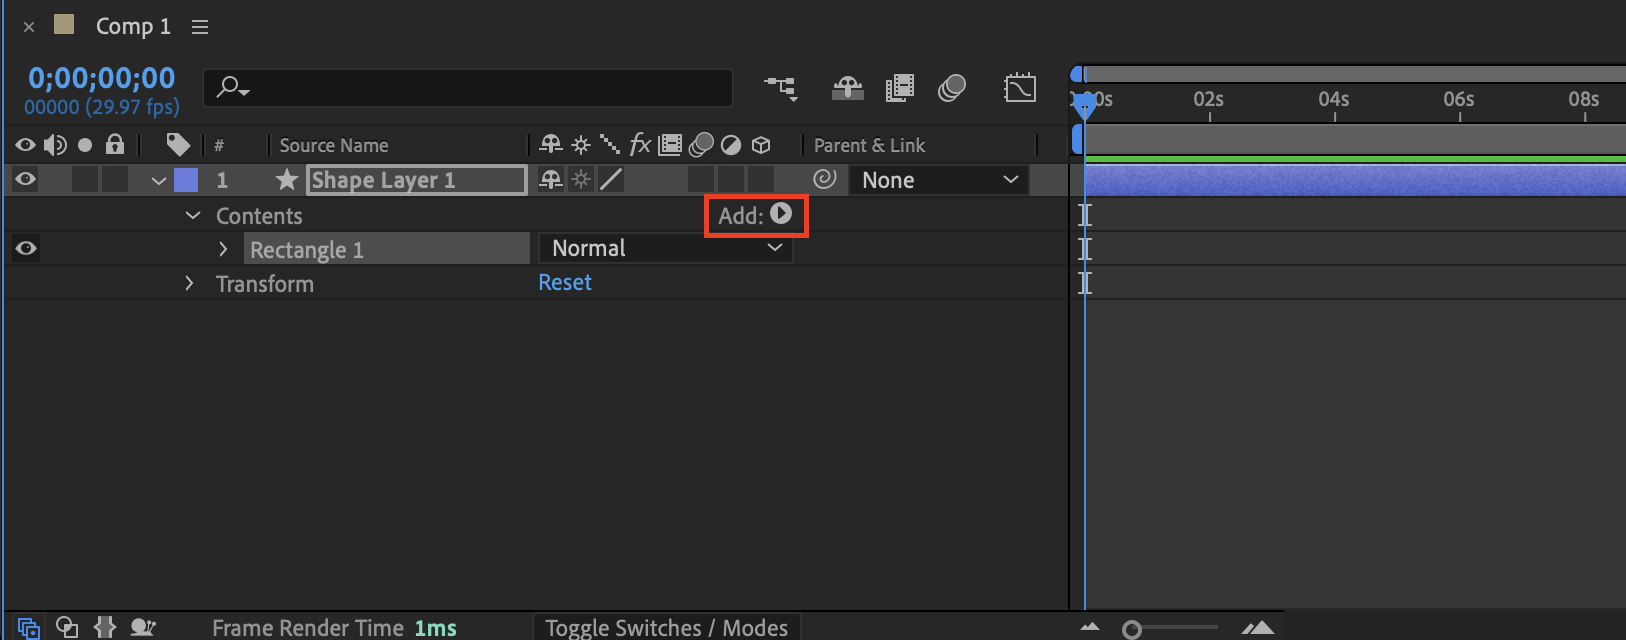
Select “Trim Paths”.
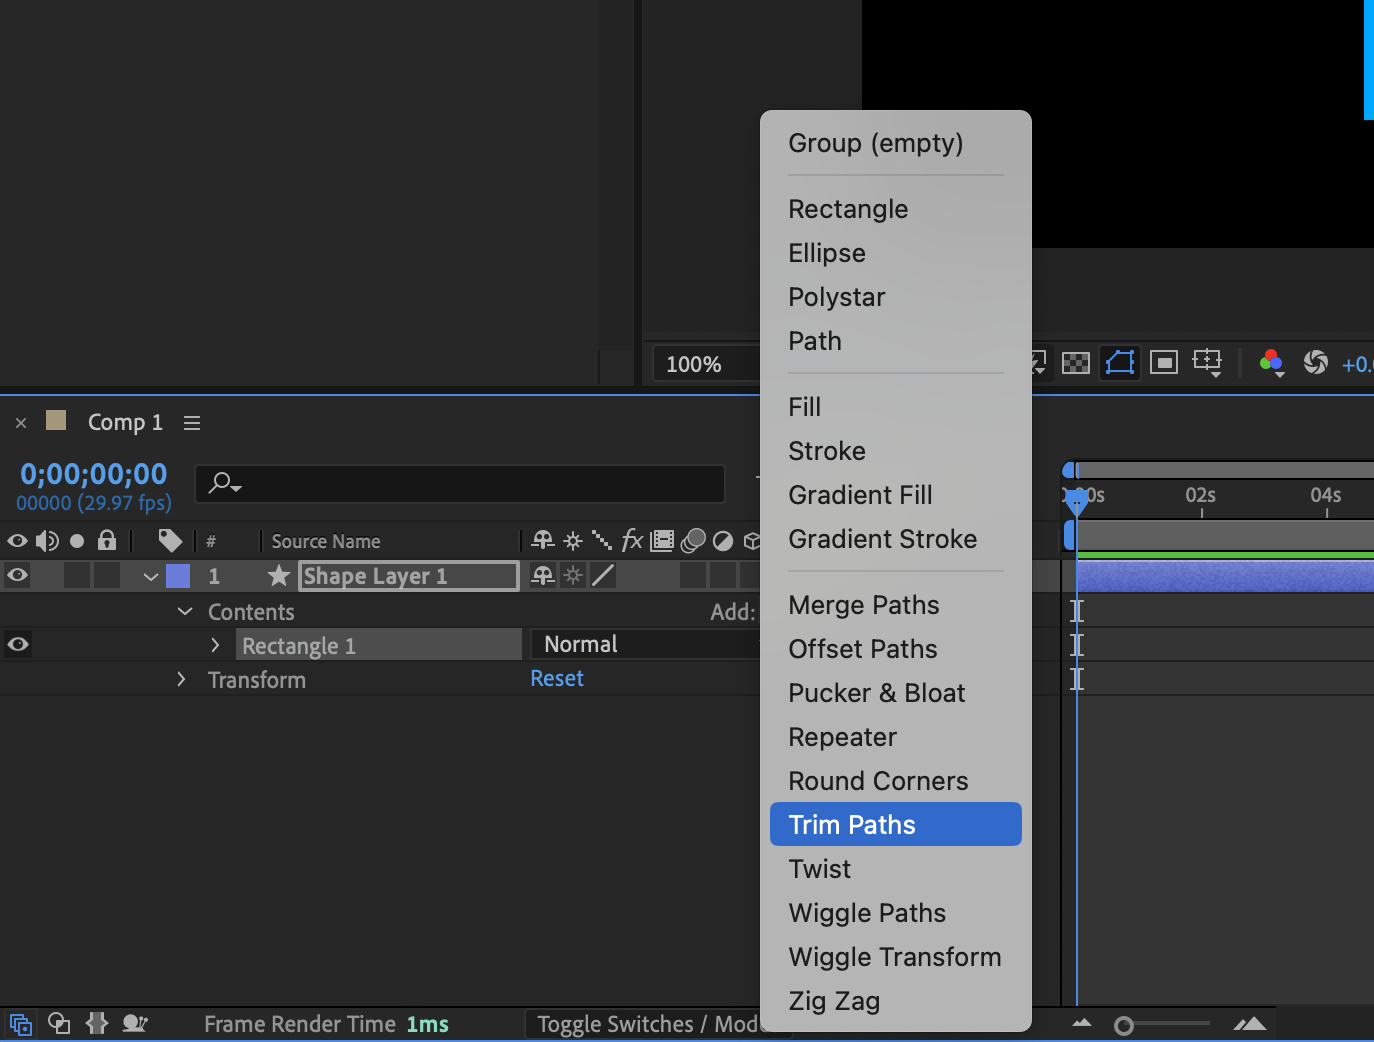
The Trim Paths property will now be available.
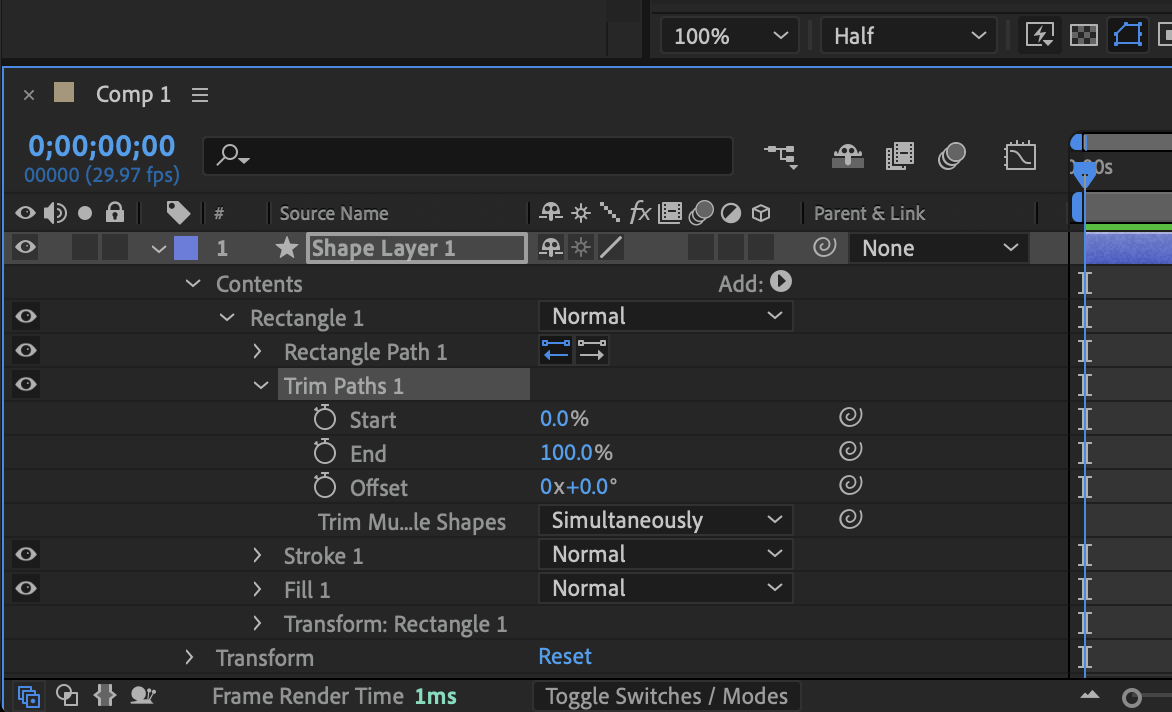
keyframes to animate the start or end.
Categorised in: Lectures, MMDD 102
This post was written by amax