
WEBD 150 – Class Intro
April 4, 2024 12:40 pm Leave your thoughtsClass Intro
Welcome to semester 2
Learning Outcomes:
- Demonstrate intermediate knowledge of HTML and CSS to create functional websites.
- Explore code solutions for mobile devices by applying responsive strategies.
- Upload sites to the web.
- Execute CSS animations.
- Explore JavaScript application within HTML to achieve dynamic interaction.
- Apply professionalism to assignments, both verbally and visually.
What we will cover:
- CSS Grid Layouts
- Hosting
- Work flow tools
- CSS Animations
- CSS Transforms
- Styling forms
- Responsive Design
- HTML5 Media
Starting off with HTML
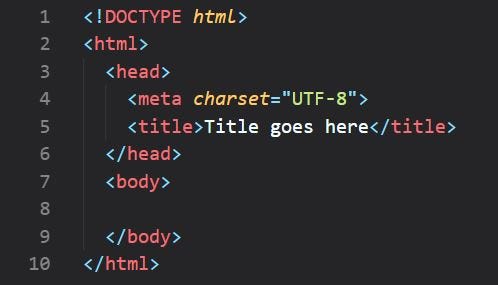
HTML is the base, gotta get it right. Remember that the <head></head> only contains metadata, title, links to external files and the like. Not content or structure.
<!DOCTYPE html>
<html>
<head>
    <!-- overall info, not seen in the browser window -->
    <meta charset="utf-8">
    <title>Title in top of browser</title>
    <link rel="stylesheet" href="main.css">
</head>
<body>
    <!-- all the is seen in the browser window -->
</body>
</html>
Again, the head tags contain information that will not show up in the browser. Things like adding style sheets/css, meta information and so on.
The only place we enter content that is to show up in the browser is in the body tags. This is where all content and page structure goes.
Moving beyond H Tags
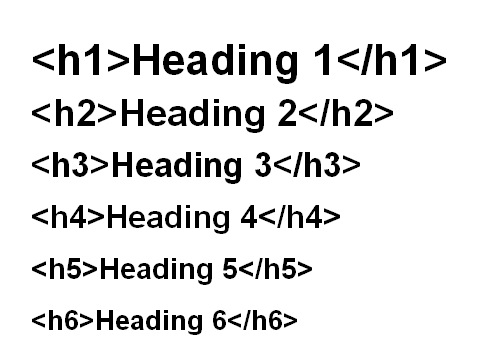
Now what we have progressed in CSS coding we don’t need to rely so heavily on H tags for the purposes of design in and of itself. You should however, understand where and when to use different H tags.
- H1 for headings – common
- H2 for sub headings – common
- H3 for sub sub headings (like a sub heading for under an h2) – less common
- H4 hardly gets used as a sub sub sub heading. Can be used for complex content and technical details, more common to use it in different parts of the page (like footer).
- H5 can be used for smaller or specific things like testimonials.
- H6 can be used for small details like notes.
As for the above examples, as far as design goes, with CSS we can make any text look any way we want to rather then relying on how they look by default, but still follow the hierarchy of the H structure.
CSS Coding & Formatting
As we move forward, when you code CSS, imagine that someone else may need to continue to work with what you have left off. There is a lot of importance on having clean formatting in your code, this is both for your ease of use and others.
What you want as an end result is a uniformly indented easy to read format in your CSS. Some people will have different styles however you want to maintain a sense of consistency in your code format when it comes to CSS.
As we move forward our CSS documents will have more and more code in them so this is important.
***Use external CSS***
Going forward this will be important as well. Internal CSS will be harder to work with and maintain a consistent site wide result. Use 1 main CSS document site wide and link all pages to it.
<head>
    <title>CSS Example</title>
    <link href="css/styles.css">
</head>
Terms
- Elements: Components that define the page objects. Ex – paragraphs, links.
- Tags: Define elements. Ex <tagname> Content </tagname>
- Attributes: Provide additional information in a tag:
<tag attribute="value">content to be modified by the tag</tag>
Another example of this:
<img src="location/name-of-the-file.jpg" width="500" height="600">File Structure
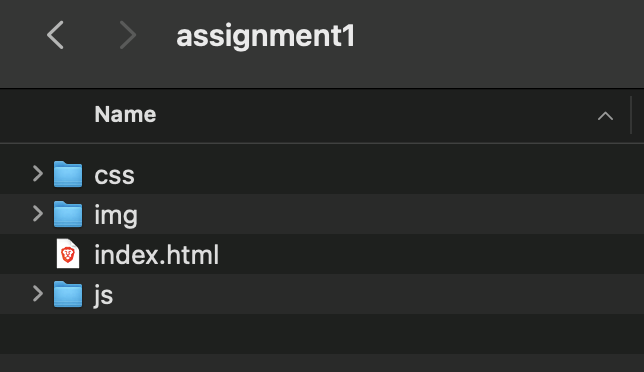
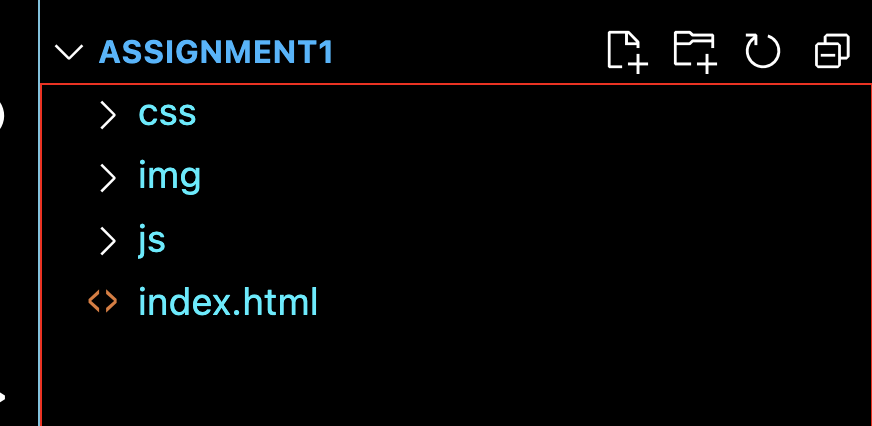
Remember to have your images sourced in the right location. This is why it is important to have a proper file structure when building a project. It is a must that you start your projects starting with a foundation of a proper file structure.
Start with a folder, named “assignment1” “assignment2” or so on. Then in that folder create a new folder for images, named “images” or “img” and a folder for CSS, named “CSS”.
Start your project with an HTML file called “index.html” ***ONLY*** use this name for the first page/main page. Then build upon this adding more pages naming them as they are intended. Ex – about.html contact.html and so on.
***Remember No Caps No spaces!***
Visual Directory Structure:
css-practice/
├── css/
│   └── styles.css
├── images/
│   └── logo.png
└── index.html
When uploading your assignments to your server, simply upload the folder containing the files into the “public_html” folder. Then to view it on the web go to: yourwebsite.com/thenameofthefolder
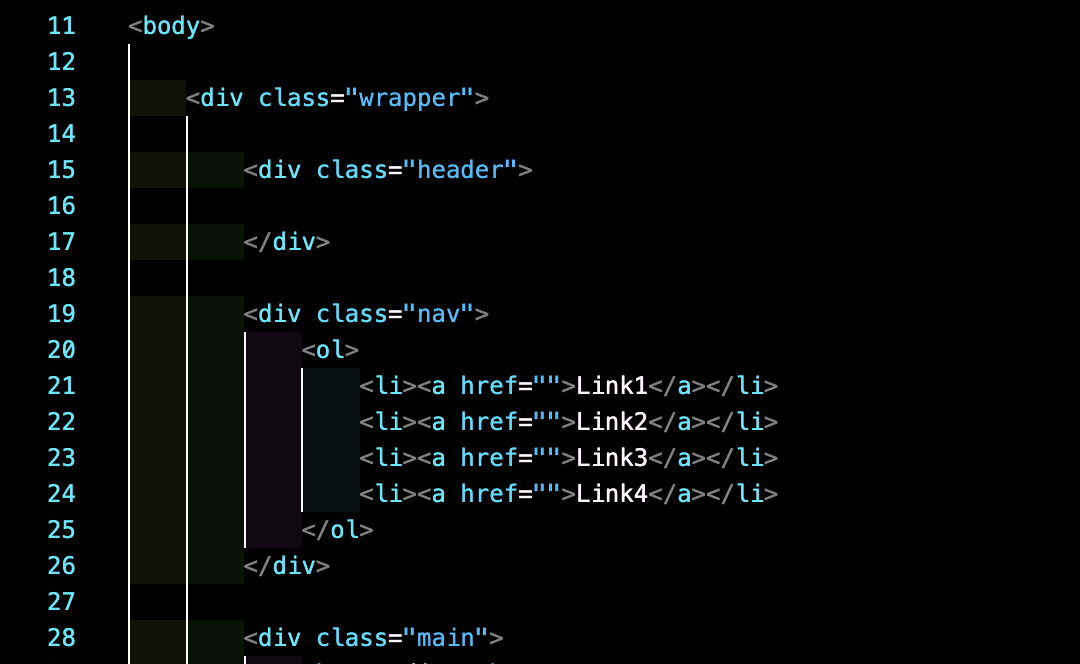
Nested Elements and the DOM
Remember that there are levels to this. When you have a parent item and you give it style, that style can effect the elements within it.
In the bottom example the body is the top parent item, then the <H1> <p> and <ul> are within the body. Then, the <li> tags are within the <ul>.
HUMBER INTERACTIVE
<body>
    <h1>Heading</h1>
    <p>Paragraph.</p>
    <ul>
        <li>List item</li>
        <li>List item</li>
        <li>List item</li>
    </ul>
</body>
Hierarchy:
- body: parent element of <h1>, <p>, and <ul>
- h1, p, ul: siblings
- li: children of <ul>
Selector Types
Includes but not limited to:
- Element Selector: div, h1, h2, p, a, li, ol, and any other tag {
- Class Selector: .class-name {
- ID Selector: #element-id {
For now, focus on learning these.
Categorised in: Lectures, Portfolio, WEBD 150
This post was written by amax